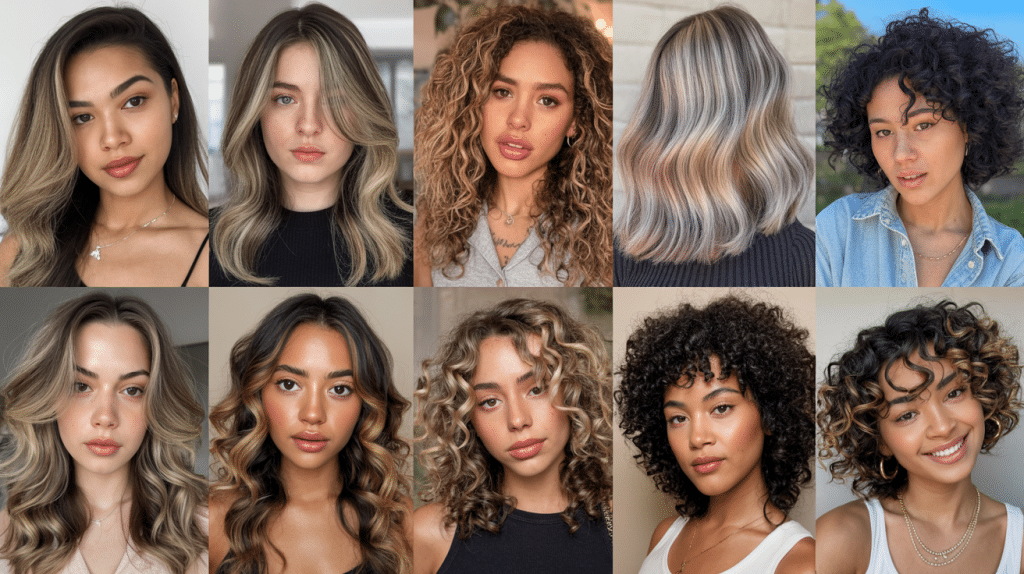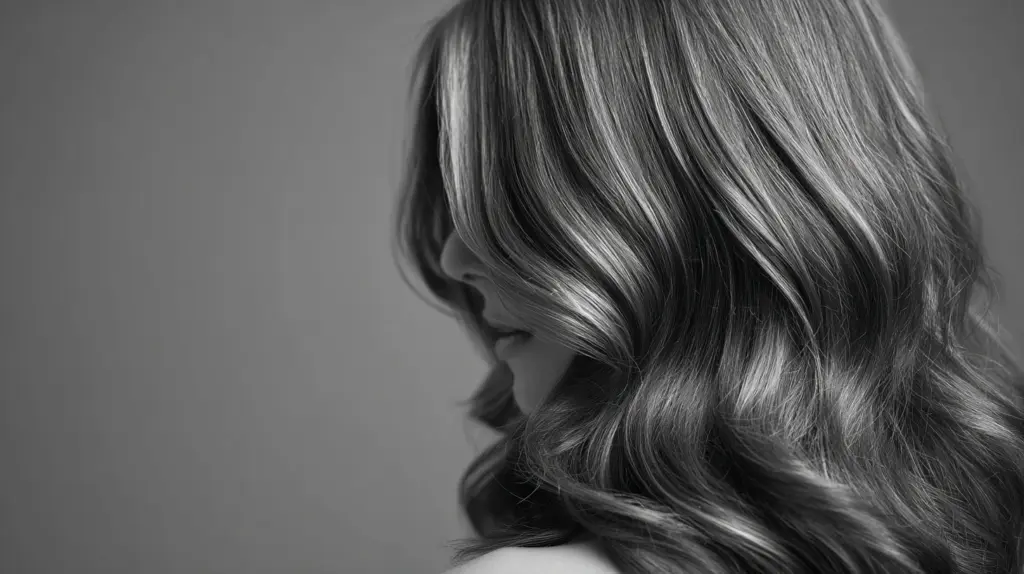

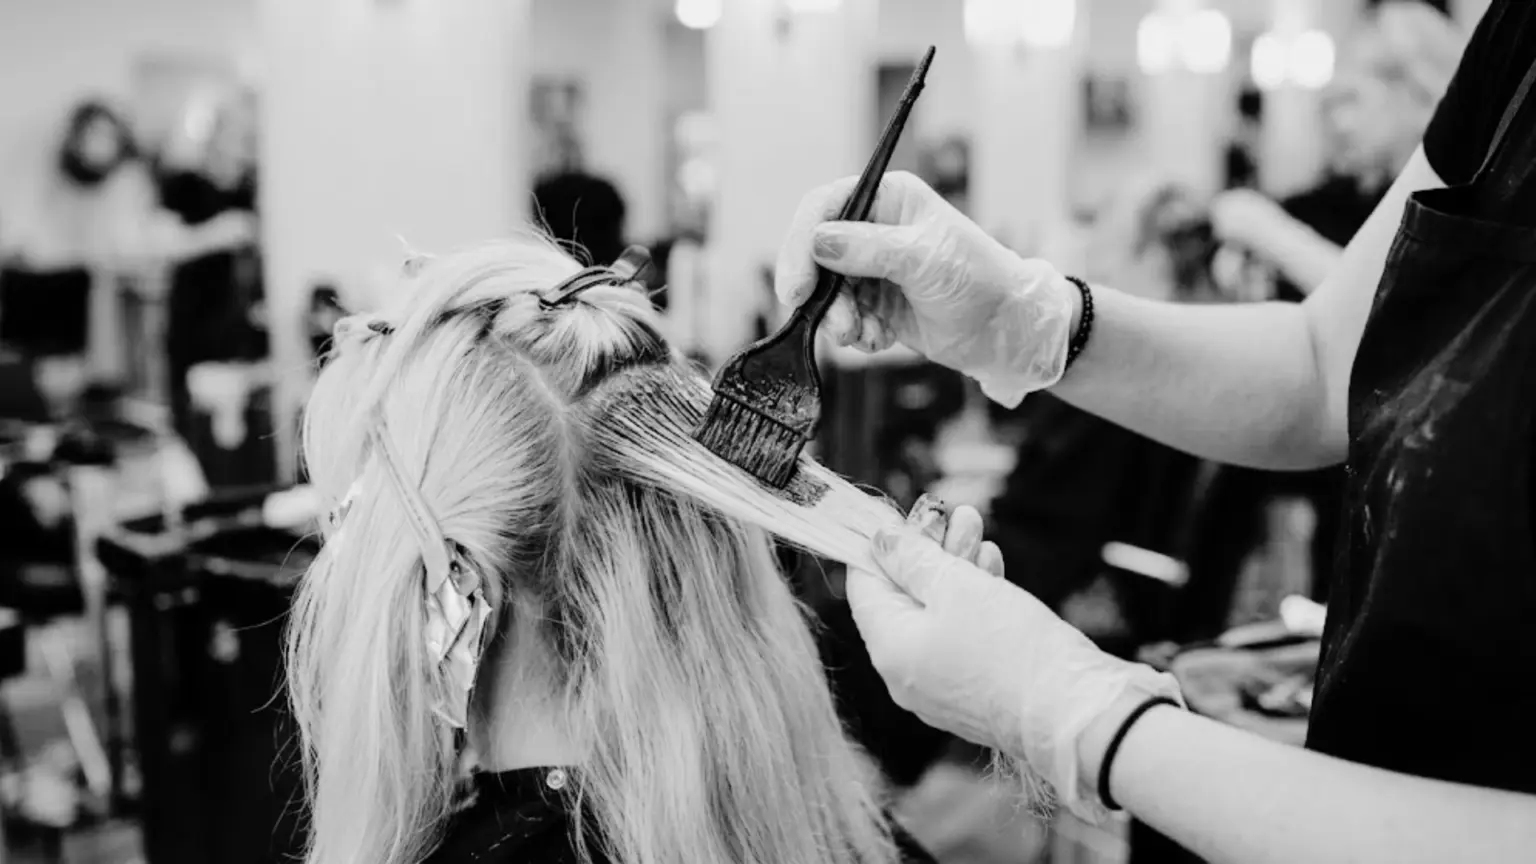
The way color is applied matters just as much as the color attributes.
Placement, blending, and depth can completely change your look, if you want something subtle or dramatic.
In this blog, I’ll show you vital hair coloring techniques that stylists rely on to create modern, head-turning results.
You’ll know exactly which approach fits your style and personality.
What is a Hair Coloring Technique and Why Does it Matter?
A hair coloring technique is all about how that shade is applied.
The same color looks completely different depending on placement and blending.
Technique affects:
- Dimension and depth
- How natural or bold the result feels
- Grow-out pattern
- Maintenance frequency
Permanent vs Demi-Permanent vs Semi-Permanent Color
Before choosing a style, you need to know the type of color dye being used. This step always saves regrets later.
| Type | Lasts | Contains Ammonia | Gray Coverage | Best For |
|---|---|---|---|---|
| Permanent | 6–8 weeks+ | Yes | Full | Major changes |
| Demi-Permanent | 4–6 weeks | No (low developer) | Blends | Toning, darkening |
| Semi-Permanent | 1–3 weeks | No | Slight | Fun shades, refresh |
Permanent color
Opens the hair cuticle and changes the pigment inside the strand. This type gives the most surprising results.
However, it does require regular root touch-ups as your natural hair grows back in.
Demi-permanent
Color deposits color onto the hair without lifting the natural pigment.
It’s a softer color than permanent color and works well for toning, refreshing, or adding depth without a full color change.
Semi-permanent
Color sits on the outside of the hair strand and does not enter the cuticle. It adds a temporary tint that slowly washes out over several shampoos.
It’s ideal for experimenting with hair coloring techniques.
How Hair Health and Texture Influence Results
Your hair’s condition plays a huge role. Fine hair lifts faster, while coarse hair needs more time and precision.
Key factors:
- Porosity: High porosity grabs color quickly but fades faster.
- Natural base color: Darker hair may need lightening first.
- Previous treatments: Old dye, relaxers, or bleach can affect the results.
- Density & texture: Thicker hair needs strategic placement.
A Simple Strand Test
Before you color your hair, always do a strand test.
Pick a small, hidden lock of hair near your neck and apply the dye. Wait the full time, then rinse and dry it completely.
This simple step shows you exactly how the color will look on your hair.
It also helps you make sure the chemicals won’t cause any unexpected damage before you commit to the new look.
Hair Coloring Techniques for Different Hair Types
Some create soft dimension, others deliver bold contrast, and a few are all about seamless blending.
Have a look at a few options that truly fit your style and lifestyle.
1. Balayage
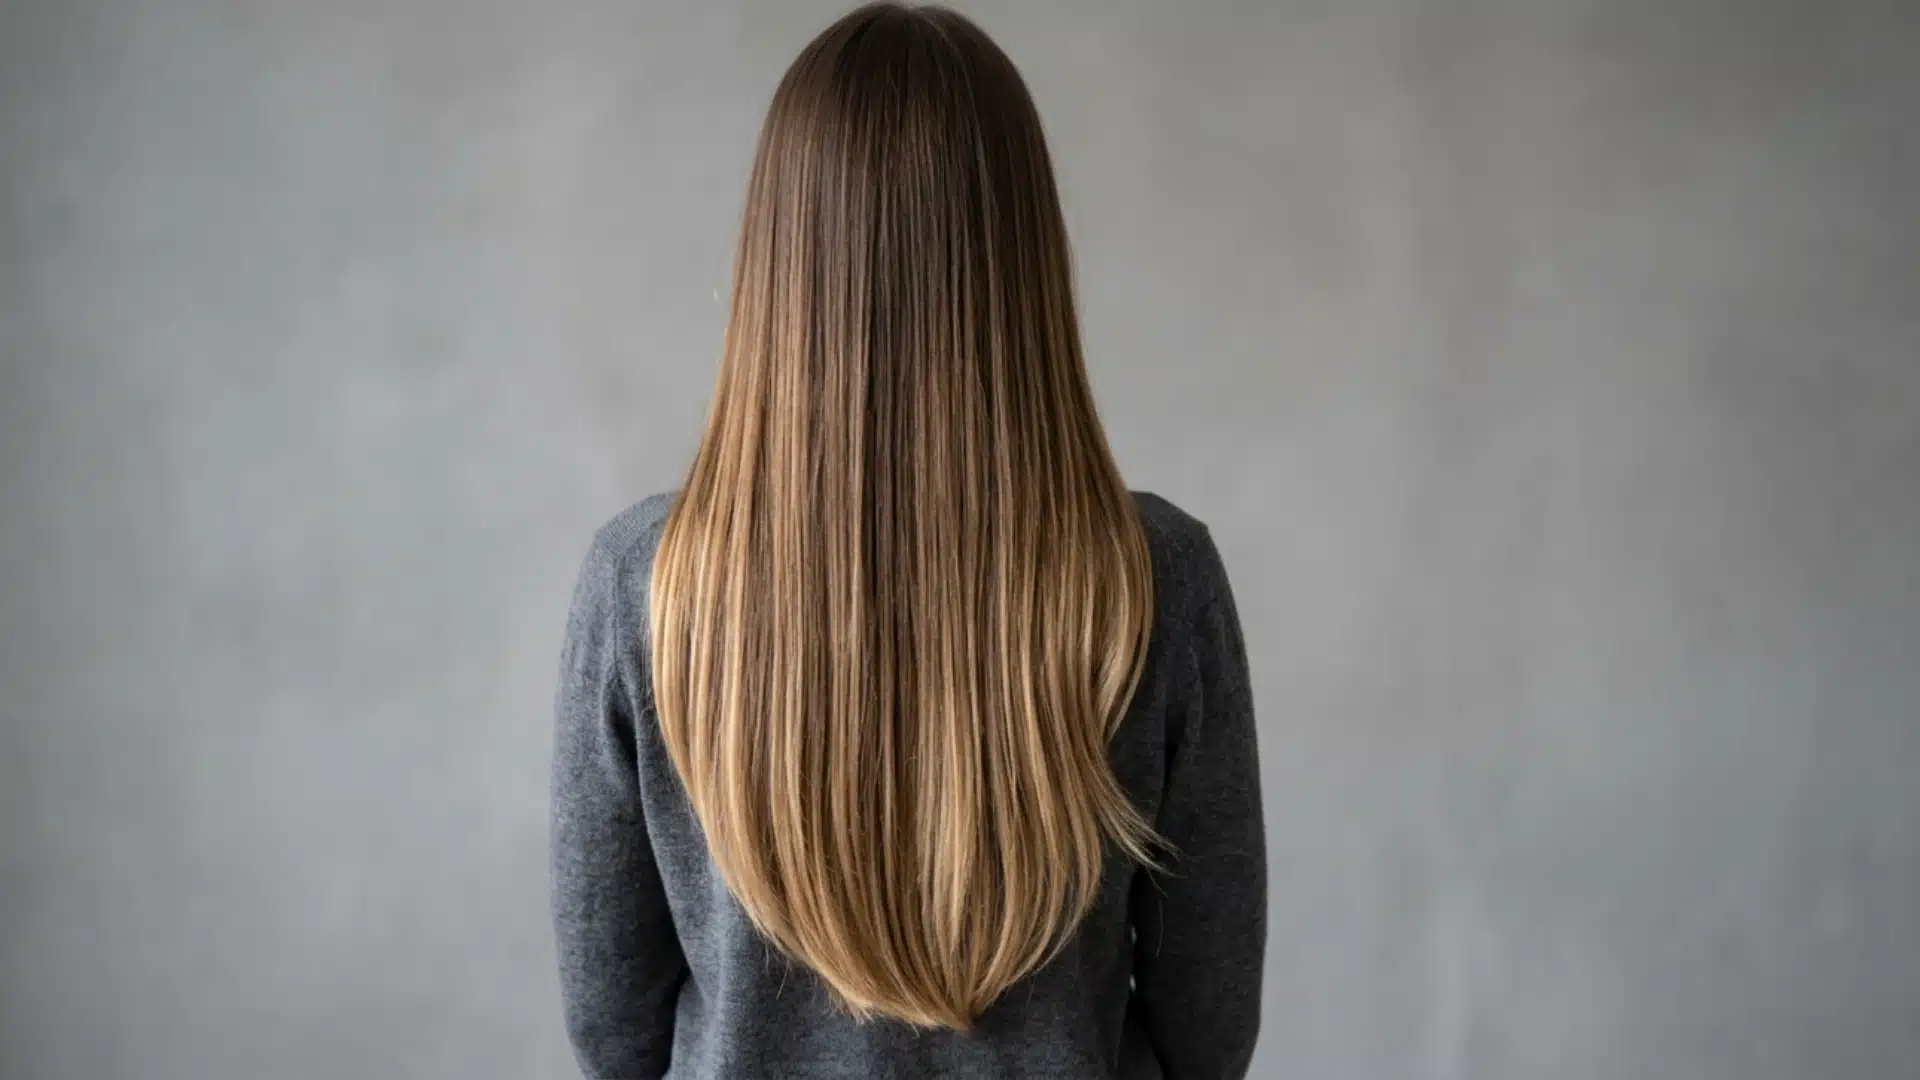
Application: The stylist applies the lightener by hand to the surface of the hair.
They work section by section, focusing on areas where the sun would naturally hit. No foils are used.
The result is a soft, lived-in color that looks natural from day one. It grows out beautifully without harsh root lines.
Among modern hair coloring techniques, this one is known for low maintenance and effortless dimension.
Who it suits most:
- First-time clients
- Busy professionals
- Anyone wanting subtle brightness
Cost: $150-$300 per session, depending on hair length and salon location.
2. Ombré
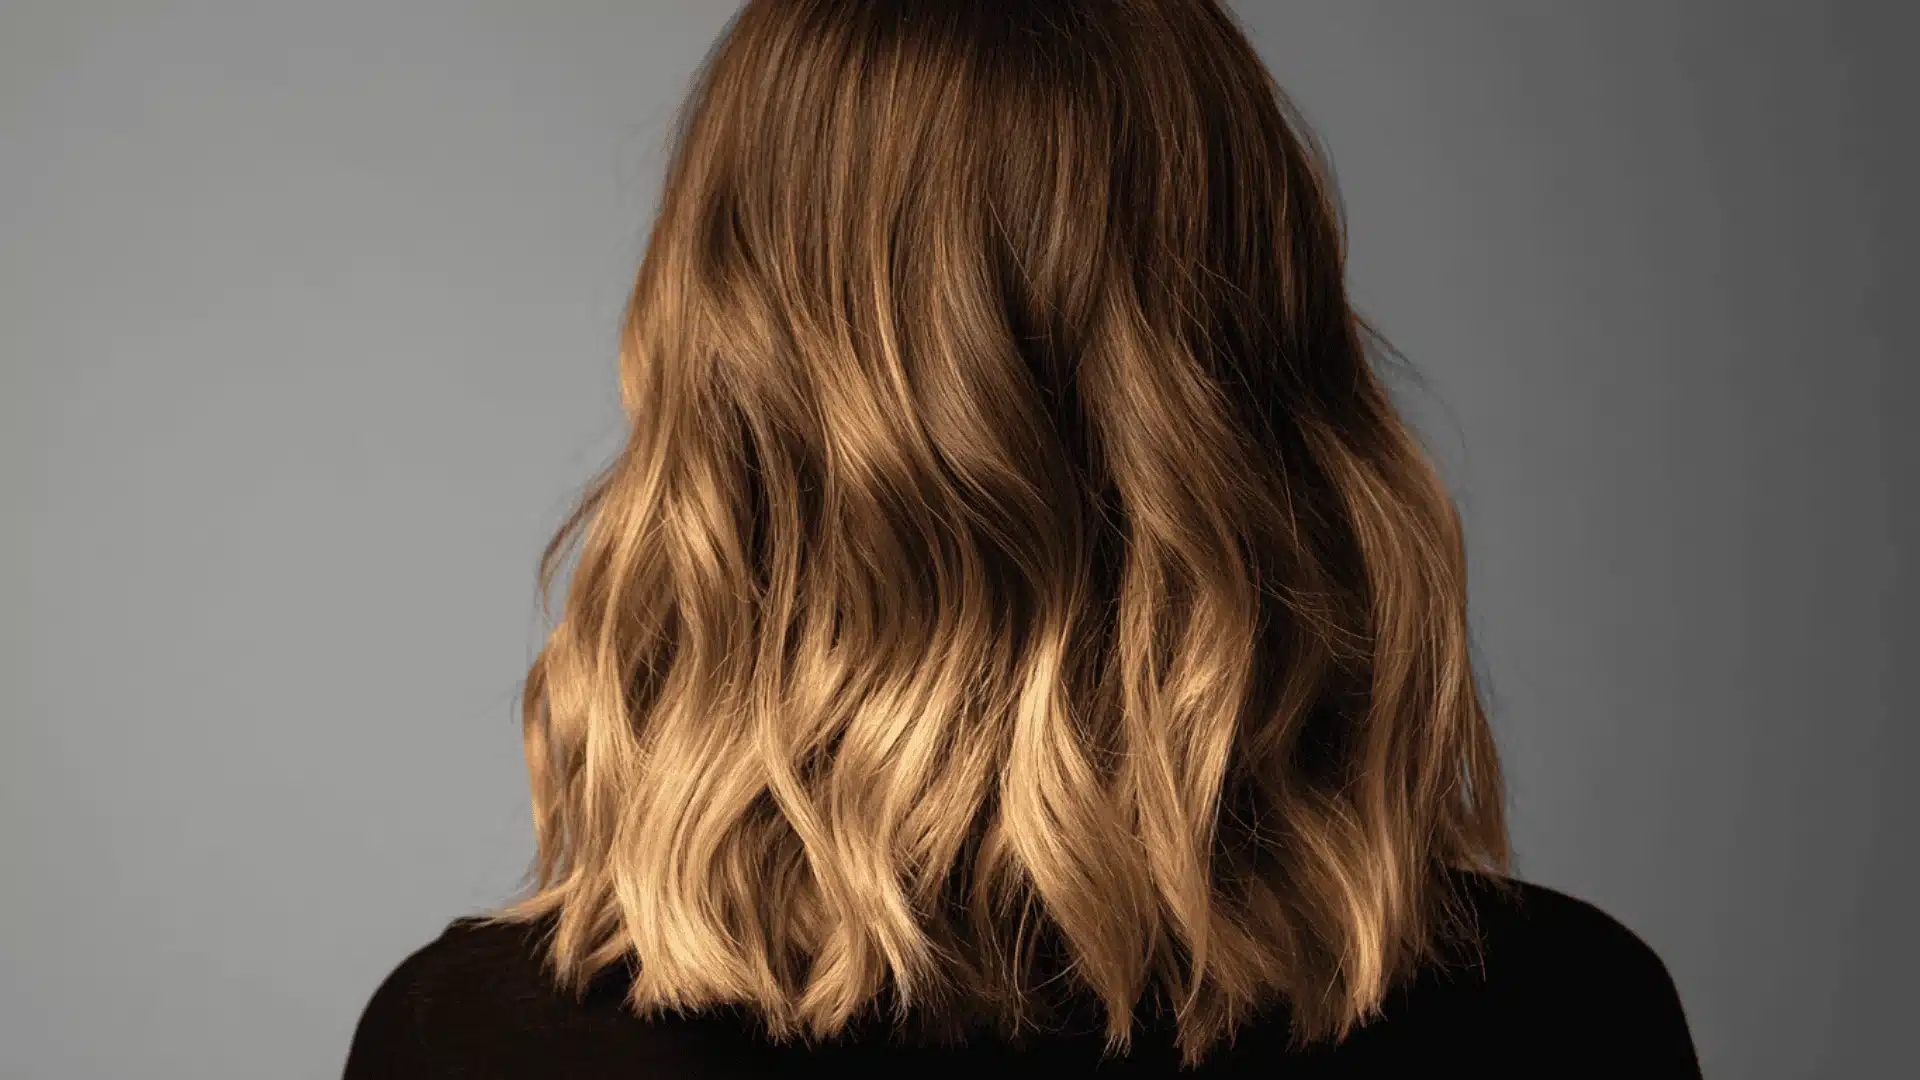
Ombré features a gradual fade from dark roots to lighter ends.
Application: The stylist applies lightener from the mid-lengths down to the ends, blending as they go.
The top section is left untouched. This gives you a clear, two-tone effect.
The transition point can be placed higher or lower depending on how gutsy you want the look.
Why it stands out: It creates a visible contrast while keeping the roots natural. Sleek straight styles highlight the color transition.
Ideal for: Medium to long hair lengths that allow the gradient to shine.
Cost: $100 – $200 per session, depending on hair length and the contrast needed.
3.Teasy Lights
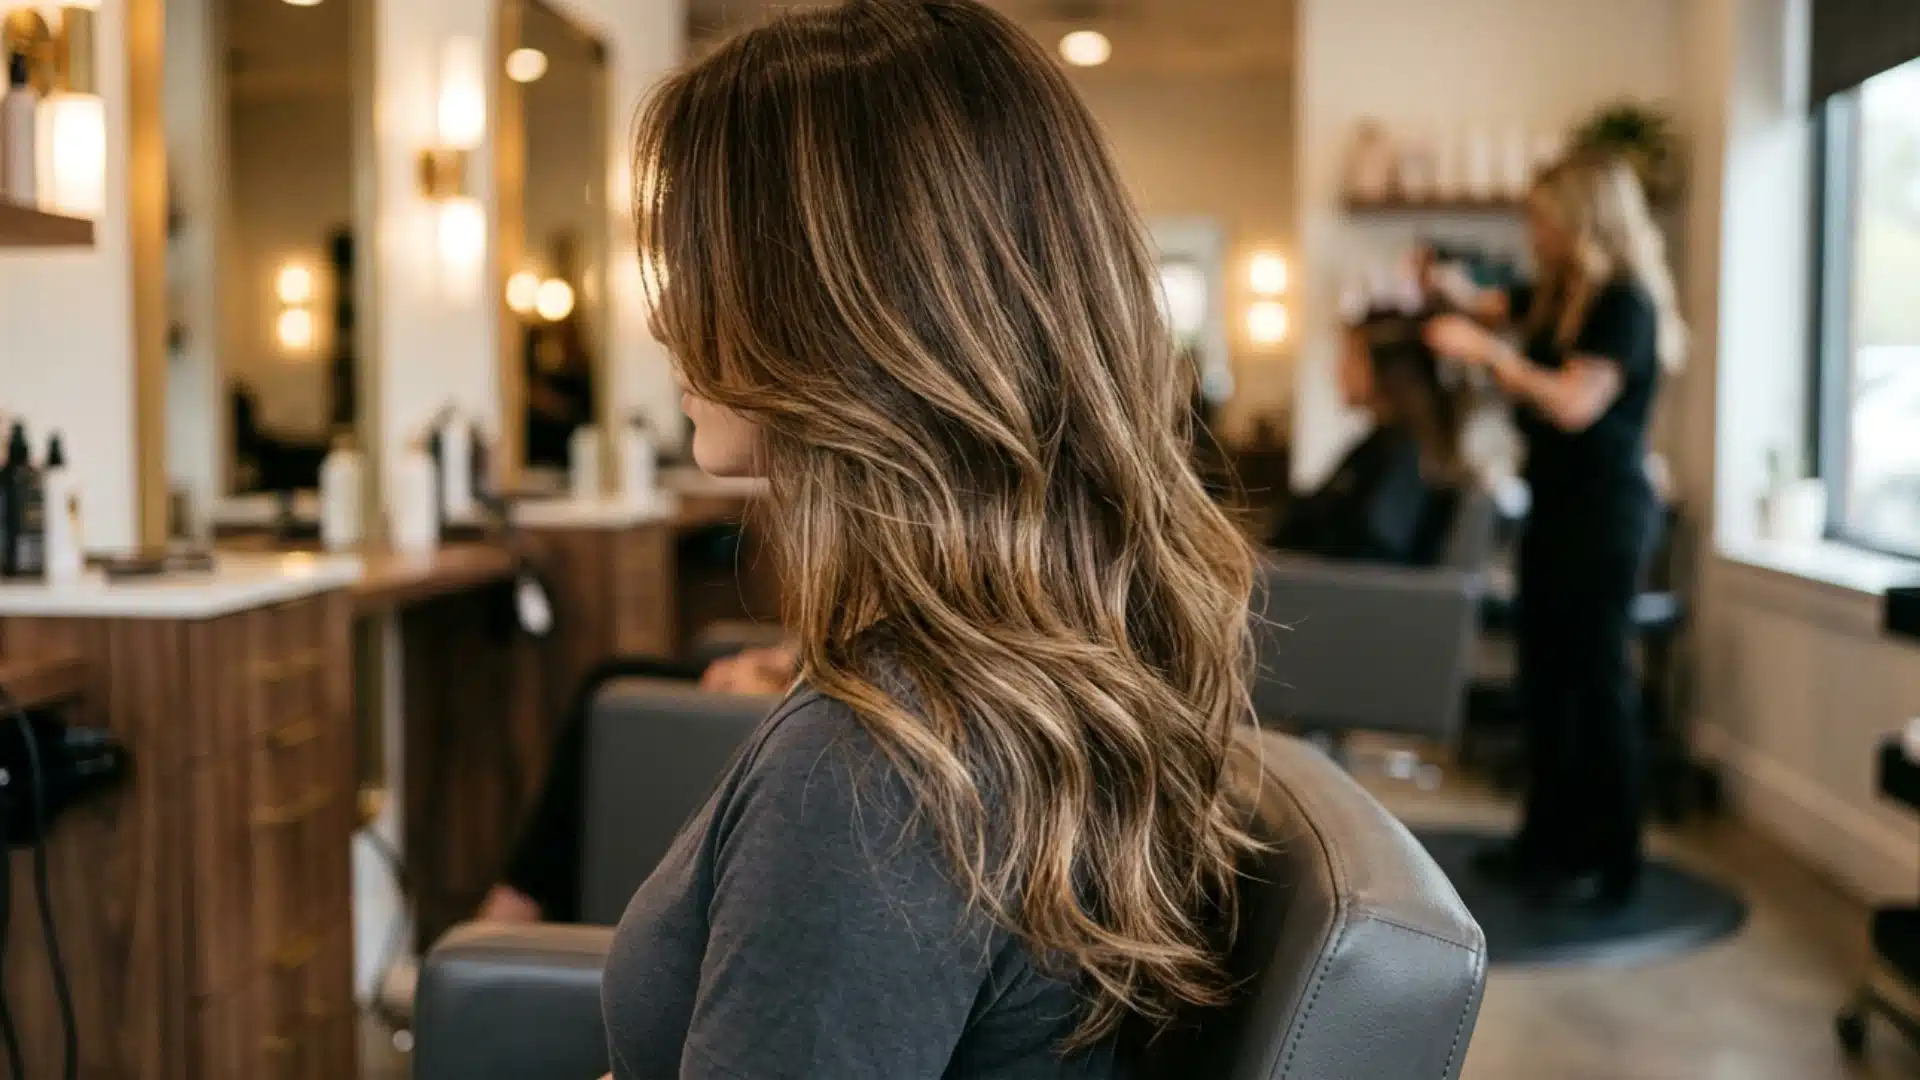
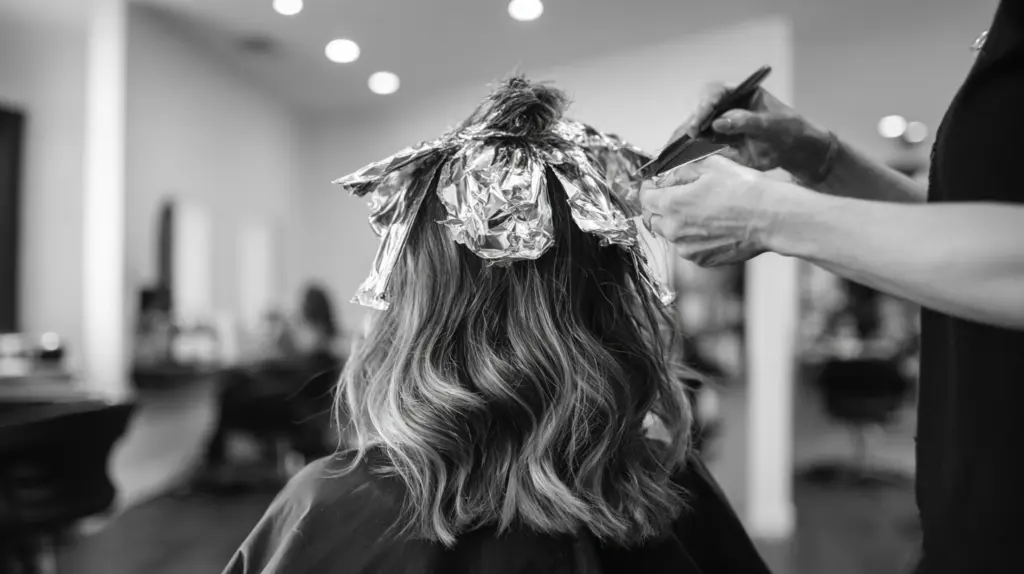
Application: The stylist lightly takes small sections of hair, then wraps them in foil.
This roughed-up base lets the lightener spread softly, so there’s no hard line where the color starts. Blowouts improve the airy blend.
The result is a bright but blended finish that looks natural at the roots.
What it delivers: You get brightness without sharp lines. It blends lift and softness beautifully.
Best match:
- Natural brunettes
- Clients wanting lighter tones without full blonde.
Cost: $180 – $320 per session, based on thickness and length.
4. Baby Lights
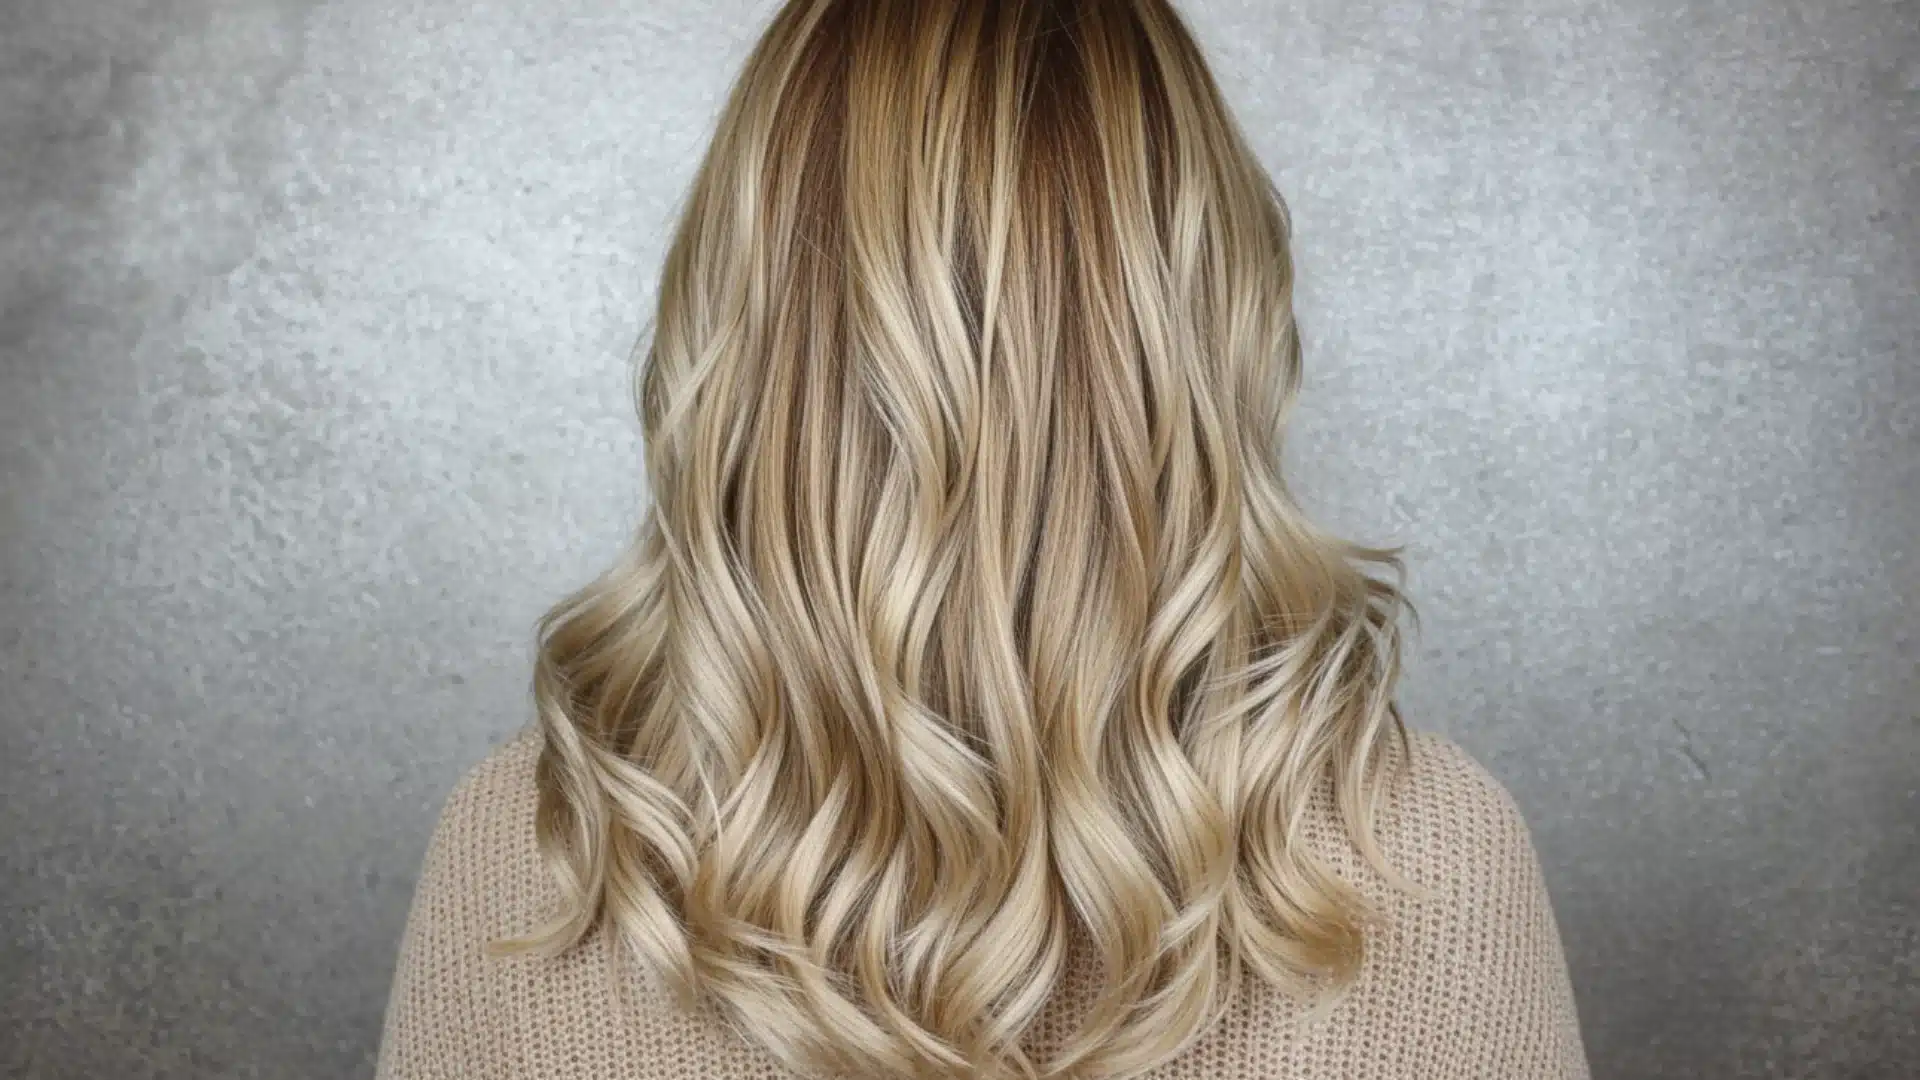
Ultra-fine highlights are placed throughout for subtle brightness.
Application: The stylist takes very thin sections of hair and wraps each one in a small foil.
These fine pieces are placed all over the head. The lighter is used to lift each section, adding a soft glow without any obvious streaks or lines.
Why it’s so effective: It mimics the way hair naturally lightens in the sun. Of all subtle hair coloring techniques, this one creates the most refined dimension.
Quick tip: Fine or straight hair that needs a soft texture. Add a gloss afterward for extra shine.
Cost: $150 – $280 per session. Pricing based on the details involved.
5. Frosting
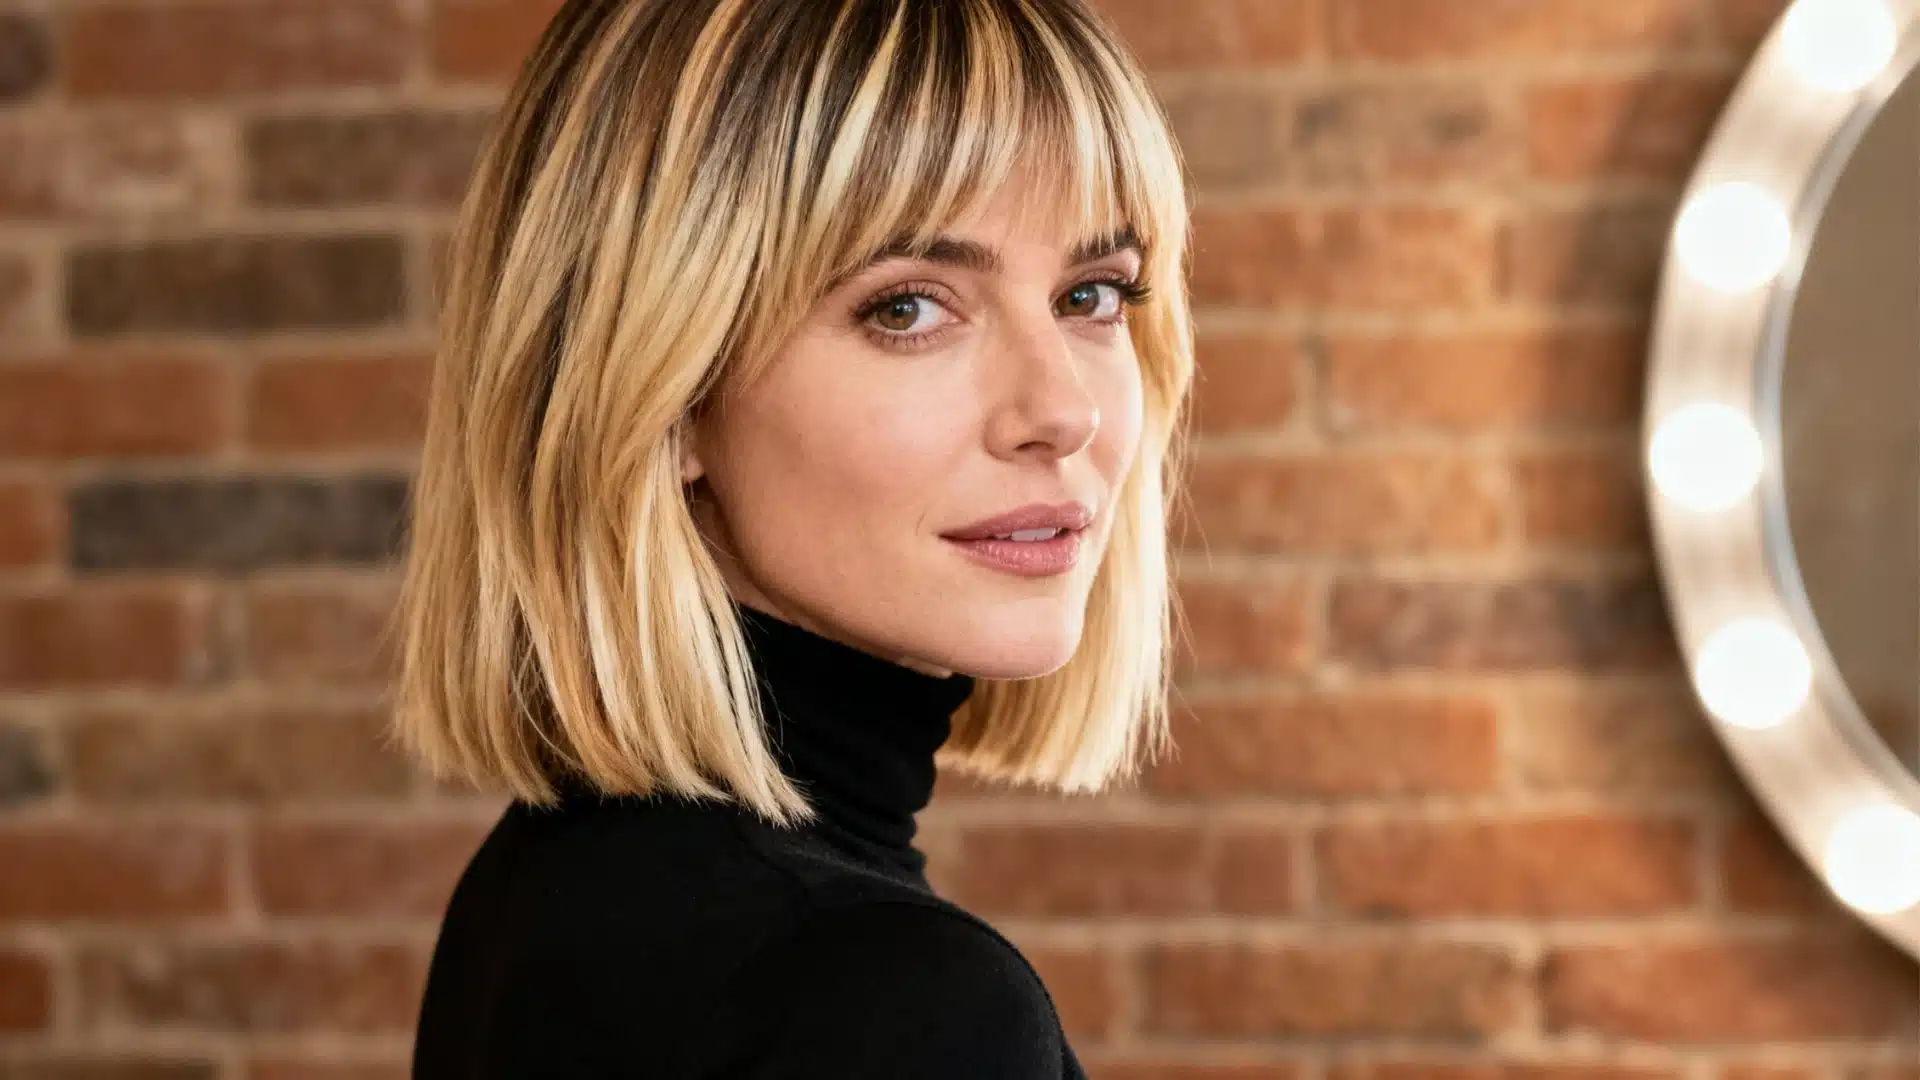
Application: The stylist selects strands with a cap or separates them by hand, then applies lightener to only the chosen pieces. The focus is usually on the ends or the top layer.
This gives a scattered, high-contrast finish that works especially well on short styles.
Why it works: It adds contrast and edge, especially on shorter cuts.
Best choice for: Pixies, textured bobs, or layered styles.
Style tip: Use texture spray to highlight the lighter pieces.
Cost: $80 – $150 per session. It’s one of the affordable techniques.
6. Color Melt
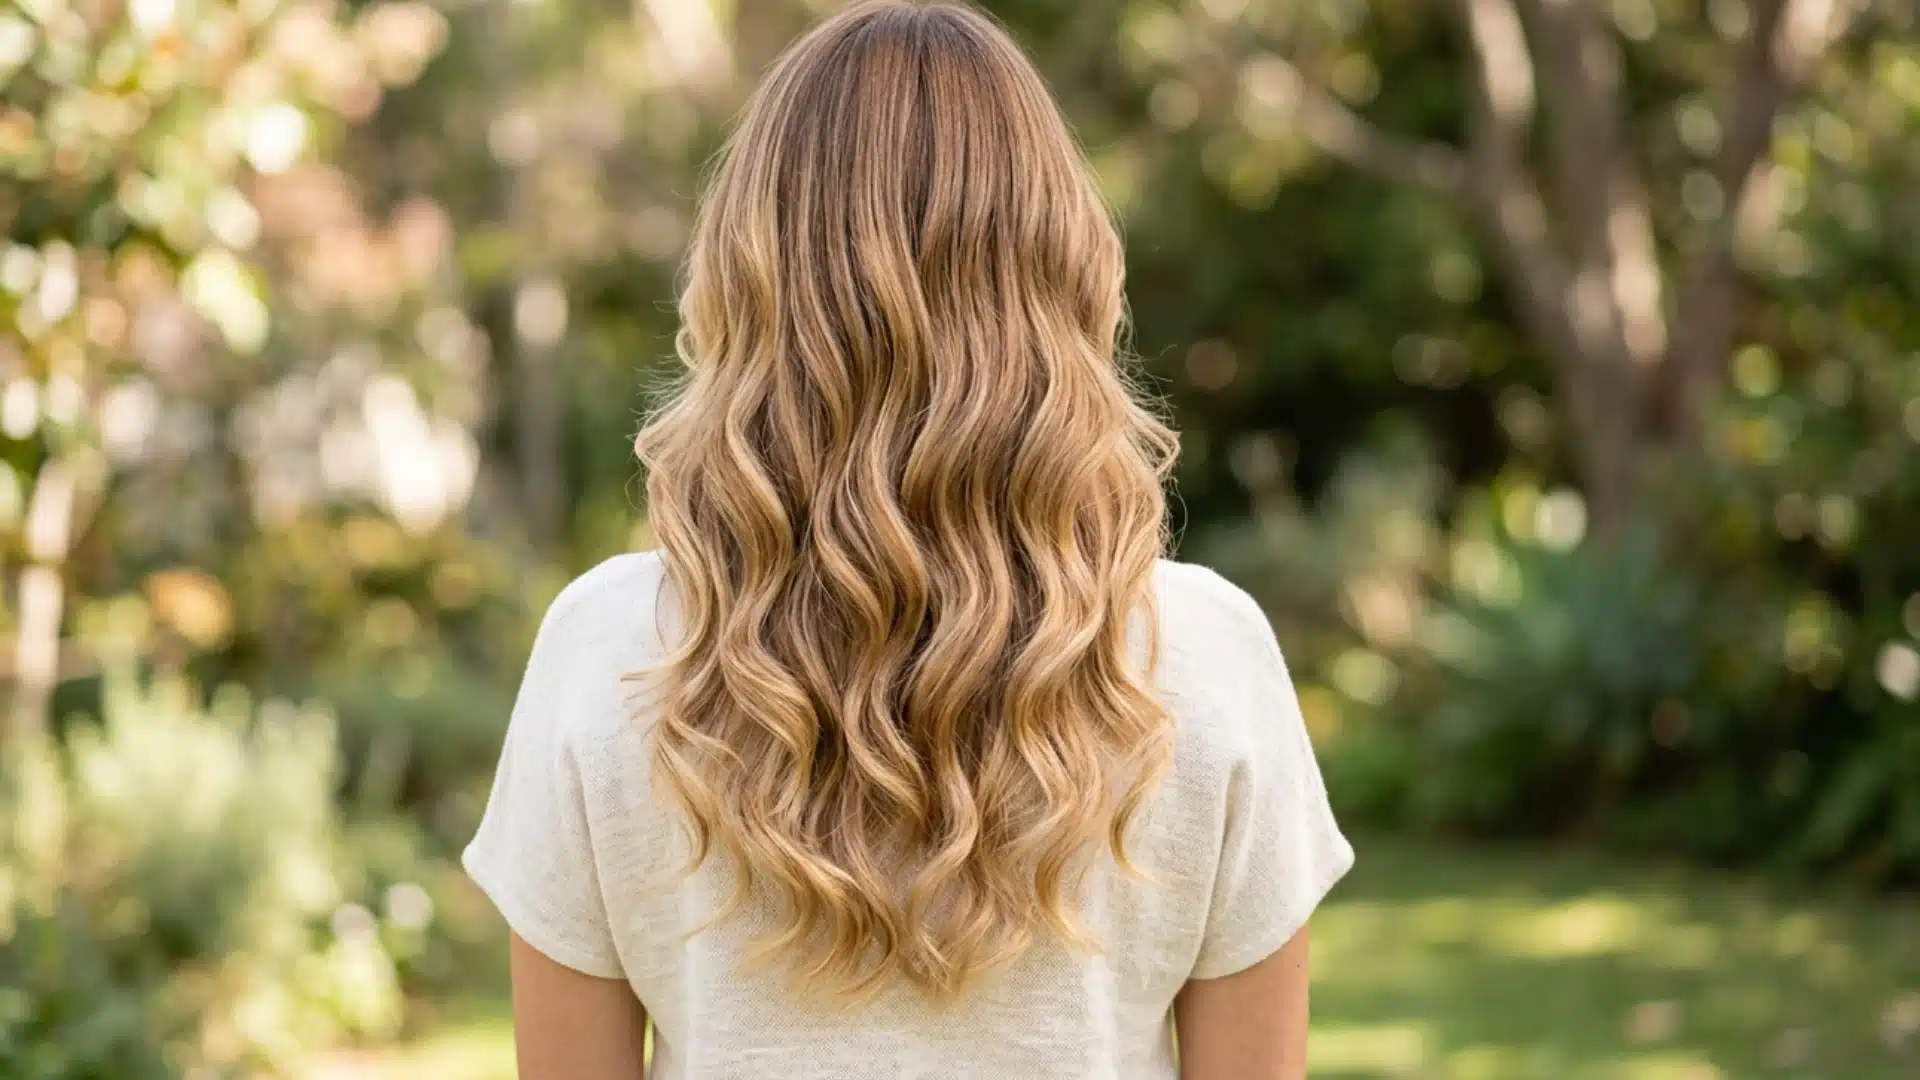
Application: Multiple tones are blended smoothly into a single tone.
The stylist applies two or more shades and blends them together while the color is still wet. There’s no clear line between one shade and another.
The blending is done by hand, shade by shade, until the tones flow into one smooth finish.
Why it is effective: There are no harsh lines, just fluid transitions. This one gives a polished, expensive look.
Great for: Long hair with layers.
Pro tip: Curling with a large barrel shows depth beautifully.
Cost: $200–$400 per session, depending on the number of tones used.
7. Hair Glossing
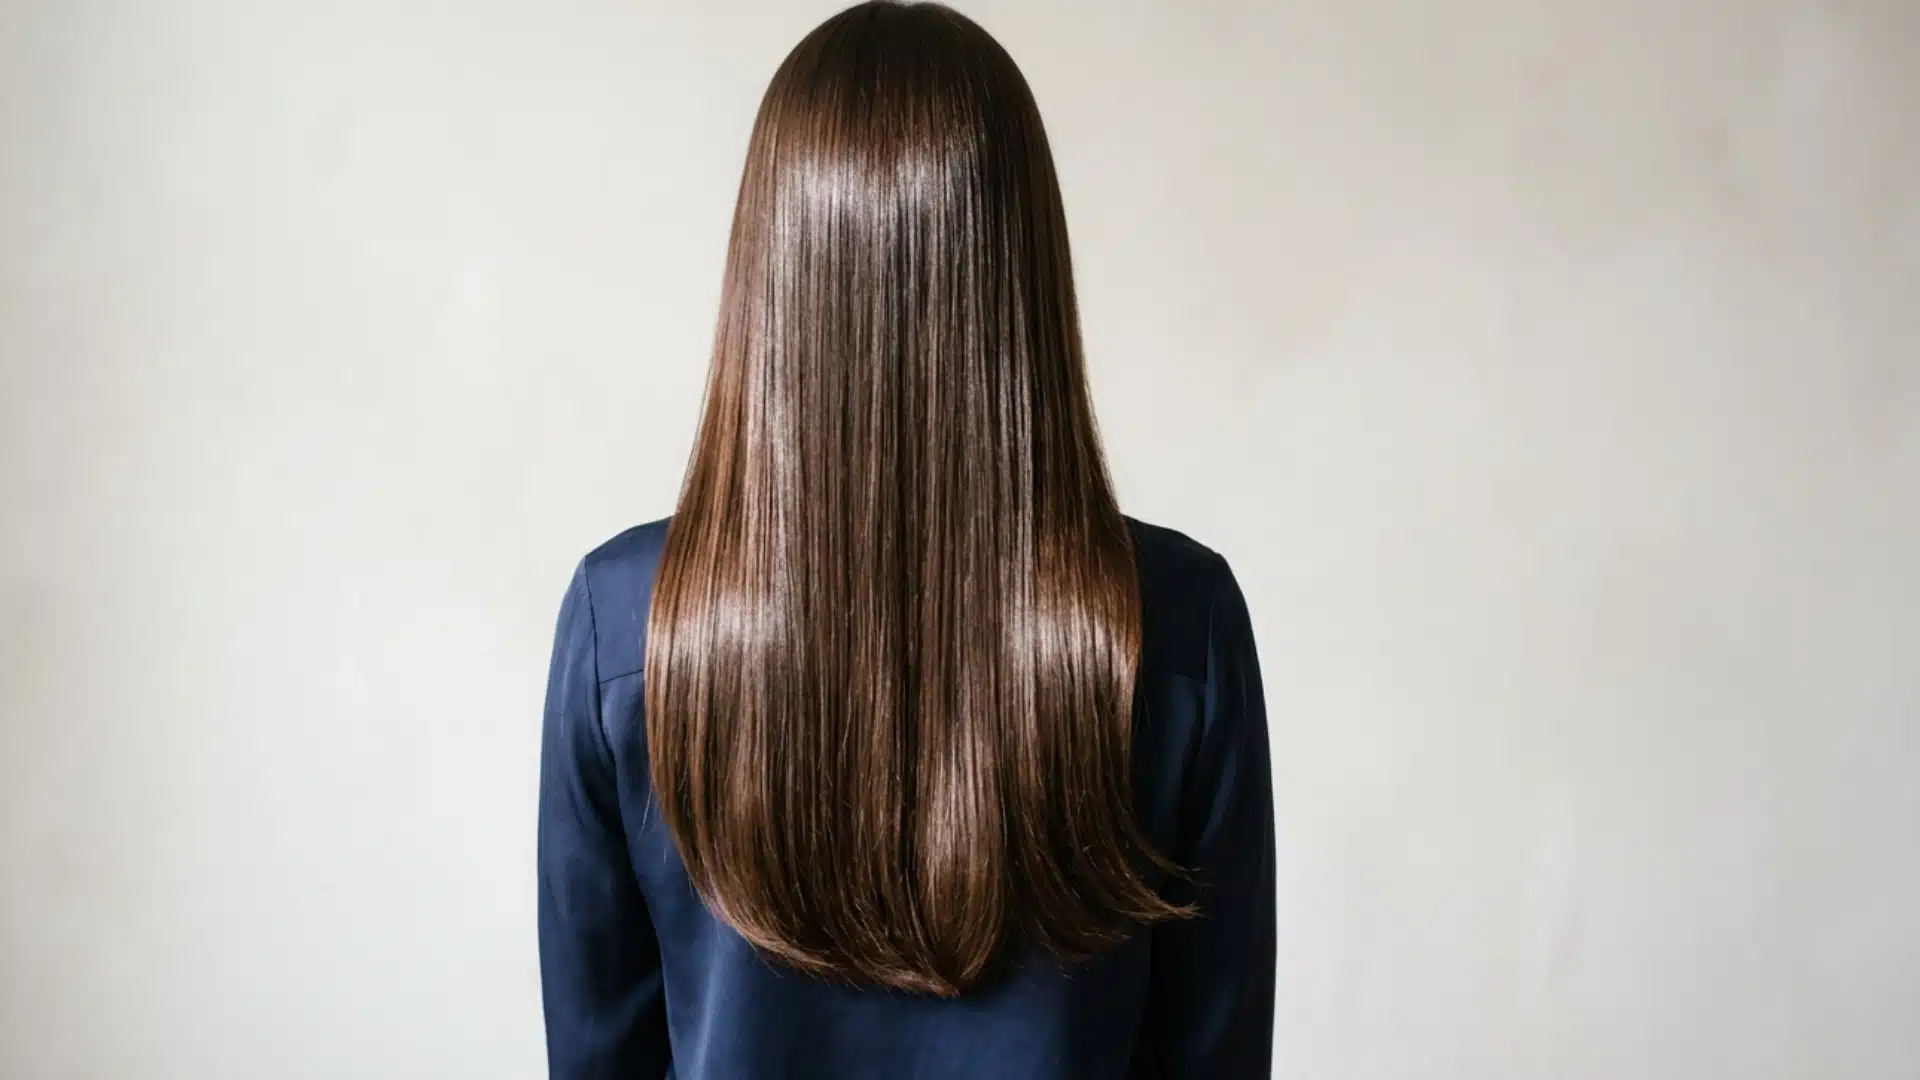
Glossing supports all other techniques by refreshing them. A toner-based treatment that improves shine and adjusts tone.
Application: The stylist applies a clear or tinted gloss to your hair after washing it. The formula coats each strand and seals the cuticle. It sits for around 20 minutes, then gets rinsed out.
You’ll notice the difference right away.
Why it matters: It refreshes faded color and corrects brassiness without heavy processing.
Best for: Dull or brassy tones
Styling tip: Air-dry occasionally to preserve shine.
Cost: $45 – $100 per session. It’s a quick, low-cost way to refresh your color.
8. Foliage
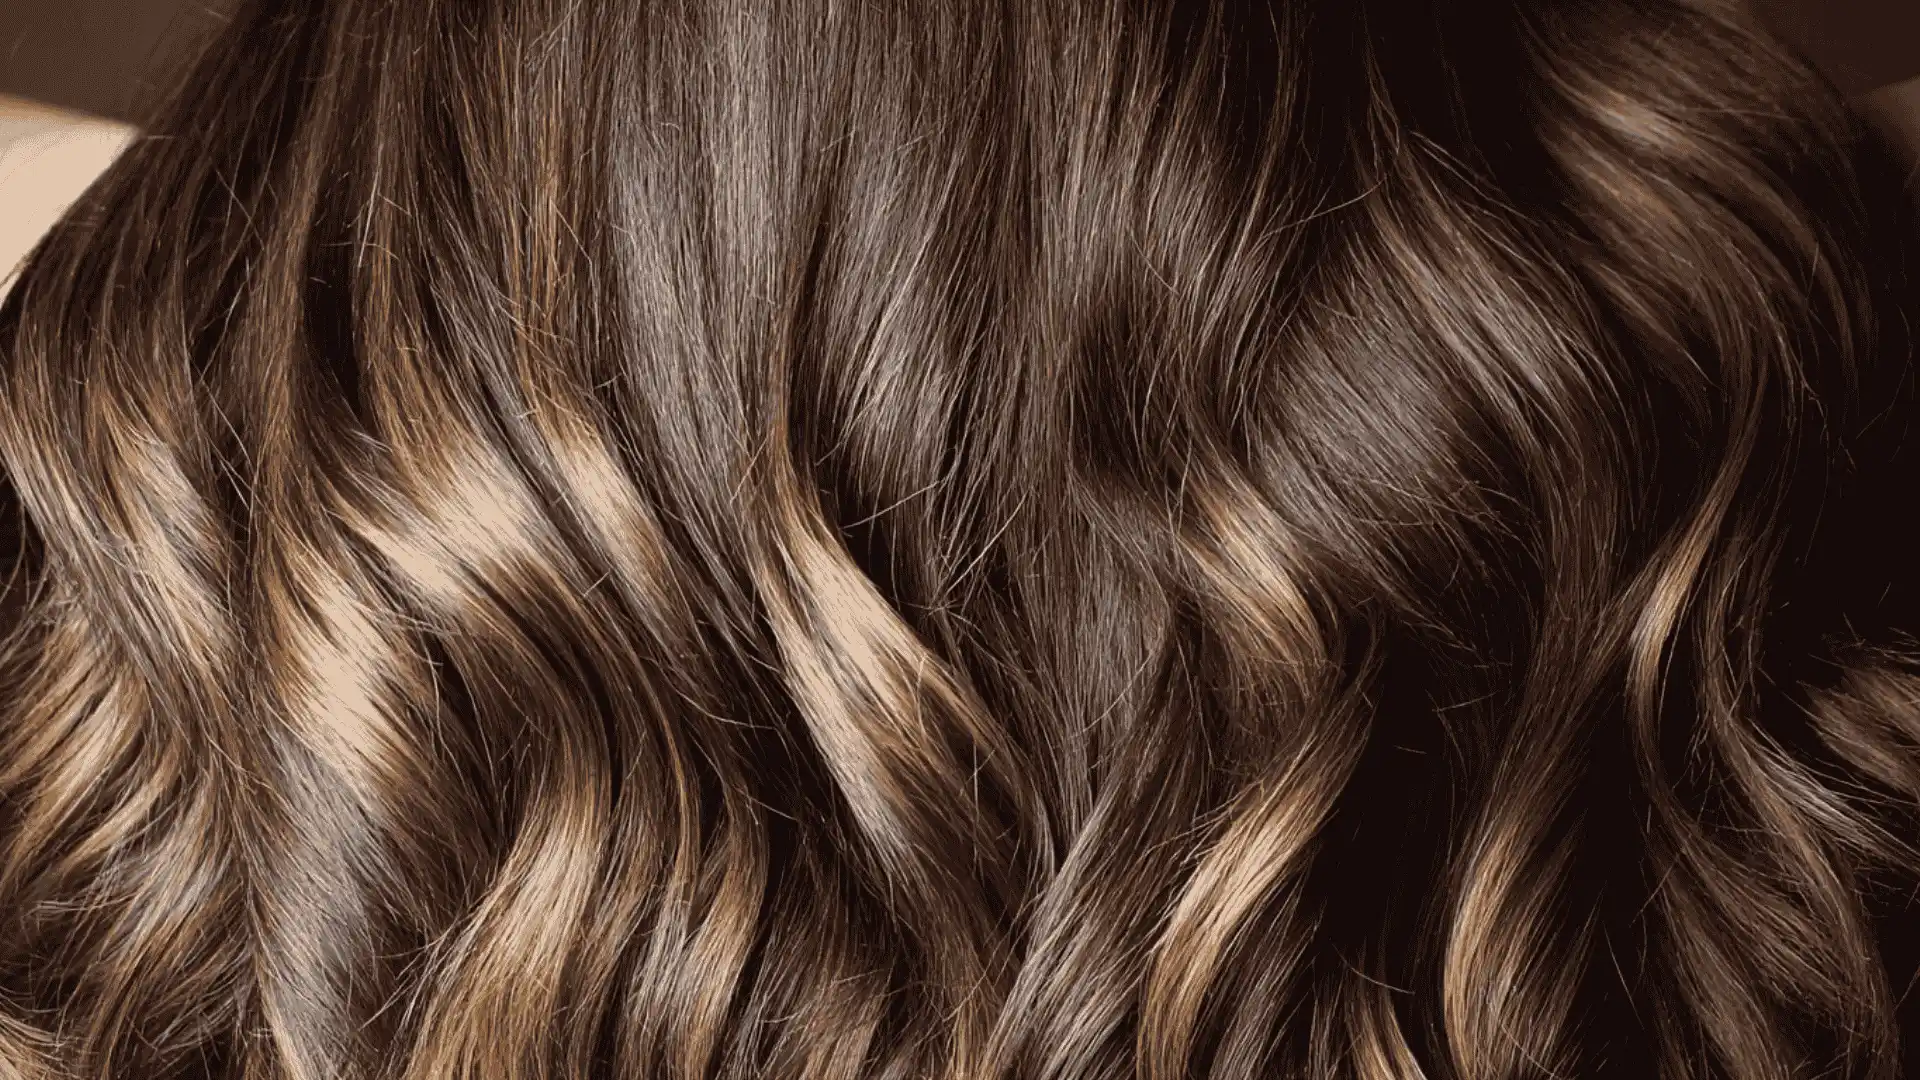
Application: A mix of balayage and foil highlights for a stronger lift.
The stylist first colors the hair freehand like a balayage, then wraps sections in foil to trap heat.
This gives you the soft, blended look of balayage with the brightness of traditional foils.
Ideal for: Deep brunettes wanting noticeable lightness.
Tip: Ask your stylist for root shadowing to soften regrowth
Cost: $200 – $380 per session, depending on hair density and length.
9. Dip-Dye
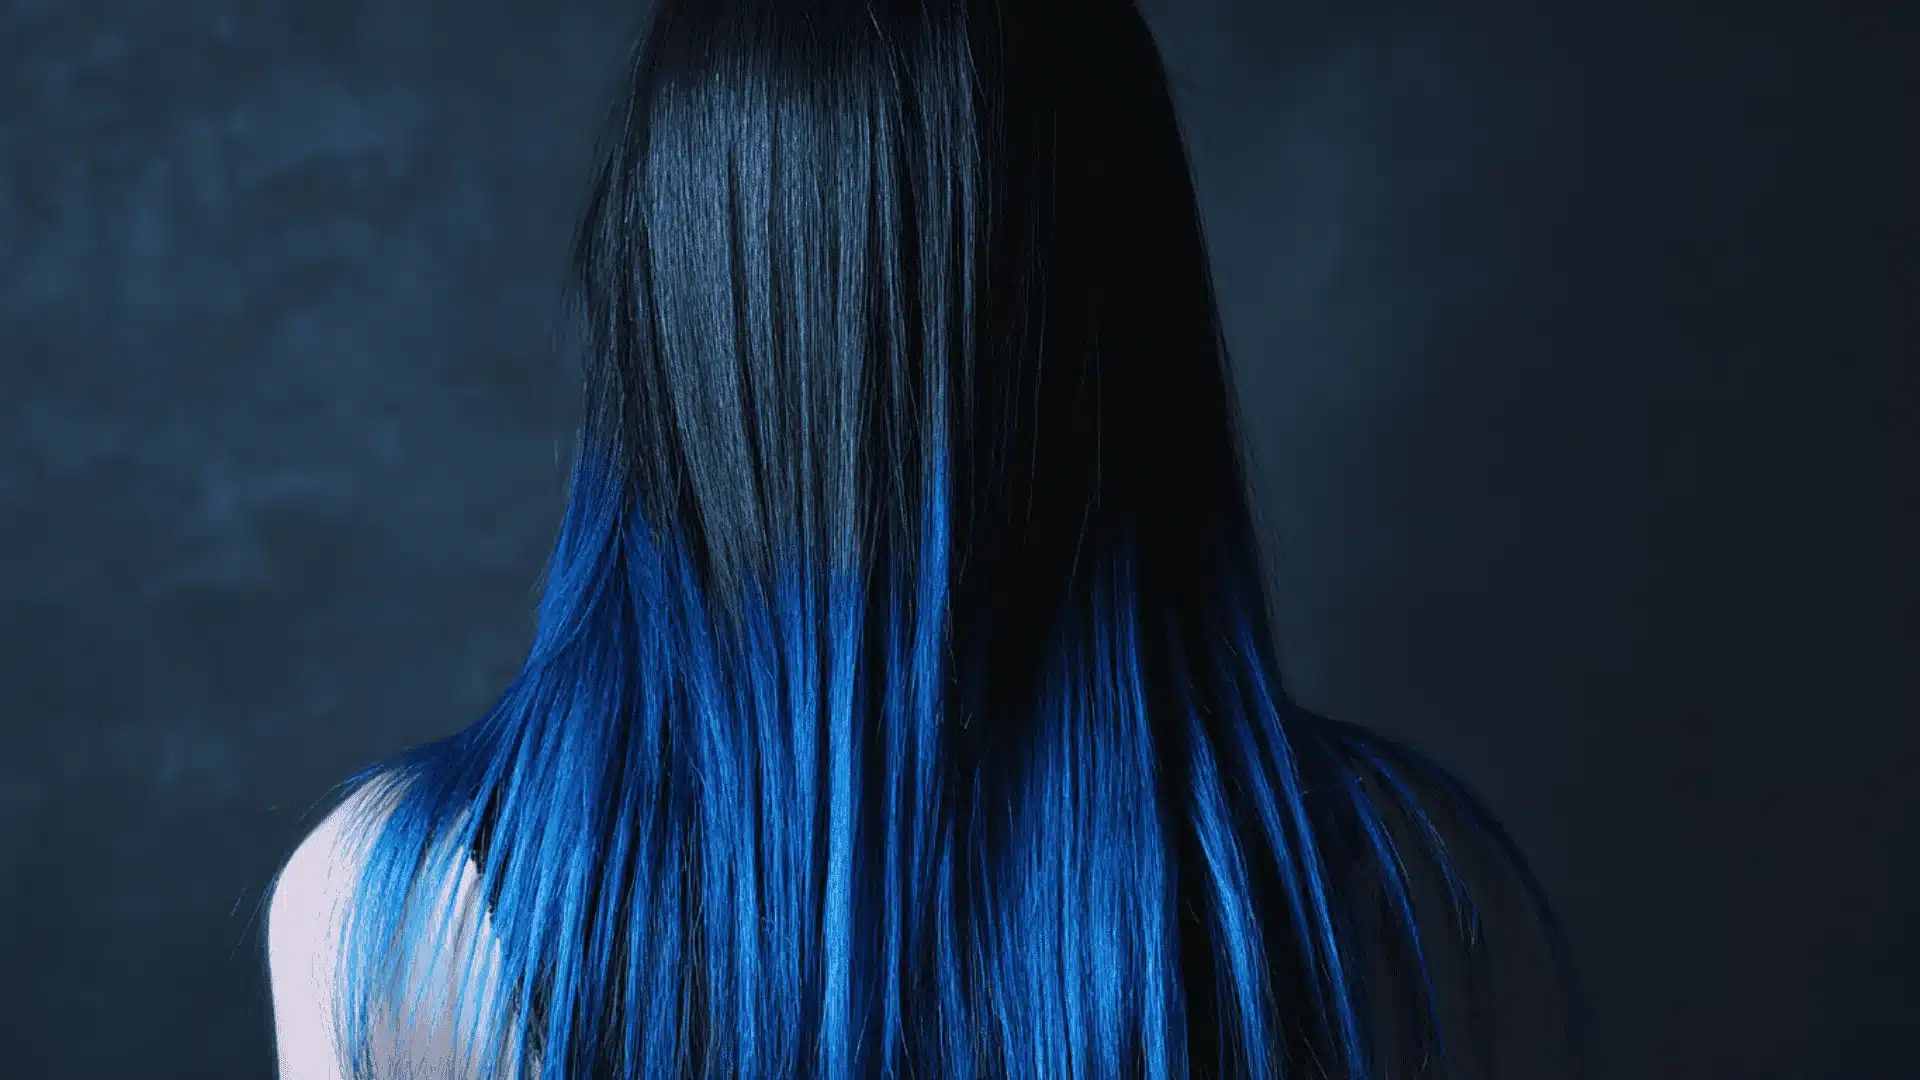
Application: Color is concentrated strictly at the ends.
The stylist saturates just the ends of your hair with a contrasting color. The line where the color starts can be sharp or slightly blended, depending on your preference.
The rest of the hair is left as-is. It’s one of the fastest color services you can book.
Why it’s fun: Low commitment and easy to cut off if you change your mind.
Style hack: Braids showcase end color beautifully.
Cost: $60 – $130 per session, depending on the color and length of hair dyed.
10. Chunky Highlights
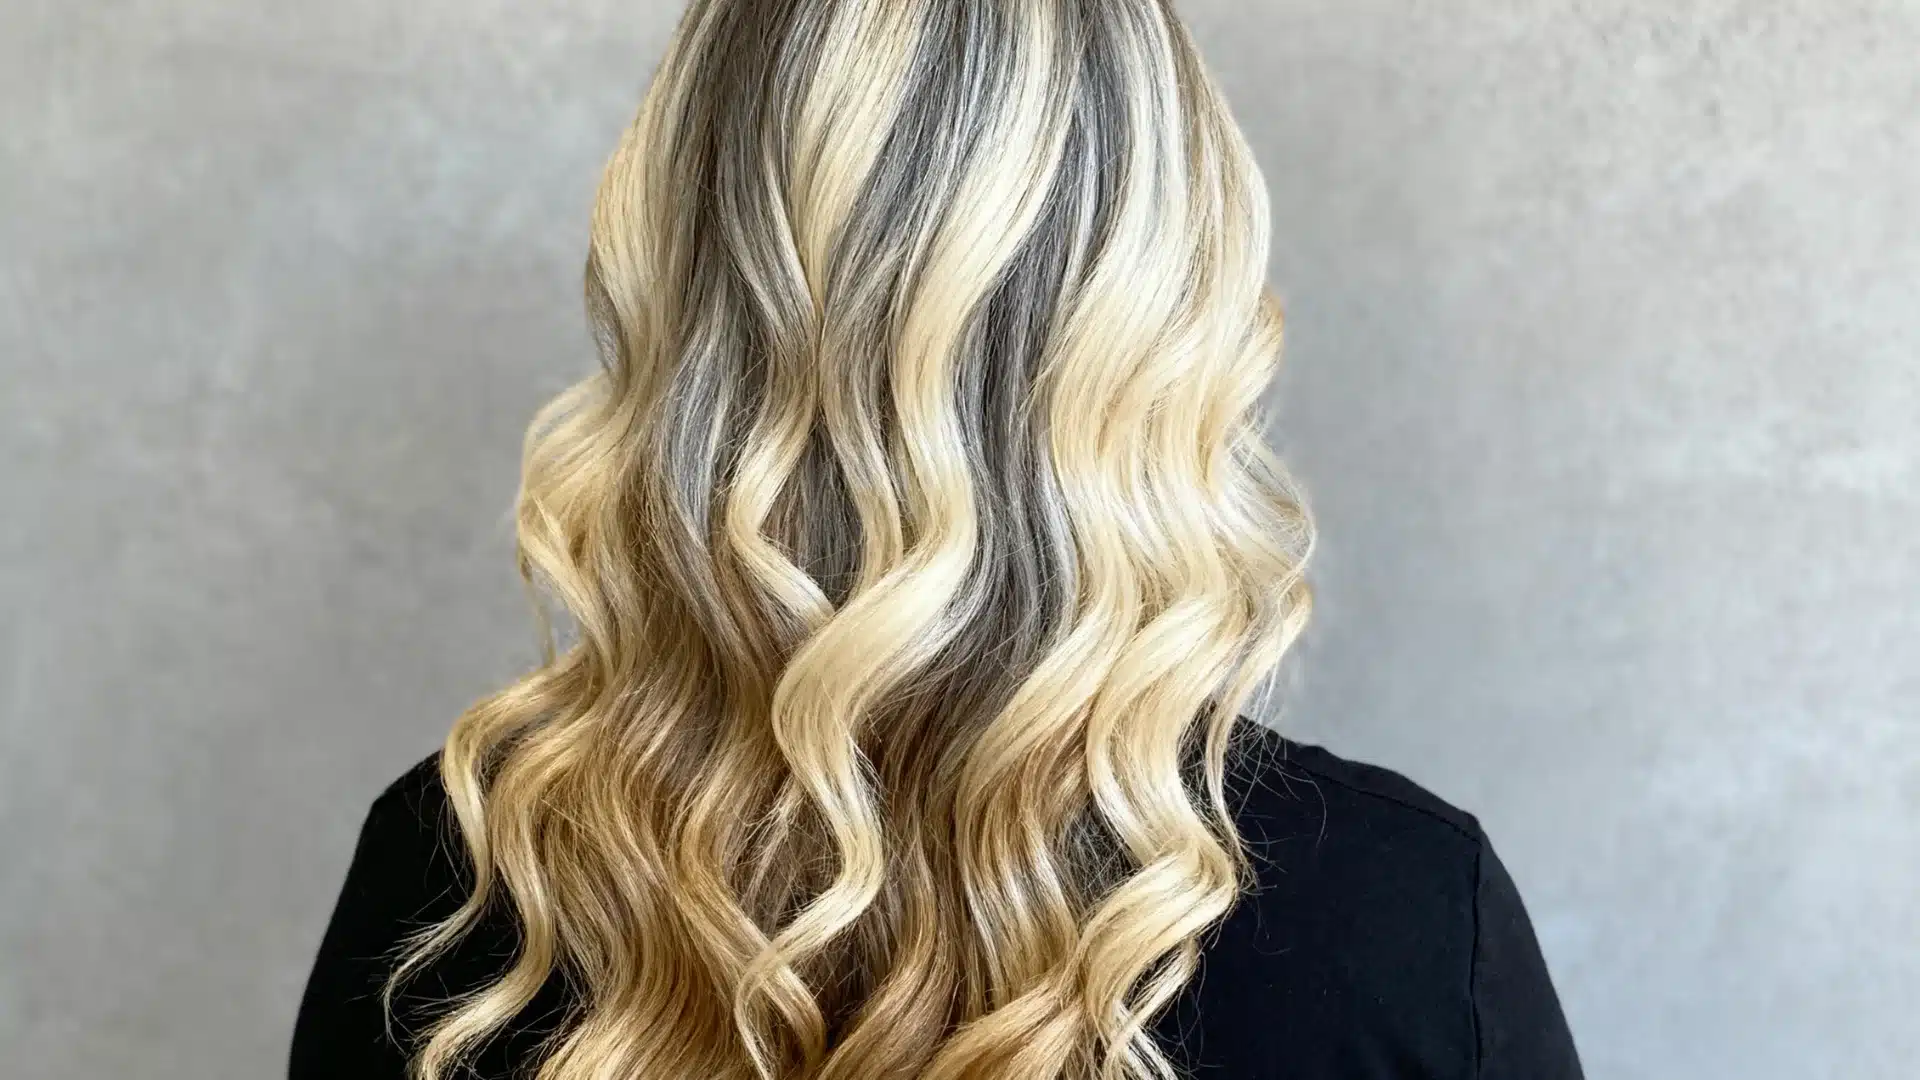
This type of highlight is making a confident comeback. You could see more of it in the future.
Application: The stylist selects wide sections of hair and wraps each in foil, applying lightener or color. The sections are noticeably thicker than standard highlights.
This gives strong, visible blocks of color that stand out clearly against the base shade.
The placement is usually even across the whole head.
Best on: Straight or blunt cuts.
Styling advice: Flat ironing emphasizes contrast lines.
Cost: $120 – $250 per session, depending on the number of sections and hair length.
11. Hair Contouring
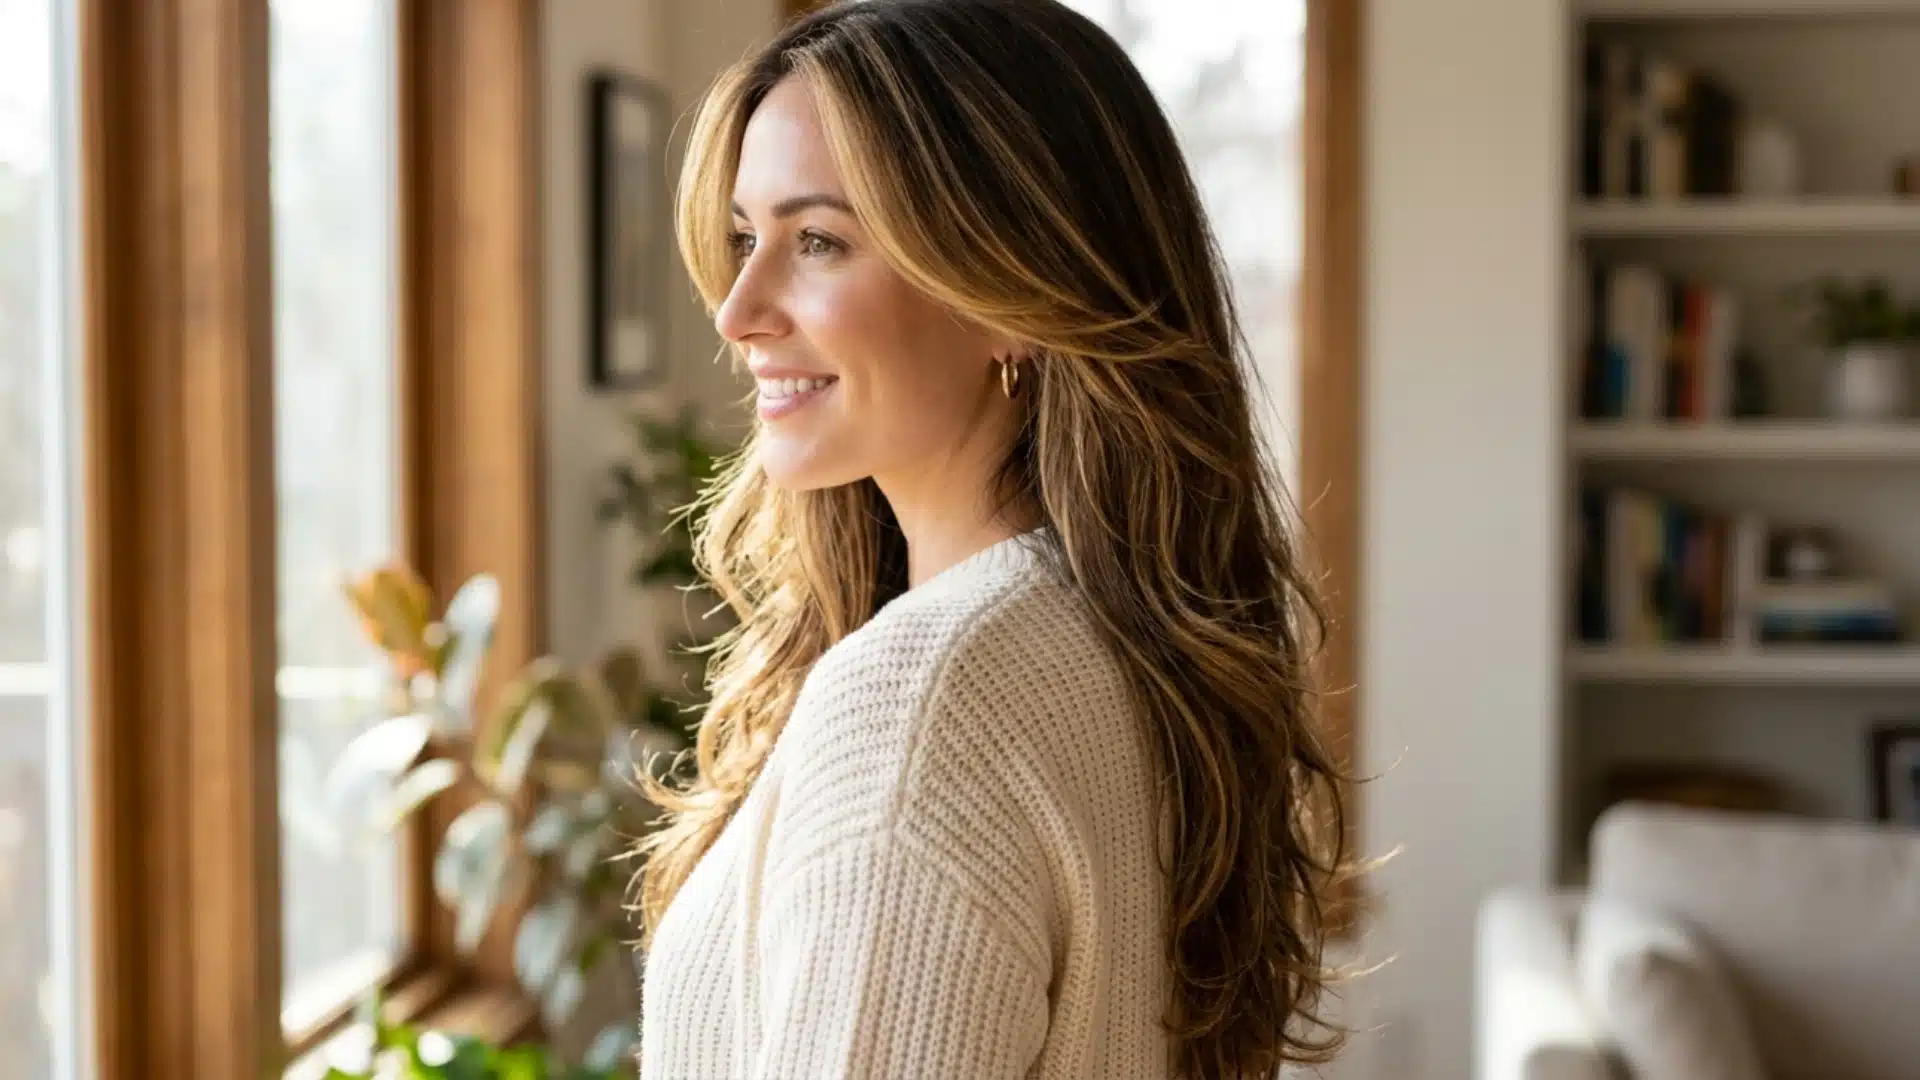
Application: Study your face shape before starting. Then place lighter shades where you want more brightness, and deeper tones where you need more shadow.
Color placement is designed to improve facial features. The goal is to use color the way a makeup artist uses light and shade.
Great for: Anyone wanting a subtle improvement without a full-color change.
Pro tip: Face-framing pieces look stunning in soft curls.
Cost: $150–$300 per session, depending on the amount of work the contouring requires.
12. Peek-a-boo Underlights
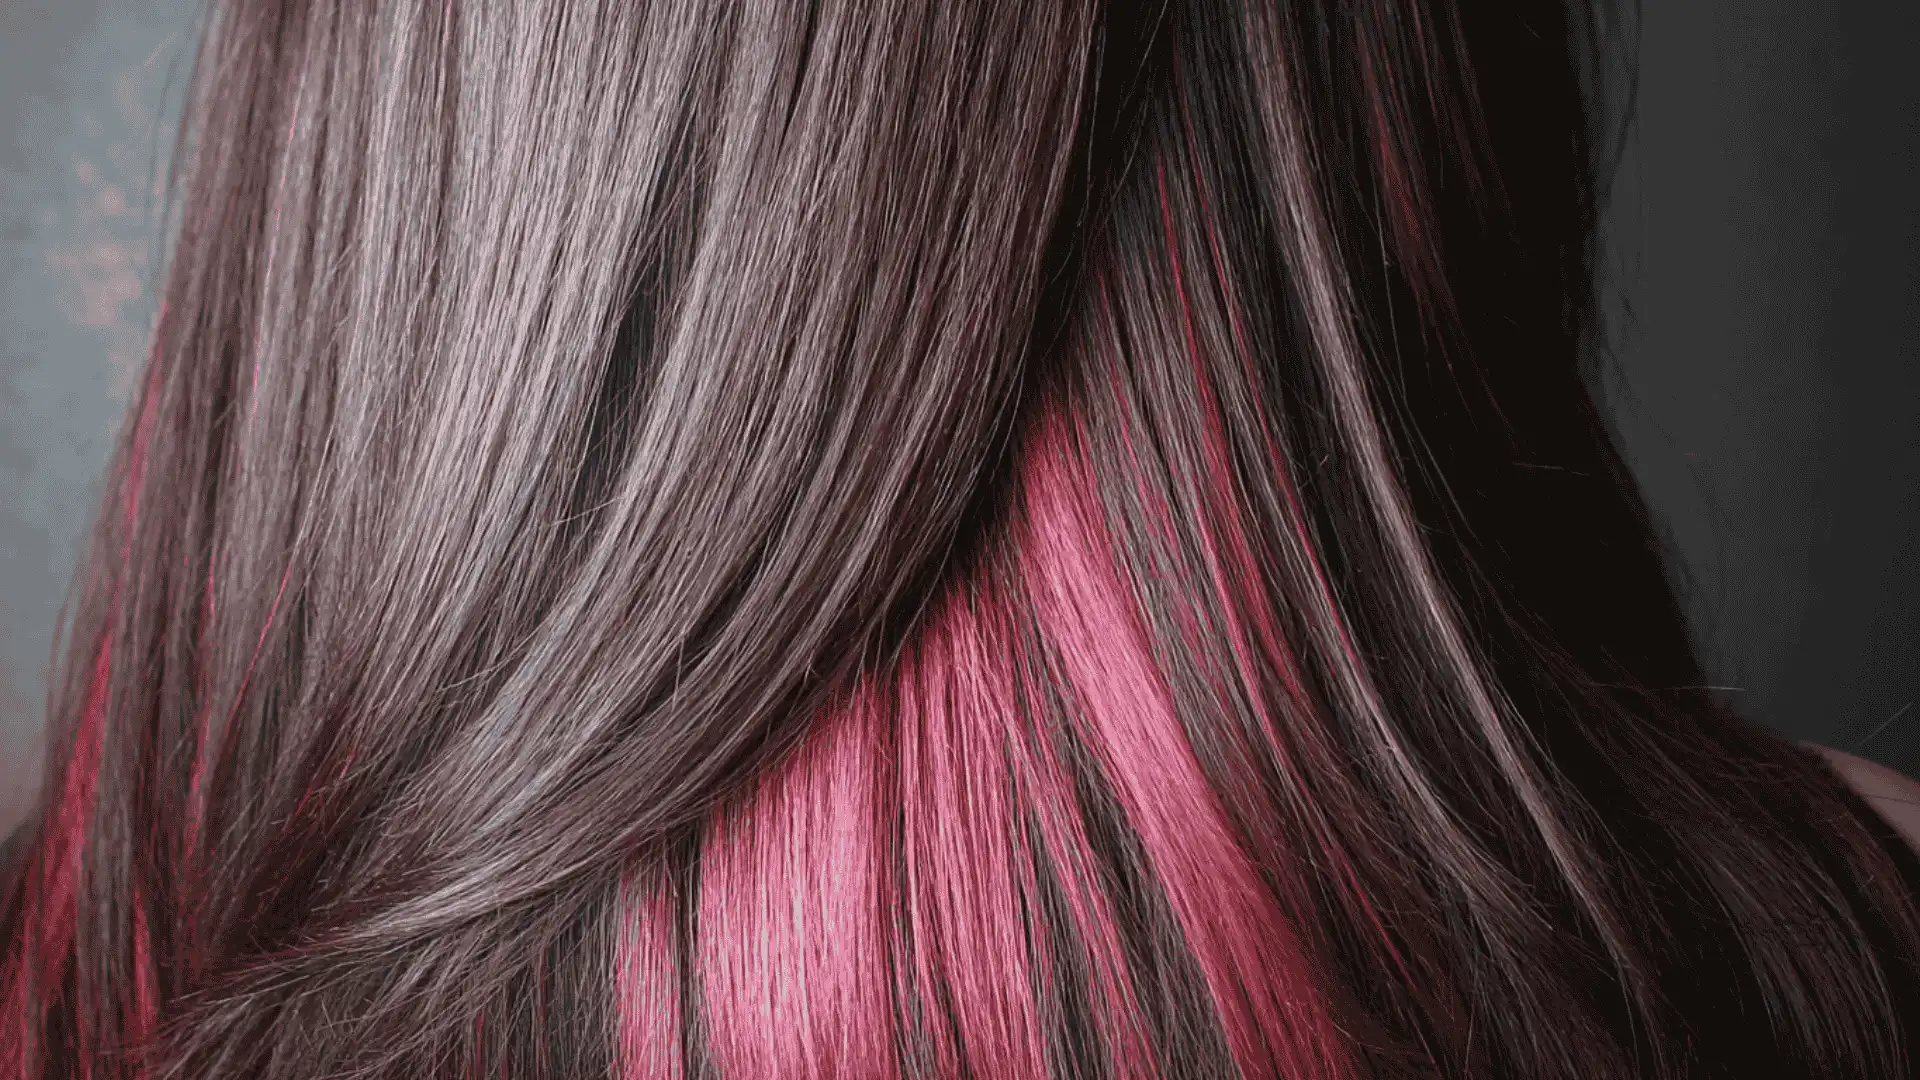
An opposite color is applied underneath the top layers.
Application: The stylist lifts the top layers of the hair and applies color only to the underneath sections.
These hidden pieces stay covered when your hair is down. But when you pull it up, tie it back, or let the wind catch it, the color shows through. It’s a two-in-one look.
Perfect for: Creative personalities who want flexibility. Half-up styles reveal the hidden pop.
Cost: $100–$220 per session, depending on the number of sections colored and the shade used.
13. Tortoiseshell (Ecaille)
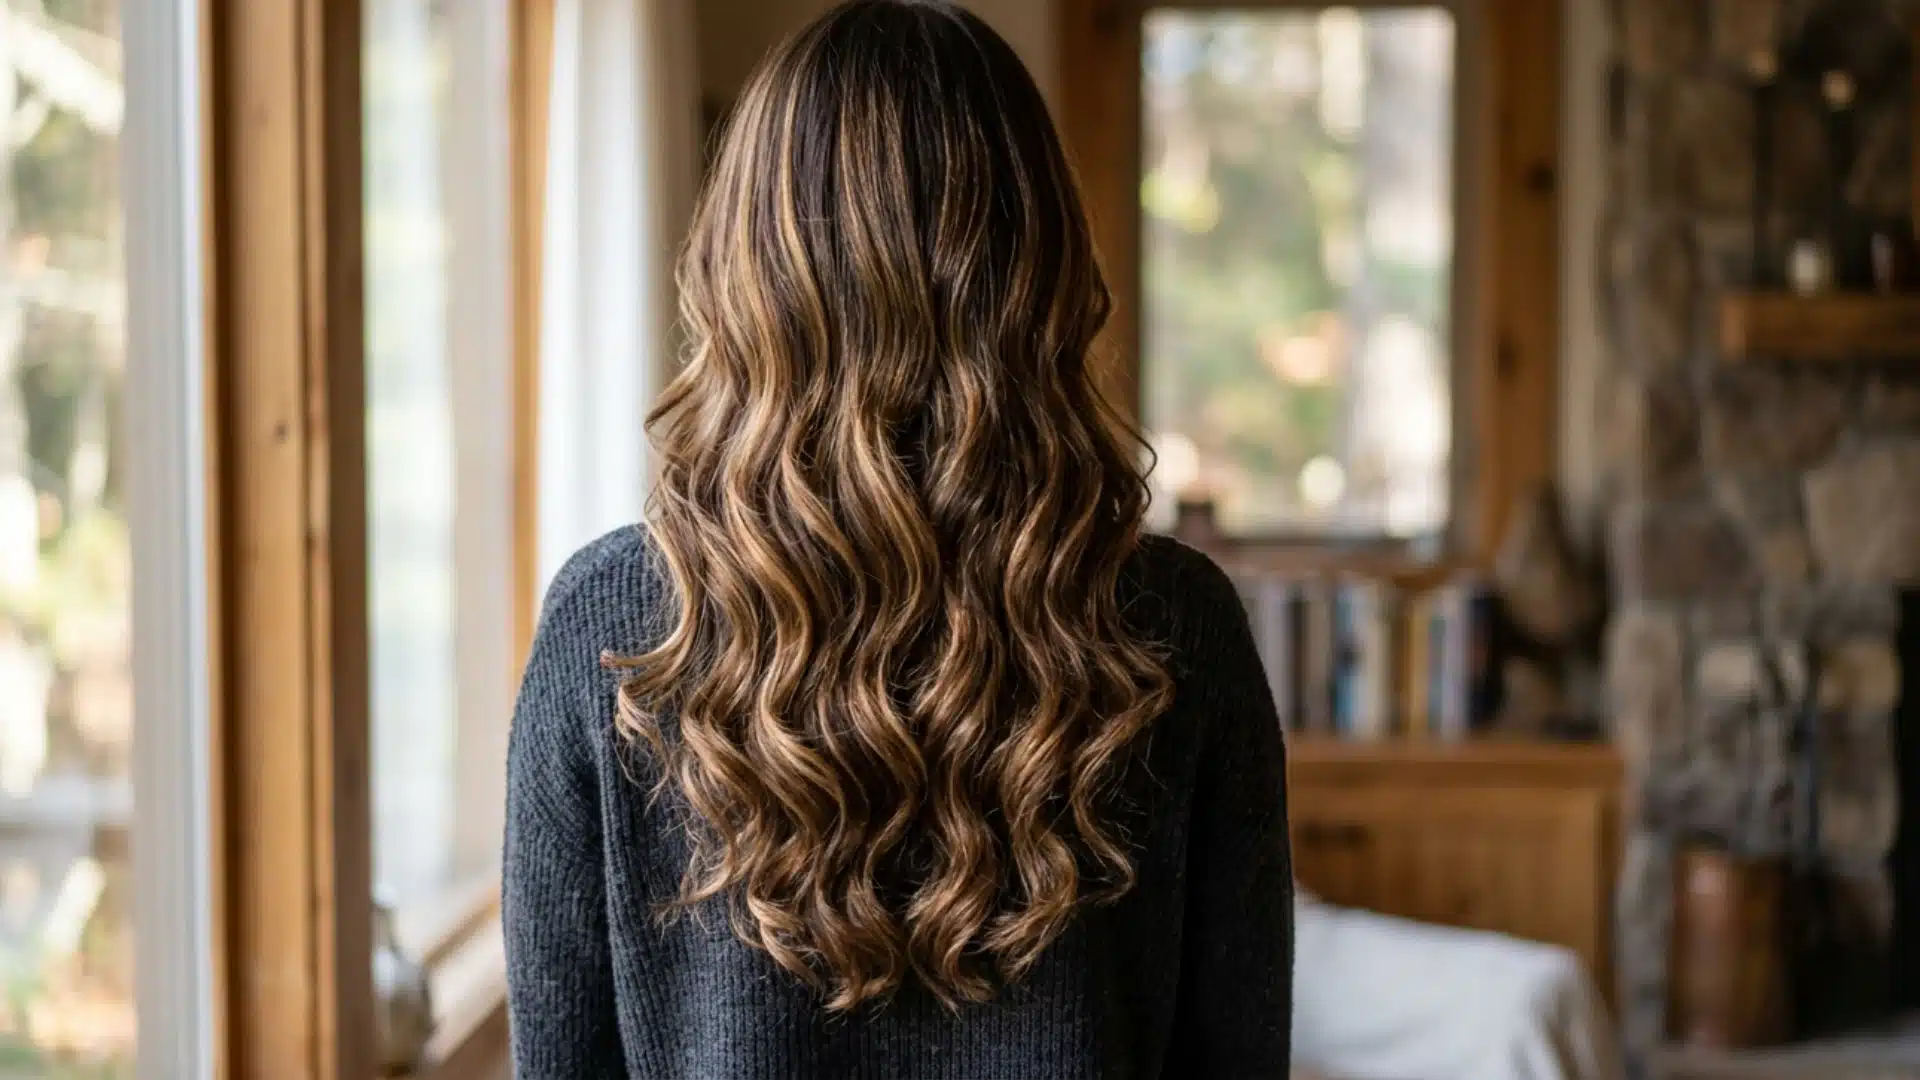
A mix of caramel, honey, and chocolate tones layered together.
Application: The stylist applies multiple subtle tones across different sections of the hair, layering them so they sit beside and on top of each other.
The shades are chosen to mimic the pattern of a tortoiseshell. Each tone is placed by hand, working from the roots down to give the color natural depth.
Why it works: It adds depth without extreme contrast. This is one of the most dimensional hair coloring techniques for brunettes.
Best choice: Medium to long layered hair.
Cost: $180 – $350 per session, depending on the number of tones and hair length.
Choosing the Right Hair Coloring Technique
Choosing among different hair coloring techniques can feel a bit confusing at first.
Here’s a simple way to look at it:
| Factor | Low Commitment | Medium Commitment | High Commitment |
|---|---|---|---|
| Maintenance | Balayage, Tortoiseshell | Baby Lights, Color Melt | Chunky Highlights, Ombré |
| Boldness Level | Hair Glossing, Contouring | Foliage, Teasy Lights | Dip-Dye, Chunky Highlights |
| Hair Type | Fine: Baby Lights Thick: Balayage | Wavy: Color Melt Straight: Foliage | Curly: Contouring Long & Dense: Ombré |
| Budget | Fewer salon visits | Moderate upkeep | Longer sessions, more product, skilled placement |
Know This Before the First Appointment
Going in without knowledge can waste your time and money. Know your goal before you sit in the chair.
- Your natural hair color and texture affect how hair coloring techniques will turn out on you.
- Some looks need more than one session to get right, especially on dark or thick hair.
- Always tell your stylist about any previous color treatments. It changes what they can safely do.
- Colored hair needs different care. Budget for color-safe products to keep the results looking fresh.
What to Ask Every Stylist Before Having a Hair Color?
- Will this hair coloring technique work with my natural base and texture?
- How many sessions will I need to get the result I want?
- What happens if my hair doesn’t lift evenly?
- How long will the color last before I need to come back?
- What products should I use at home to keep the color fresh?
Ask these questions before you sit in the chair. A good stylist will answer all of them clearly and honestly.
Final Thoughts
Picking the right technique is all about matching your hair’s natural look with your personal style.
If you choose a soft balayage or a bold dip-dye, the best results come from knowing your hair texture.
Don’t feel like you have to pick the trendiest option.
Instead, think about your daily routine and how much work you want to put into keeping it looking good.
Choosing a style that fits your life makes the beauty last much longer.
Frequently Asked Questions (FAQ’s)
1. What is the Least Damaging Hair Color Technique?
Balayage and glossing are the least damaging, as they avoid full-head bleach and require fewer touch-ups over time.
2. Is it Better to go Lighter or Darker to Cover Gray Hair?
Darker shades cover gray more effectively, while subtle highlights blend grays naturally with less maintenance.
3. What Not to do Before Dying Hair?
Avoid heavy oils, excessive heat styling, or washing immediately before dying hair.
4. How Long Should a Hairdresser Leave Color on?
Processing time varies, but most professional hair color lasts 30 to 45 minutes.
5. How do I Know if my Hair is Too Damaged to Color?
If your hair stretches and doesn’t bounce back when wet, or feels mushy, it likely needs a protein treatment first. Coloring over severely damaged hair can cause breakage.