
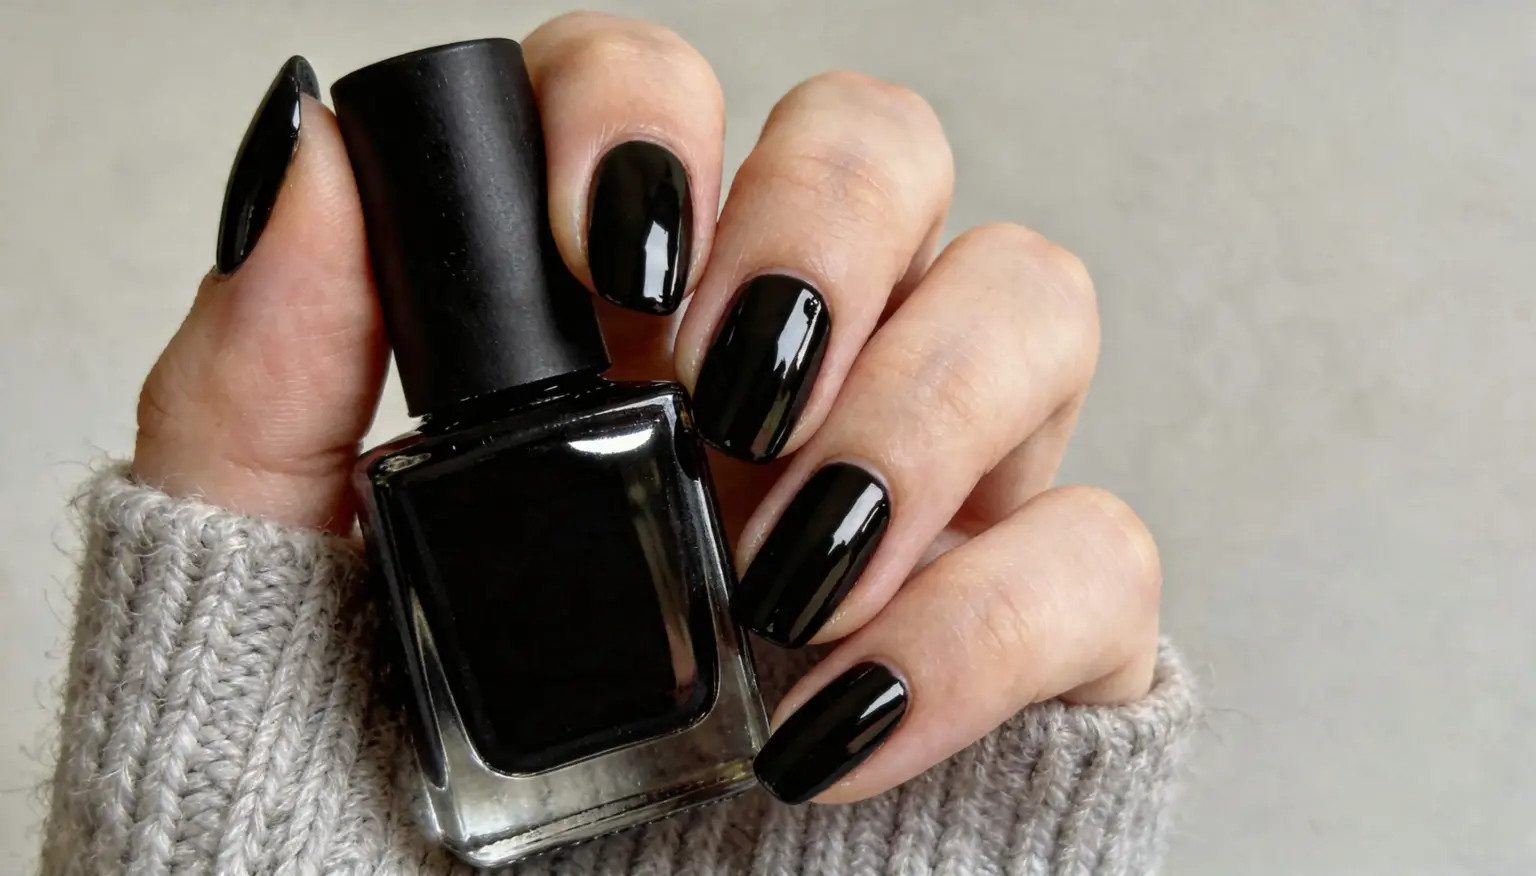
Do you have a friend who shows off her nails a full two weeks after her salon visit, still glossy, and not even a chip?
And you’re thinking, how? It’s always a gel manicure.
But what is a gel manicure, really?
It uses a special gel-based polish that’s cured under a UV or LED, which just doesn’t smudge, and doesn’t lose it’s glossiness.
Let’s know more about it before you get your gel manicure appointment.
So, What is a Gel Manicure?
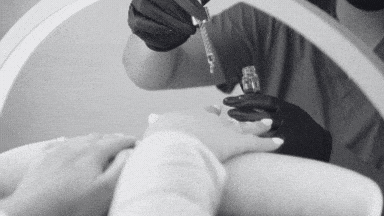
A gel manicure is a professional nail treatment where a gel-based polish is applied in layers: first a base coat, then color, and lastly a topcoat.
Each layer is cured under a UV or LED lamp for 30 to 60 seconds.
This is called the curing process, which hardens the gel almost instantly, giving your nail a perfect finish and making it durable.
Have you ever heard the termgel nails?
But is it different from a gel manicure? No. Gel nails and gel manicures refer to the same thing.
The way the gel actually adheres to the nail, creating a sealed, chip-resistant layer that air-dry polish can never!
How do Gel Nails Work? (Step-By-Step)
See, when we try something for the first time, it can feel a little obnoxious, and when it comes to something as sensitive as our nails, we’re worried.
Knowing each and every step of getting a gel manicure helps you know what you’re signing up for.
And this can also help you understand what to ask for, what to avoid, and why certain parts of the process matter.
Step 1: Nail Prep
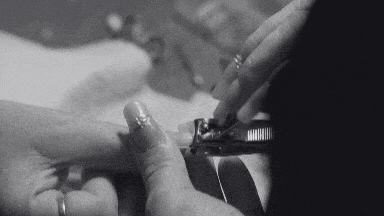
Prepping your nail is the most important step. NEVER SKIP IT.
This will decide how long your gel actually lasts.
Your nail technician will start with trimming, filing, and shaping your nails, then push back your cuticles. After that, they’ll lightly buff the surface of each nail to remove shine.
This creates a slightly rough texture that gives the gel something to grip onto.
If you’re prepping at home, don’t over-buff. One or two gentle passes is enough, since buffing too hard thins your natural nail.
Step 2: Applying the Base Coat
Once your nails are prepped, a thin layer of gel base coat goes on first.
This isn’t just a primer, but it bonds the color gel to your natural nail. It goes on thin, almost watery, and then sits under the UV or LED lamp for around 30 to 60 seconds to cure.
You’ll notice it doesn’t feel completely dry the way regular polish does, and it’s the necessary for the next step.
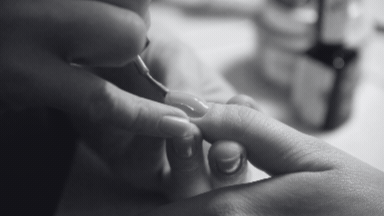
Step 3: Color Application (Usually Two Coats)

Your chosen gel color is applied in two thin coats, with a cure in between each one.
Thin layers are used because thick applications lead to uneven curing, bubbling, and a tacky finish. Each coat goes under the lamp for 30 to 60 seconds, and by the end, you’ve a rich, even color.
If your color looks a little sheer after the first coat, go thick on the second coat.
Step 4: Sealing with a Top Coat
The topcoat gives the gel manicure that signature high-gloss finish and, more importantly, seals everything in.
It goes on just like the other layers and cures under the lamp for a final time.
Some top coats leave a sticky, cured layer called an inhibition layer, which your technician will wipe off with a cleanser to reveal the mirror-like shine underneath.
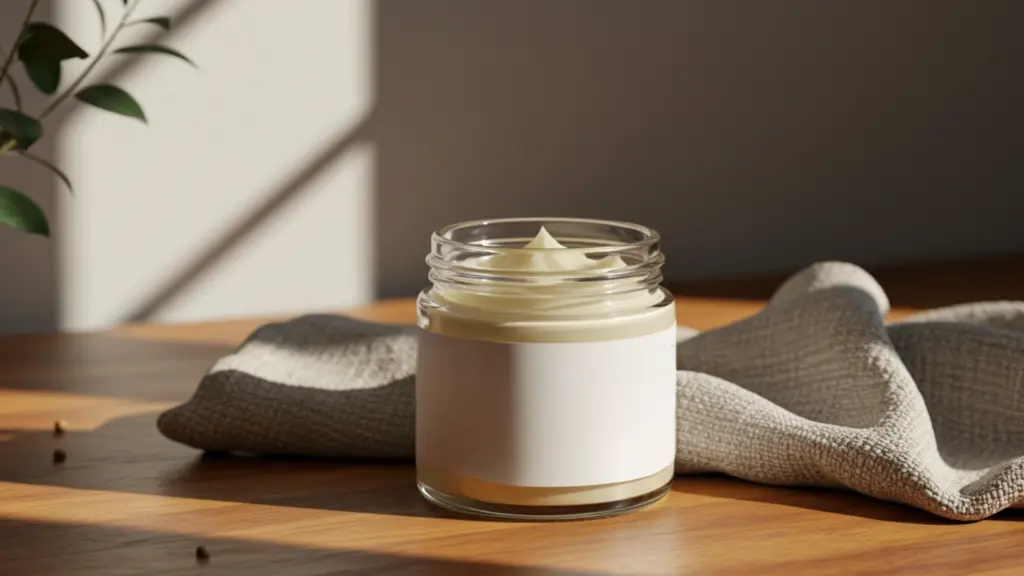
Step 5: And Lastly – Cuticle Oil (Don’t Miss)
Once everything is cured and clean, your nail tech will finish by massaging cuticle oil into each nail.
This feels like heaven. Dry, peeling cuticles make even a perfect gel set look rough.
Cuticle oil keeps the skin around your nails hydrated, which actually helps your manicure look better and last longer.
Get into the habit of applying cuticle oil every night before bed. It’s the single easiest thing you can do to extend the life of your gel manicure at home.
And How Long do Gel Nails Last?
On average, a gel manicure lasts anywhere from two to three weeks.
For some people with slower nail growth and good aftercare habits, even up to four weeks. And yes, that’s really true, not a typo.
While regular polish starts chipping within days, gel holds its shape, shine, and color for weeks.
That said, how long your gel actually lasts depends on a few things. And below are some tips to make your gel manicure last longer.
- Wear gloves when doing dishes or cleaning.
- Apply cuticle oil daily.
- Avoid using your nails as tools, such as to open cans or scratch off labels.
- Don’t pick or peel your gel.
- Moisturize your hands regularly.
How Much Does a Gel Manicure Cost?
A gel manicure typically costs between $30 to $60 at most salons, depending on your location, the salon’s experience level, and any nail art add-ons.
For high-end salons or intricate nail art, prices can go up to $100 or even more.
It’s pricier than a regular manicure upfront, but given how long it lasts, most people find it well worth it.
Gel Manicure vs Acrylic
| Gel Manicure | Acrylic Nails | |
|---|---|---|
| Look | Natural, glossy | Thicker, more dramatic |
| Durability | 2–3 weeks | 3–4 weeks |
| Flexibility | Flexible, natural feel | Rigid |
| Nail Health | Less damaging | More damaging |
| Removal | Acetone soak | Filing or acetone |
| Cost | $30–$100 | $35–$80 |
| Best For | Natural nail enhancement | Length and structure |
Benefits of a Gel Manicure
Have you ever redone your nails three days after painting them? If you have, then you know why gel manicures have become the go-to today.
The importance lies in how they hold up in real life, day to day.
- Lasts 2 to 3 weeks.
- Zero chipping or smudging.
- Dries instantly under the lamp or under UV light.
- High-gloss, salon-quality finish, even when you DIY it.
- Stronger, more protected nails.
- Grows out cleanly and evenly.
- Looks freshly done for weeks, without the ugly retouch.
- Less frequent salon visits needed.
But are Gel Manicures Safe for Your Nails?
Gel manicures are generally safe, but only when done correctly and removed properly.
The biggest risks come from improper removal, over-buffing during prep, and skipping breaks between appointments.
When done right, and that’s with good aftercare, you will know that it’s the best.
Nail Strengthening Tip: In between gel appointments, apply a keratin-based nail strengthener or a nourishing base coat. It helps rebuild the nail’s structure.
How to Remove a Gel Manicure Safely?
Removal is where most damage is caused to your nails.
Peeling or picking it off might be tempting, but it pulls layers of your natural nail along with it every single time.
Step 1: File the Top Coat
Lightly buff the shiny topcoat off the surface of each nail.
You’re not filing the whole gel off, just breaking the seal so the acetone can actually penetrate. This step will make the further processes easier.
Step 2: Soak Cotton in Acetone
Cut small pieces of cotton, and soak them in pure acetone.
Then place one directly on each nail. Pure acetone works faster and more effectively than regular nail polish remover.
Step 3: Wrap Each Nail in Foil
After you’ve put acetone-soaked cotton on your nail, wrap each finger in a small piece of aluminum foil to hold the cotton in place.
Leave them on for 10 to 15 minutes. The acetone needs time to fully break down the gel, so don’t rush.
While you’re waiting please apply some hand cream to the skin around the foil, acetone will cause dryness.
Step 4: Gently Push the Gel Off
And once it’s 10 to 15 minutes, start by gently sliding the cotton off.
And use a cuticle pusher to nudge the gel away. It should come off very easily. If it doesn’t, then wrap for another five minutes.
Do not force it.
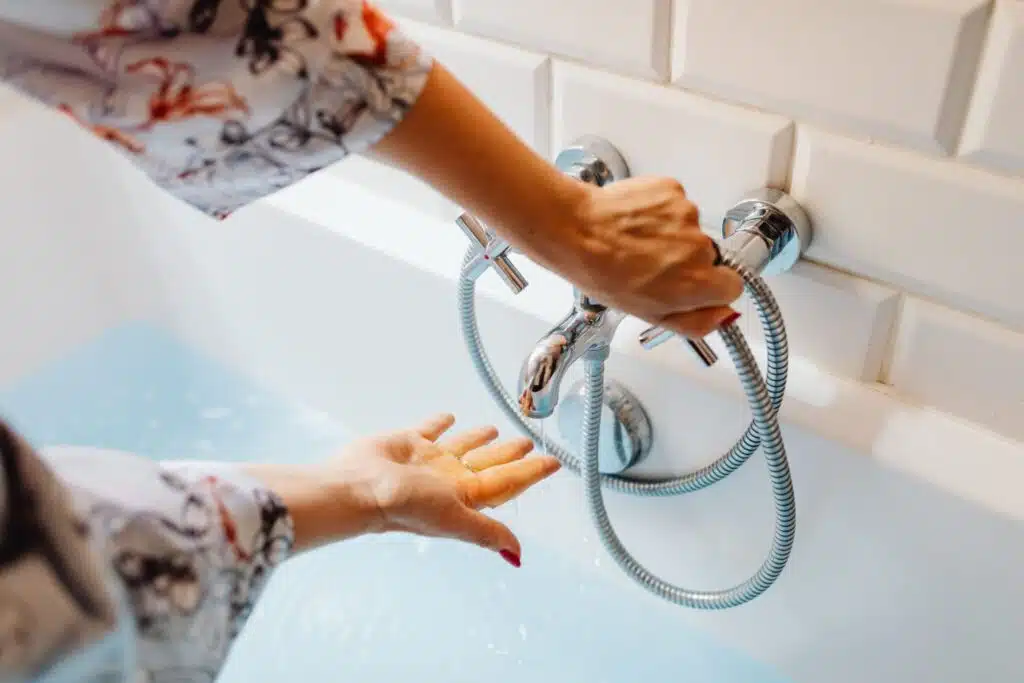
Step 5: Hydrate Immediately
Once all the gel is off, wash your hands and immediately apply cuticle oil and hand moisturizer.
Rehydrating your nails and skin straight away is healthy for your nails and hands, and it leaves them looking good.
Disclaimer: Repeated gel applications without breaks can thin and weaken your natural nails over time. If your nails feel brittle, sensitive, or start peeling after removal, that’s your cue to give them a rest before your next appointment.
Conclusion
So that’s pretty much everything you need to know.
Getting a gel manicure can be a self-care thing, but remember that the health of your natural nails always comes first.
Take breaks when your nails need it, keep that cuticle oil close, and never, ever peel your gel off.
If you have any questions, drop them below. We’d love to help you figure it out.
Frequently Asked Questions (FAQs)
1. Does Gel Manicure Mean Fake Nails?
No. Gel manicures are applied over your natural nails. Fake nails are acrylics or nail tips that add length and structure to your natural nails.
2. What is the Healthiest Manicure for Your Nails?
A regular manicure is the healthiest option, since it uses no harsh chemicals, offers no UV exposure, and can be easily removed.
3. Why are They Banning Gel Manicures?
Some regions are raising concerns about UV lamp exposure and certain chemicals in gel polish, both linked to skin and nail damage.
Long Lasting Gel Nail Polishes You Can Try
2. OPI