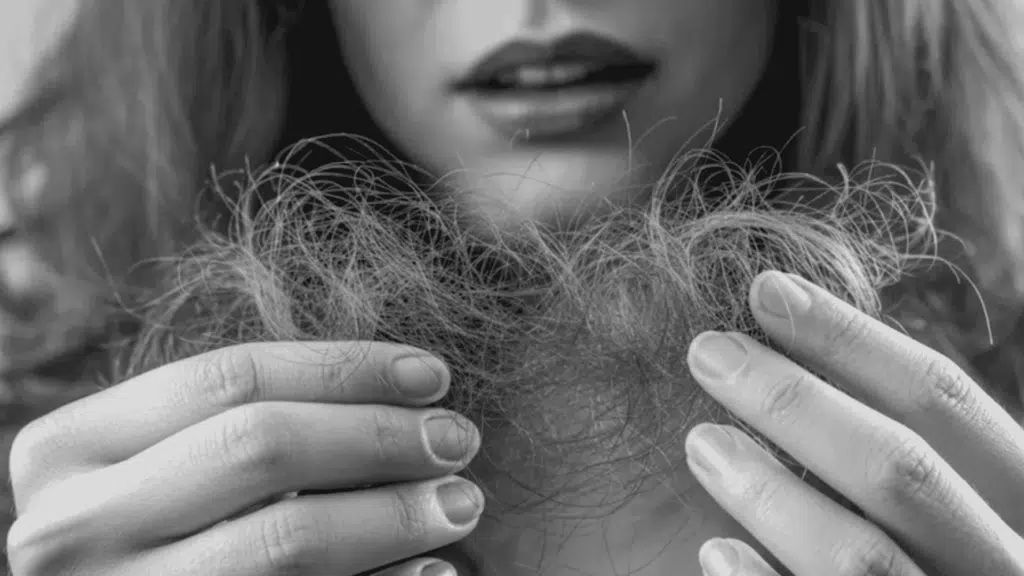


My scalp used to itch constantly, and I blamed everything: my shampoo, the weather, and stress.
The real culprit? Buildup, I didn’t even know it was there.
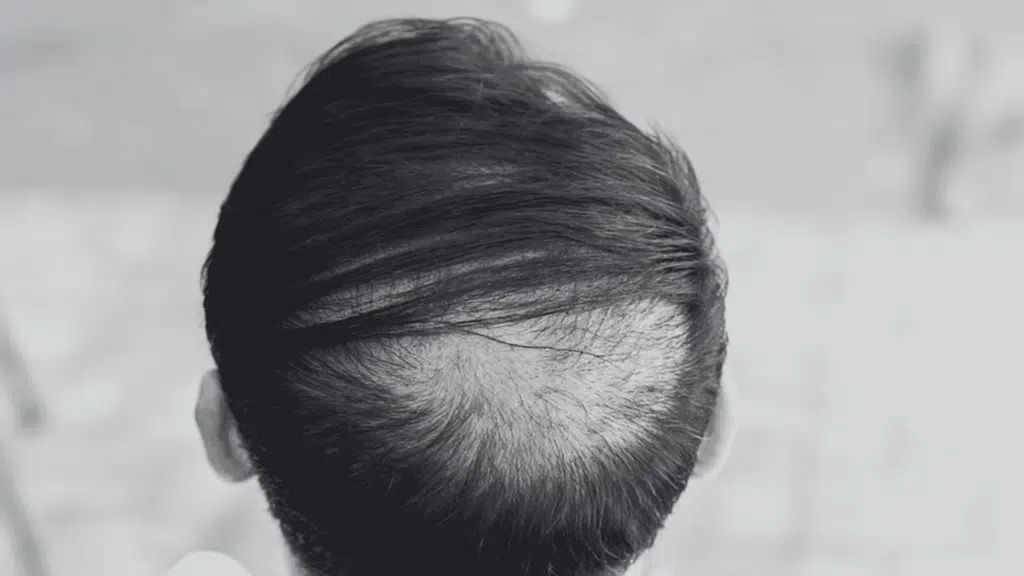
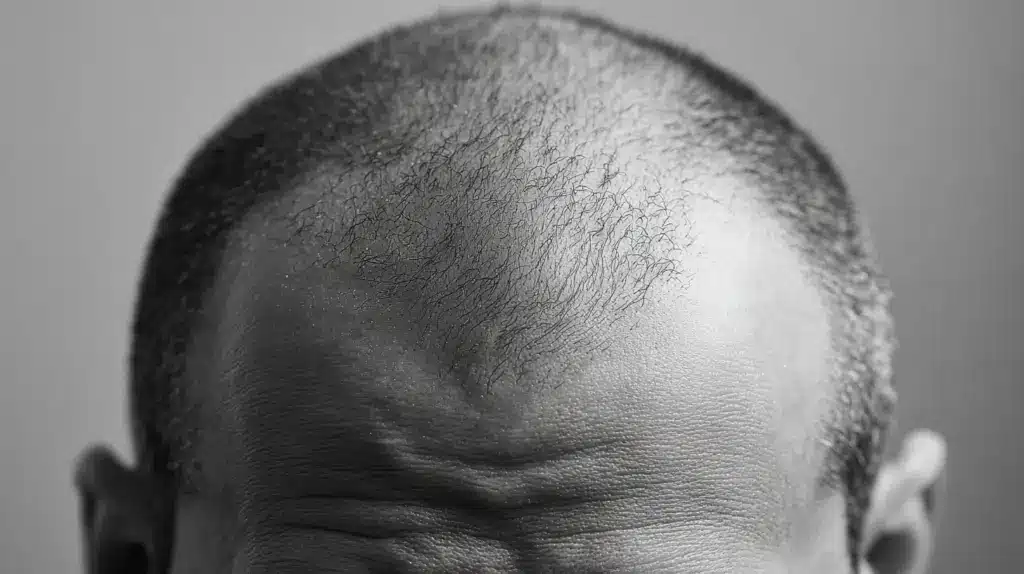
Your scalp sheds dead skin cells just like the rest of your body. But those cells don’t always fall away on their own.
They build up, mix with oil and product residue, and create a layer that clogs hair follicles.
The result? Flaky skin, itchy patches, and hair that looks dull no matter what you do.
Learning how to exfoliate scalp tissue properly can change all that. I’m going to show you exactly how.
What is Scalp Exfoliation?
Let me break this down simply. Your scalp collects dead skin, oil, and product residue that clog follicles.
Exfoliating clears this buildup using either physical scrubs or chemical treatments.
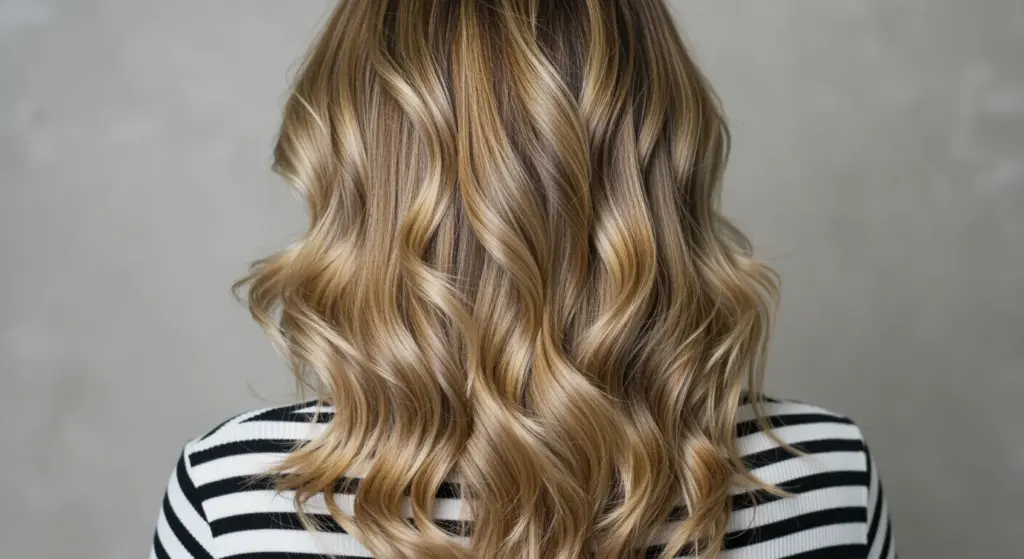
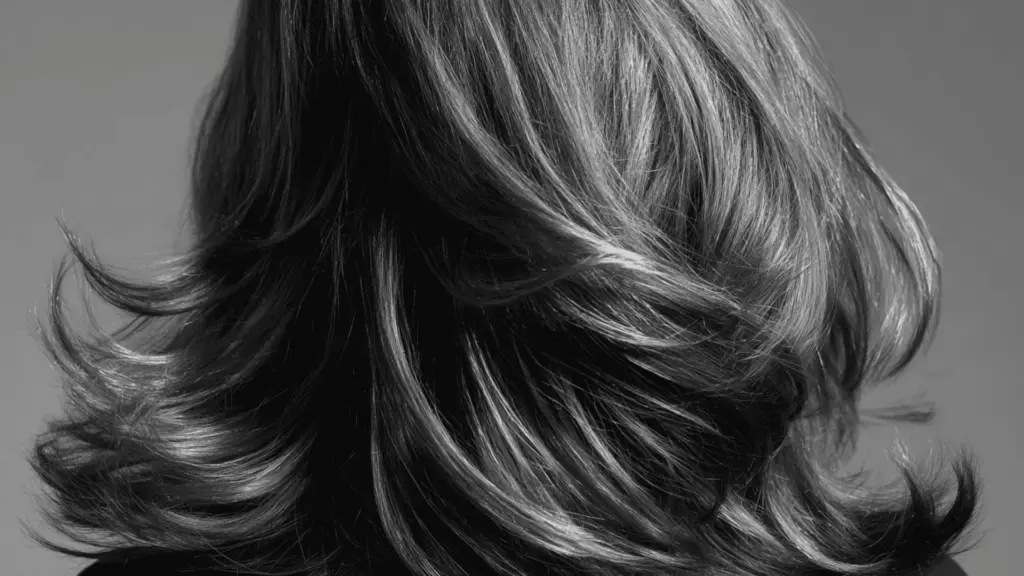
The process takes minutes but makes a real difference in scalp health and hair appearance. The change in my hair surprised me the first time.
You’ll notice less itchiness, fewer flakes, and hair that looks shinier from the roots. But before you start, it helps to understand exactly why your scalp needs this care.
Why Your Scalp Needs Exfoliation?
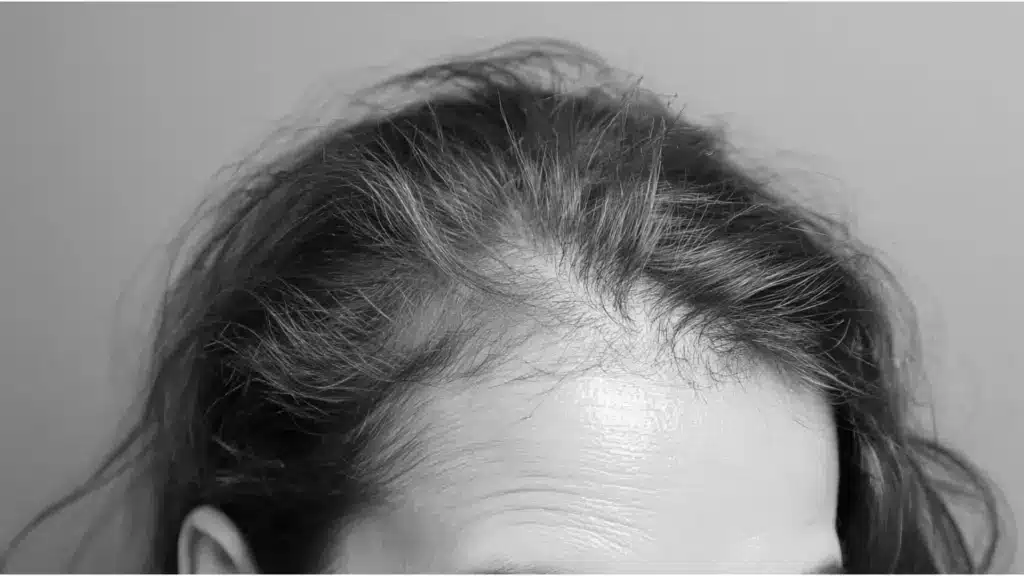
Your scalp is skin. I think people forget this sometimes.
Just like your face, it sheds dead cells that need to be cleared away. But hair makes it harder for those cells to fall off naturally.
Add in oil, sweat, and styling products, and you’ve got buildup.
This layer clogs your follicles, leading to flaking, itchiness, and dull hair. Your scalp can’t breathe, and your hair products can’t work properly either.
I used to skip this step myself until I saw how much cleaner my scalp felt afterward.
Benefits You’ll Notice:
- Reduces flaking and dandruff
- Improves blood flow for healthier hair growth
- Clears clogged follicles
- Helps products absorb better
- Relieves itchiness from buildup
Types of Scalp Exfoliation
There are three main ways to exfoliate your scalp, and they work differently. Here’s how they compare:
| Type | How It Works | Best For | Examples |
|---|---|---|---|
| Physical | Uses grainy scrubs or tools to manually remove dead skin through friction | Oily scalps, those who like hands-on control | Sugar scrubs, salt scrubs, silicone brushes |
| Chemical | Uses acids to dissolve dead skin cells without scrubbing | Sensitive scalps, those prone to irritation | Salicylic acid, glycolic acid, lactic acid |
| Enzymatic | Uses natural enzymes to break down proteins in dead skin gently | Dry or reactive scalps, beginners | Papaya enzymes, pineapple enzymes, pumpkin enzymes |
I personally alternate between physical and chemical depending on the season.
You can pick one method or switch between them depending on what your scalp needs. Let’s get into the step-by-step process.
How to Exfoliate the Scalp Effectively?
Getting it right makes all the difference. Whether you go with a scrub or a chemical treatment, the process is simple once you know the steps.
For me, following these exact steps changed everything and helped me out.
Physical Exfoliation
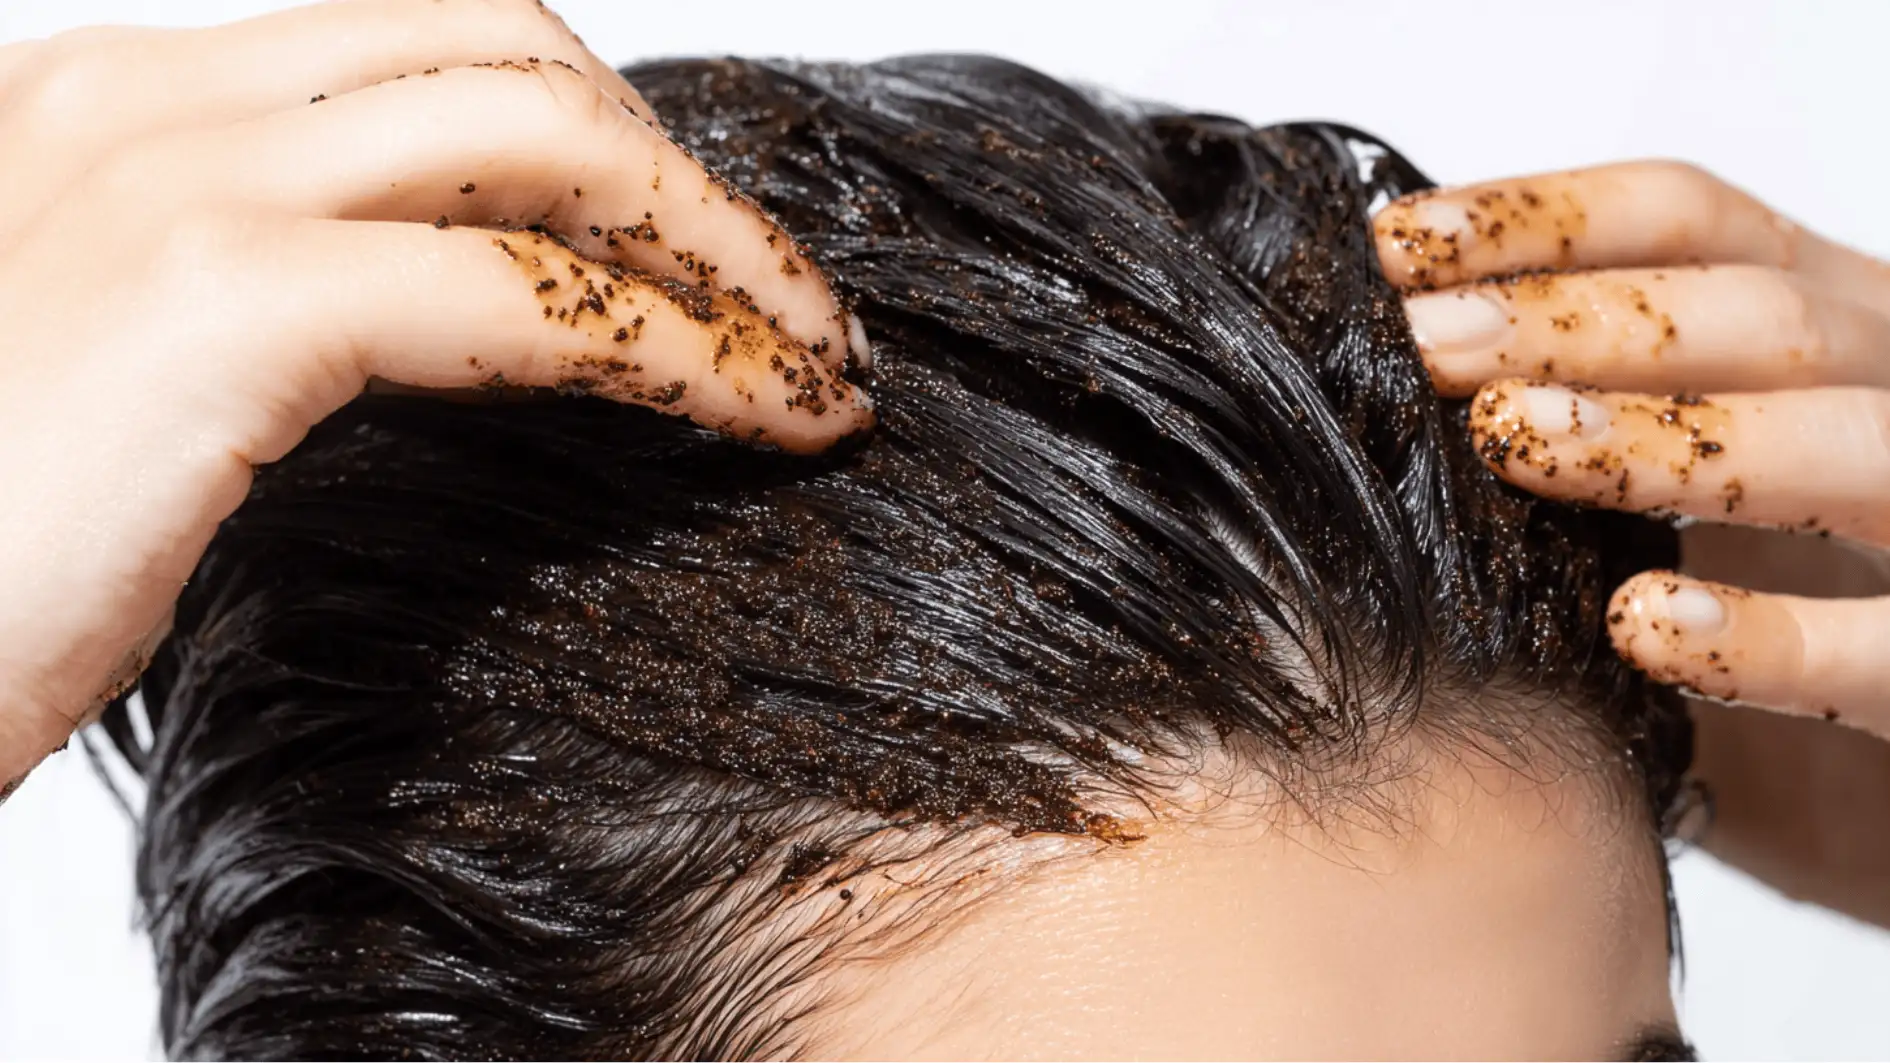
This method works best when your hair is already wet. My first attempt on dry hair was a disaster.
The moisture helps the scrub spread evenly and prevents tugging.
1. Prep Your Hair
Start in the shower with damp hair. You don’t need to shampoo first. Just wet your hair thoroughly with warm water.
This softens the scalp and makes it easier to work the scrub in without irritation.
Warm water also slightly opens your pores, allowing the scrub to work more effectively. Make sure your hair is soaked through, not just surface wet.
2. Apply the Scrub
Take a small amount of scrub and apply it directly to your scalp, not your hair.
Focus on sections at a time. Part your hair as you go so you can reach the skin underneath. A little goes a long way, so don’t overdo it.
I start with a tablespoon-sized amount and add more only if needed.
3. Massage the Scalp
Use your fingertips, not your nails, to massage in small circular motions. Work gently but with enough pressure to feel the scrub moving across your scalp.
Spend about three to five minutes covering your whole head. My advice is to pay extra attention to areas that feel oily or flaky.
4. Rinse and Shampoo
Rinse thoroughly with warm water until all the scrub is gone. Then follow up with your regular shampoo to remove any remaining residue.
For me, conditioning your ends works best, but keep them away from your scalp.
Take your time rinsing because leftover scrub particles can cause buildup. If your scalp still feels gritty or slippery, rinse again until the water runs clear.
Chemical Exfoliation
This method is less hands-on but requires a bit more caution since you’re using active ingredients.
1. Patch Test First
My number one rule: before you use any chemical exfoliant on your whole scalp, test it on a small area first.
Apply a tiny amount on your hand or on a small patch of scalp. Wait 24 hours to see if there’s any redness, itching, or irritation.
If your skin reacts badly, don’t use it.
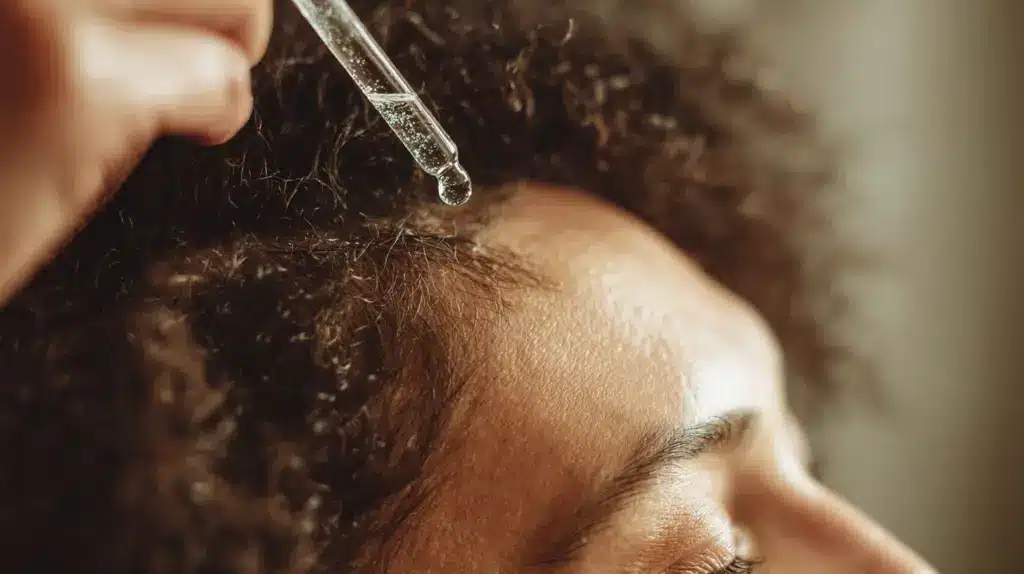
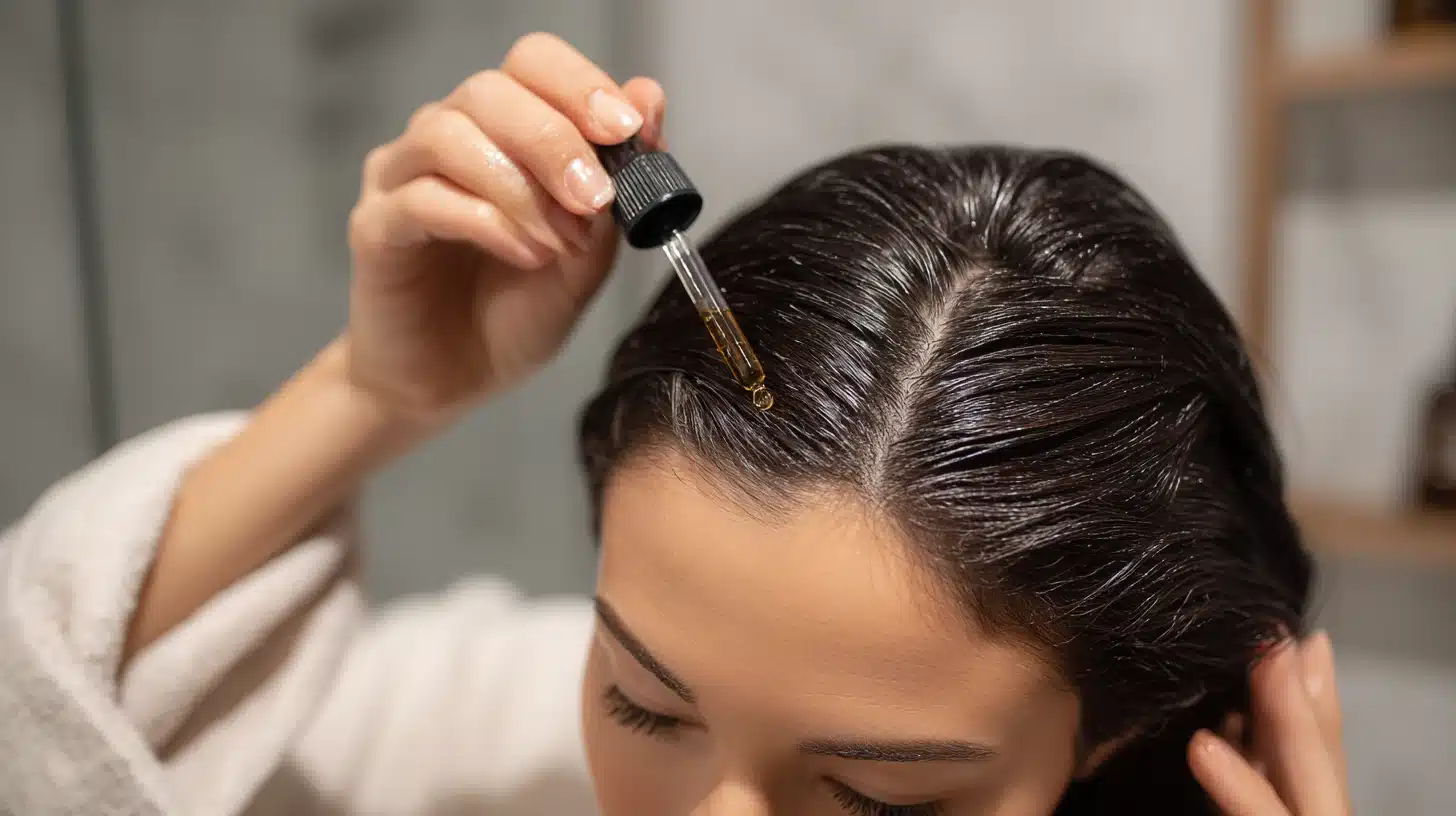
2. Apply the Exfoliant
Part your hair into sections and apply the product directly to your scalp using your fingers or the included applicator.
I work in rows so I don’t miss spots; it’s easier to keep track that way. Most chemical exfoliants are liquids or serums, so they spread easily.
Follow the instructions on the bottle for how long to leave it on. Usually it’s between 5 and 15 minutes.
3. Rinse Well
When the time’s up, rinse your hair completely with lukewarm water. Getting all the product out is non-negotiable for me.
Chemical exfoliants can keep working if they’re left on too long, which might irritate your scalp. Tilt your head in different directions while rinsing to reach all areas.
If the product has a strong smell or tingling sensation, keep rinsing until both are gone.
4. Follow with a Gentle Wash
After rinsing, use a mild shampoo to cleanse your scalp and hair. This removes any leftover exfoliant and keeps your scalp balanced.
Skip heavy conditioners on your scalp and just focus on your lengths and ends.
A gentle wash also neutralizes the pH of your scalp after the acidic treatment. Choose a sulfate-free shampoo if your scalp feels sensitive after exfoliation.
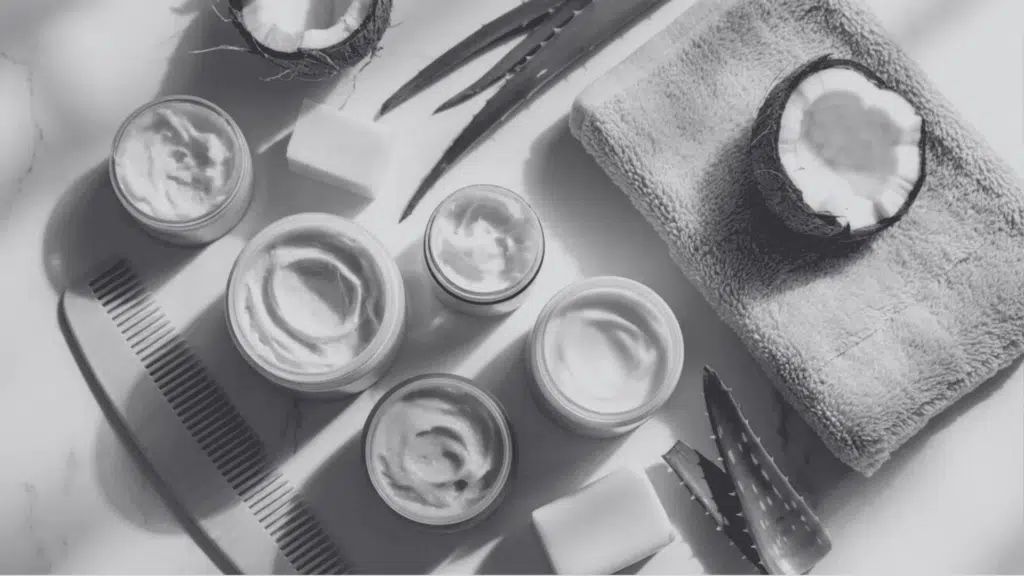
Home Remedies to Try for Scalp Exfoliation
You don’t need fancy products to exfoliate your scalp.
Your kitchen probably has everything you need, and honestly, some of my best results came from these simple mixes.
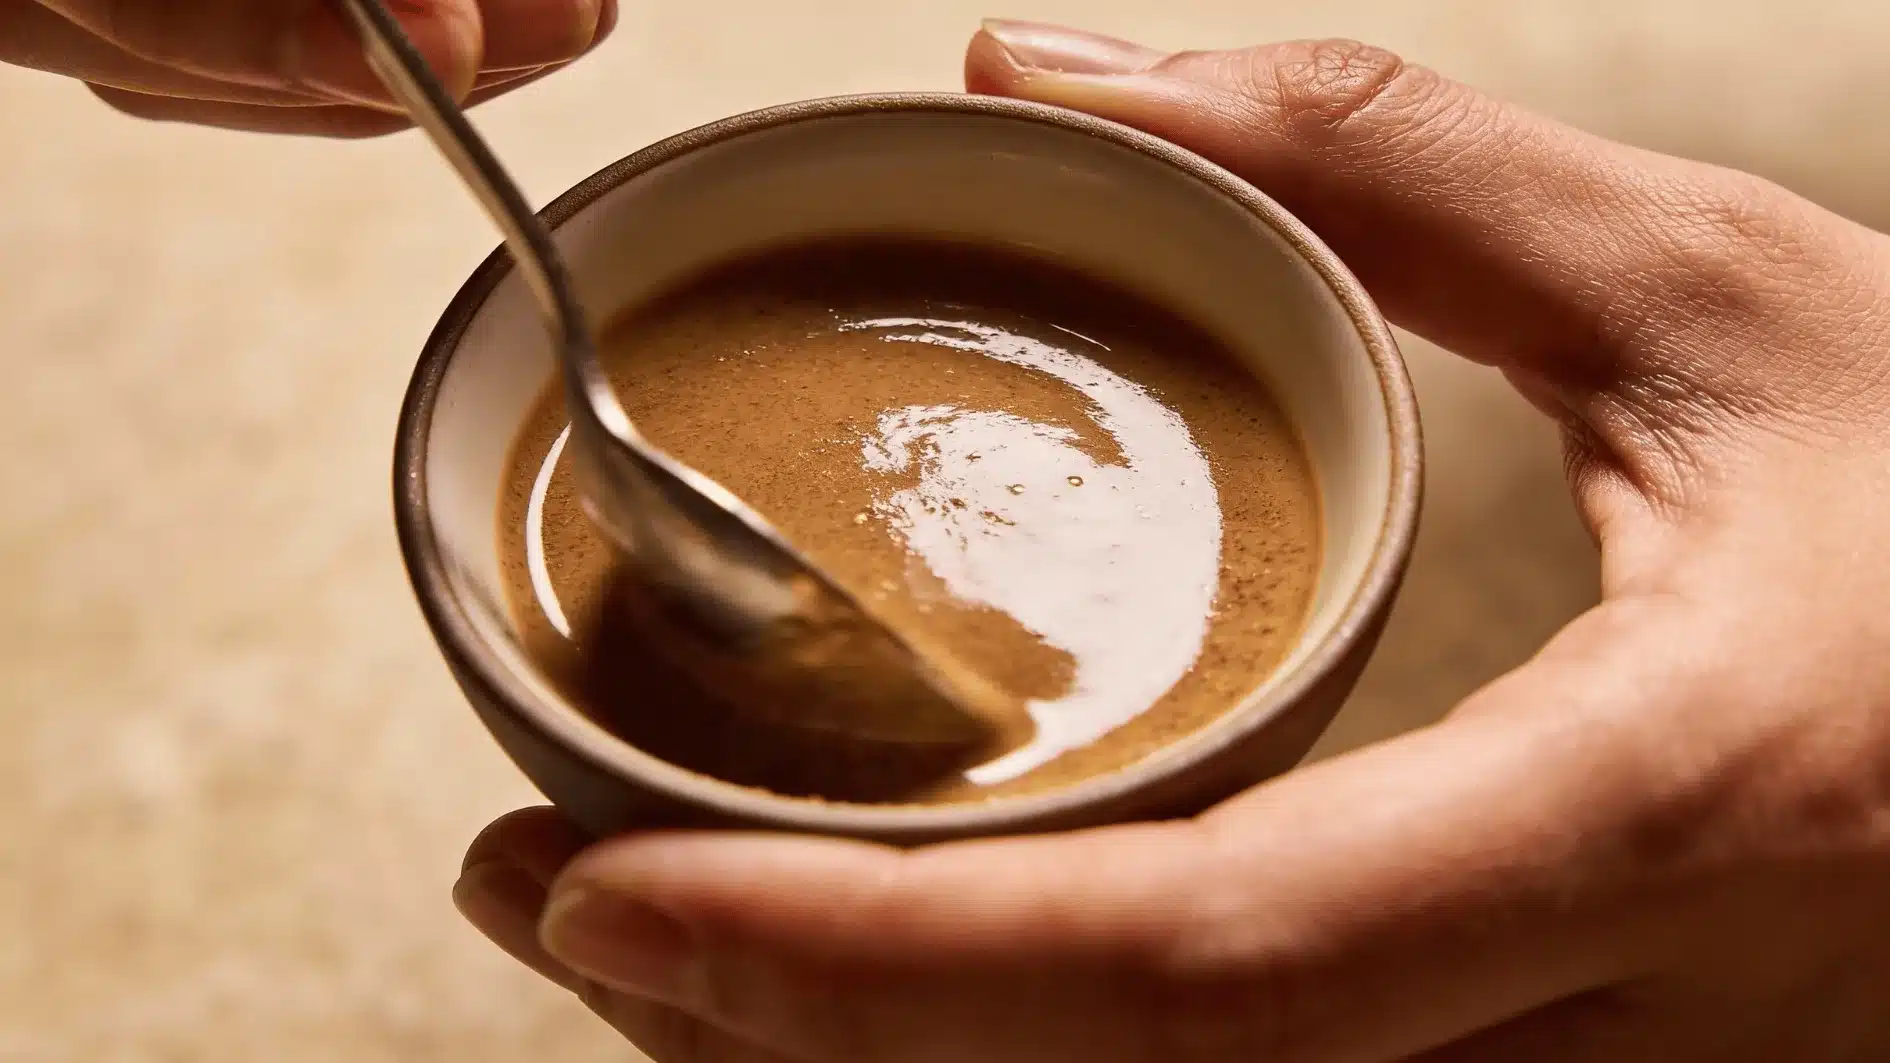
Brown Sugar and Coconut Oil
This is my personal favourite. These are one of the easiest combinations. Mix two tablespoons of brown sugar with one tablespoon of melted coconut oil.
The brown sugar provides a gentle scrubbing action, and the oil keeps things moisturized. Apply it to damp hair, massage for a few minutes, and rinse.
Sea Salt and Olive Oil
This works similarly but with a coarser texture. Use the same ratio as the sugar scrub.
This one’s better for oily scalps since salt helps absorb excess oil. Just be gentle because salt can be more abrasive.
Baking Soda and Water
It creates a paste that both exfoliates and balances pH. Mix one tablespoon of baking soda with enough water to form a paste. Massage it in and rinse thoroughly.
In my experience, don’t use this more than once every two weeks, since baking soda can be drying.
Apple Cider Vinegar Rinse
This isn’t a scrub, but it acts as a chemical exfoliant. Mix one part vinegar with four parts water and pour it over your scalp after shampooing.
Let it sit for a minute, then rinse. The acidity helps dissolve buildup and restore balance.
A word of caution: homemade scrubs don’t have preservatives, so make small batches and use them right away. I’d suggest you, not to store them for more than a day or two.
How Often Should You Exfoliate Your Scalp?
There’s no single answer.
It took me a while to figure out my own rhythm. And honestly, it depends on your scalp type and lifestyle.
Most people do well with once a week. That keeps buildup in check without overdoing it. If you use lots of styling products or have oily skin, twice a week works better.
That’s what I prefer during summers when I sweat more.
Got a dry or sensitive scalp? Stick to once every two weeks. Exfoliating too often strips natural oils and makes dryness worse.
Pay attention to how your scalp reacts. If it’s red or irritated, cut back. If it still feels gunky after a week, increase the frequency.
When to Skip Exfoliation Completely: If you have open sores, cuts, active psoriasis flare-ups, or any kind of scalp infection, hold off until it heals.
My Go-To Tools and Products
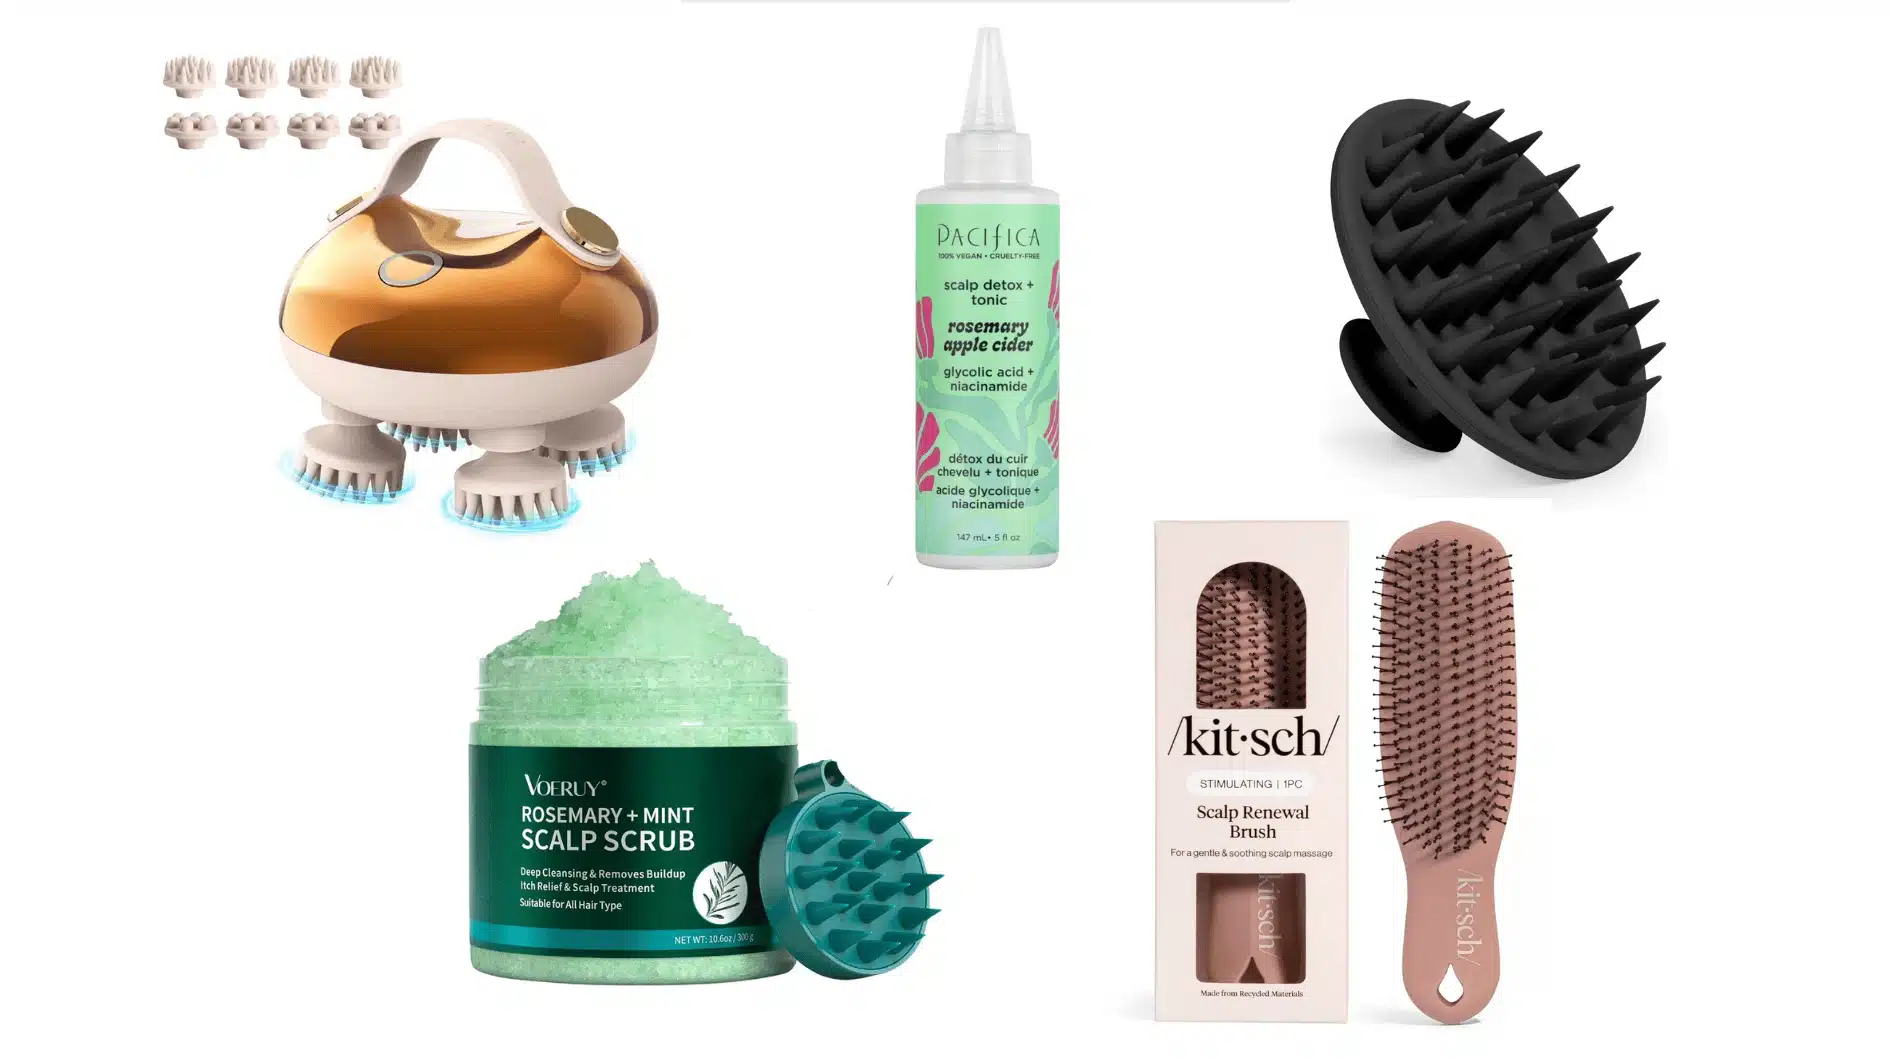
The right tools can make scalp exfoliation less work and more effective. You don’t need all of them, but having one or two helps.
1. Pre-Made Scrub
Store-bought scrubs save you from having to mix ingredients at home. Look for fine granules, such as jojoba beads or sugar, and avoid large, jagged particles.
I reach for VOERUY Rosemary + Mint Scalp Scrub for a gentle, ready-to-use option.
2. Chemical Exfoliant Serum
These come in dropper bottles or spray applicators for easy, targeted application. Salicylic acid works for oily scalps while lactic acid suits sensitive skin.
Pacifica Scalp Detox Tonic gives a well-balanced formula that’s easy to apply.
3. Shampoo Brushes With Handles
Long handles give you better control and help you reach the back of your head without straining, especially helpful if you have long nails.
Check out the Kitsch Scalp Renewal Brushfor a comfortable grip and flexible bristles.
4. Scalp Brushes
Silicone brushes with soft, flexible bristles massage as you scrub, and their shape allows you to reach between hair strands better than fingers alone.
Silicone Scalp Massager Shampoo Brush is my go-to choice for its durability and gentle texture.
5. Scalp Massager
Electric massagers add extra circulation benefits, and some are waterproof for shower use. They work best when paired with a scrub or exfoliating shampoo.
The Arboleaf Electric Scalp Massagercombines vibration with a waterproof design for shower convenience.
Pick one or two tools that fit your routine and budget. Even a simple silicone brush makes a difference.
Common Mistakes I Suggest You to Avoid
Knowing what not to do is just as important as getting the technique right.
I’ve made some of these myself, so let me save you the trouble.
- Scrubbing too hard: Use gentle pressure. My scalp was sore for days after I went too hard, once aggressive rubbing causes irritation and breaks the skin.
- Using your nails: Stick to fingertips. Nails can scratch and damage your scalp.
- Exfoliating too frequently: Overdoing it strips away natural oils and prompts your scalp to produce more to compensate.
- Exfoliating irritated skin: Wait until cuts, sunburn, or other active conditions have healed before exfoliating.
- Applying scrub to dry hair: Always start with damp hair for even application. Wet hair changed everything for me.
- Not rinsing thoroughly: Leftover product creates buildup. Rinse until the water runs clear.
- Skipping the patch test: Test chemical exfoliants on a small area first. I agree it’s annoying to wait, but do it anyway.
Avoid these, and you’ll get the results you’re after without the setbacks. Let’s wrap this up.
The Bottom Line
A healthy scalp is the foundation for healthy hair. When you learn how to exfoliate scalp buildup properly, you clear away the layer that weighs your hair down and clogs your follicles.
For me, whether you choose a physical scrub or a chemical treatment, the key is consistency and gentleness.
Start slow, pay attention to how your skin responds, and adjust your routine as needed.
Your scalp will feel cleaner, your hair will look better, and those itchy, flaky days will be behind you. I haven’t dealt with flakes in months.
Frequently Asked Questions (FAQ’s)
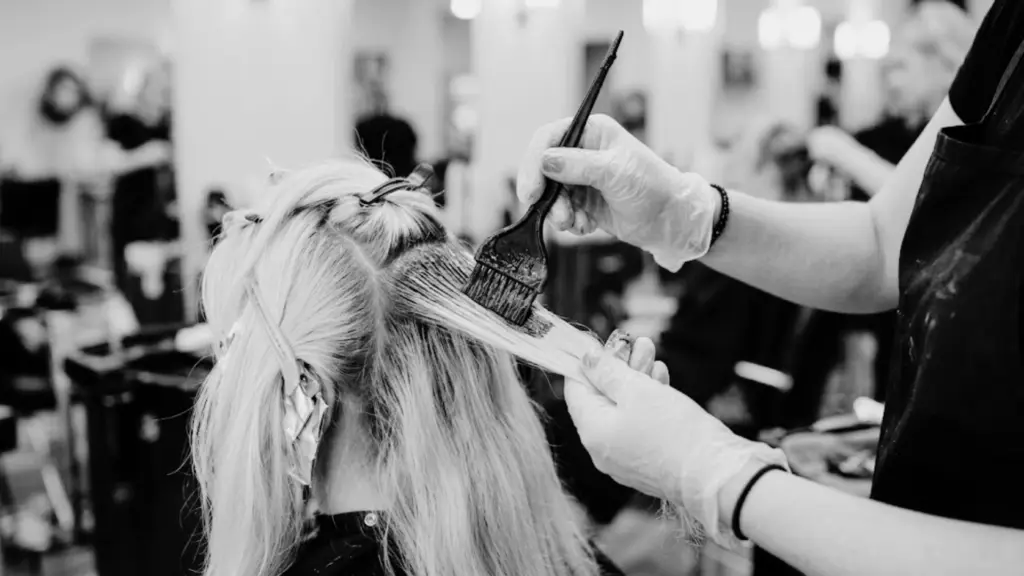
1. Can I Exfoliate my Scalp if I Have Colored Hair?
Yes, just wait at least 48 hours after coloring. I wait three days to be safe, and I use gentle scrubs to avoid stripping the color.
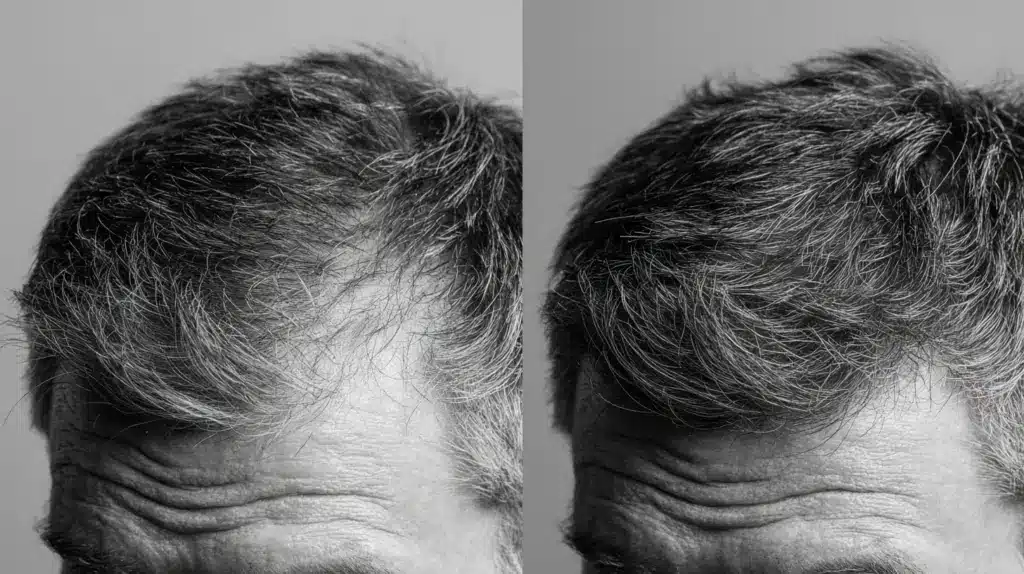
2. Will Scalp Exfoliation Help with Hair Growth?
It creates better conditions for growth by clearing follicles and improving blood flow, but it won’t dramatically speed up the process.
3. Can I Exfoliate my Scalp Every Day?
No, daily exfoliation strips away natural oils and can cause irritation. Most people, including myself, do best with once a week.
4. Is Scalp Exfoliation Safe for Sensitive Skin?
Yes, but choose enzymatic or chemical exfoliants over physical scrubs. For my sensitive scalp, chemical options work best; always patch test first.
5. What’s the Difference Between a Scalp Scrub and a Hair Scrub?
Scalp scrubs target the skin underneath your hair, while hair scrubs focus on the strands themselves.