Most people reach for store-bought tanning oils without thinking twice, but those bottles are often full of synthetic fragrances and cheap fillers.
The truth is, a good DIY tanning oil does not need any of that.
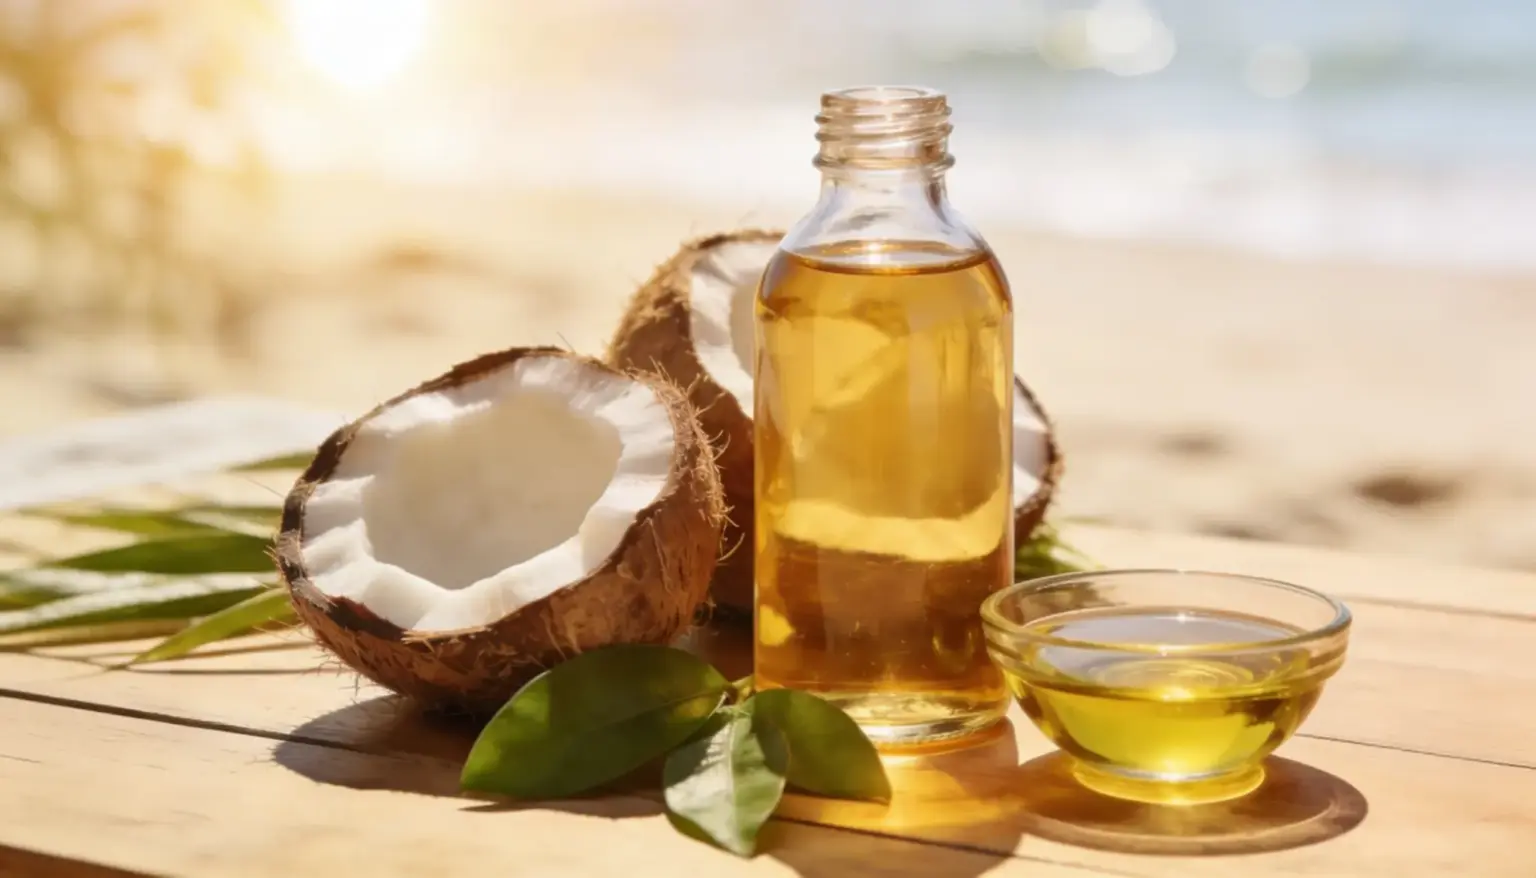
Natural ingredients like coconut oil and carrot oil can do the job just as well, and sometimes better.
This covers a solid tanning oil recipe and safe usage tips that actually make sense, all with ingredients that are easy to find and kind to the skin.
What is DIY Tanning Oil and Why Does it Work?
Tanning oil is a blend of plant-based oils and botanical ingredients that support the skin during sun exposure.
No synthetic additives, no artificial dyes, just ingredients that actually do something useful. The reason it works comes down to what is inside.
Carrot oil brings beta-carotene, which supports melanin production and helps skin build color.
Oils like coconut and almond respond well to UV light. And the fatty acids in these oils keep skin hydrated, which helps it tan evenly and hold color longer.
Want to learn more about safe sun exposure? The U.S. Food and Drug Administration outlines the full risks of tanning, including UV radiation exposure and long-term skin damage. Read the official guidance!
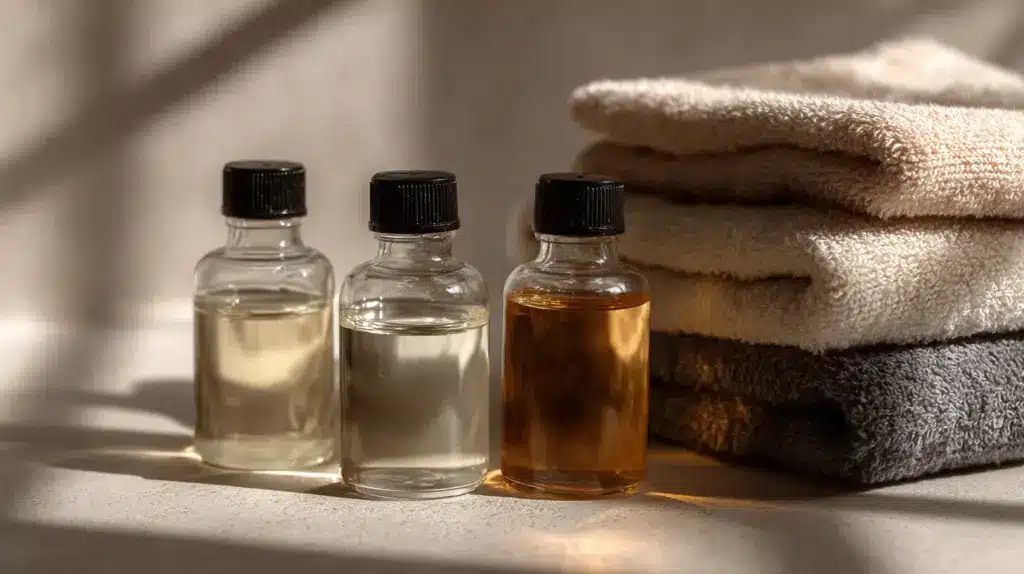
Ingredients You Need!
Making a tanning oilat home does not require a long shopping list.
These are the only ingredients needed, along with what each one brings to the blend.
| Ingredient | Quantity |
|---|---|
| Coconut Oil | 2 tbsp |
| Olive Oil | 1 tbsp |
| Almond Oil | 1 tbsp |
| Carrot Oil | 1 tsp |
| Cocoa Powder | 1 tsp |
| Coffee Infusion | 1 tbsp |
| Vitamin E Oil | 2 to 3 drops |
| Lavender Essential Oil | 4 to 5 drops |
Step-by-Step Process to Make DIY Tanning Oil
Just follow these four steps, and the result is a smooth, ready-to-use blend that actually works.
Step 1: Melt the Coconut Oil
If the coconut oil is solid, place it in a small bowl and set it over a bowl of hot water until it melts. The goal is a smooth, pourable consistency before anything else gets added.
This step matters more than it seems because a properly melted base helps the other ingredients blend evenly.
Rushing past it usually leads to a lumpy or separated mix.
Step 2: Combine the Base Oils
Pour the olive oil and almond oil into the melted coconut oil, stirring steadily until the three are fully combined.
The mixture should look uniform and slightly golden at this point.
Taking an extra minute here to stir properly makes a real difference in how the finished oil feels on skin.
Use a small whisk instead of a spoon if one is available. It blends the oils faster and more evenly, especially when the coconut oil is still slightly warm.
Step 3: Stir in the Carrot Oil
Add the carrot oil to the blended base and mix it in thoroughly.
This is the ingredient doing most of the heavy lifting when it comes to tanning, so making sure it is evenly distributed matters.
The mixture will take on a slightly warmer, more golden tone at this stage, which is completely normal.
Step 4: Add the Optional Ingredients and Store
If using cocoa powder, coffee infusion, vitamin E oil, or lavender essential oil, add each in turn, stirring thoroughly between additions.
Once everything is smooth and well combined, pour the finished blend into a dark glass bottle and seal it.
Store in a cool, dry place away from direct sunlight.
Avoid: Transferring the oil into a clear plastic bottle. Light and heat break down natural oils faster, and a dark glass bottle keeps the blend fresh for up to three months.
How to Apply DIY Tanning Oil?
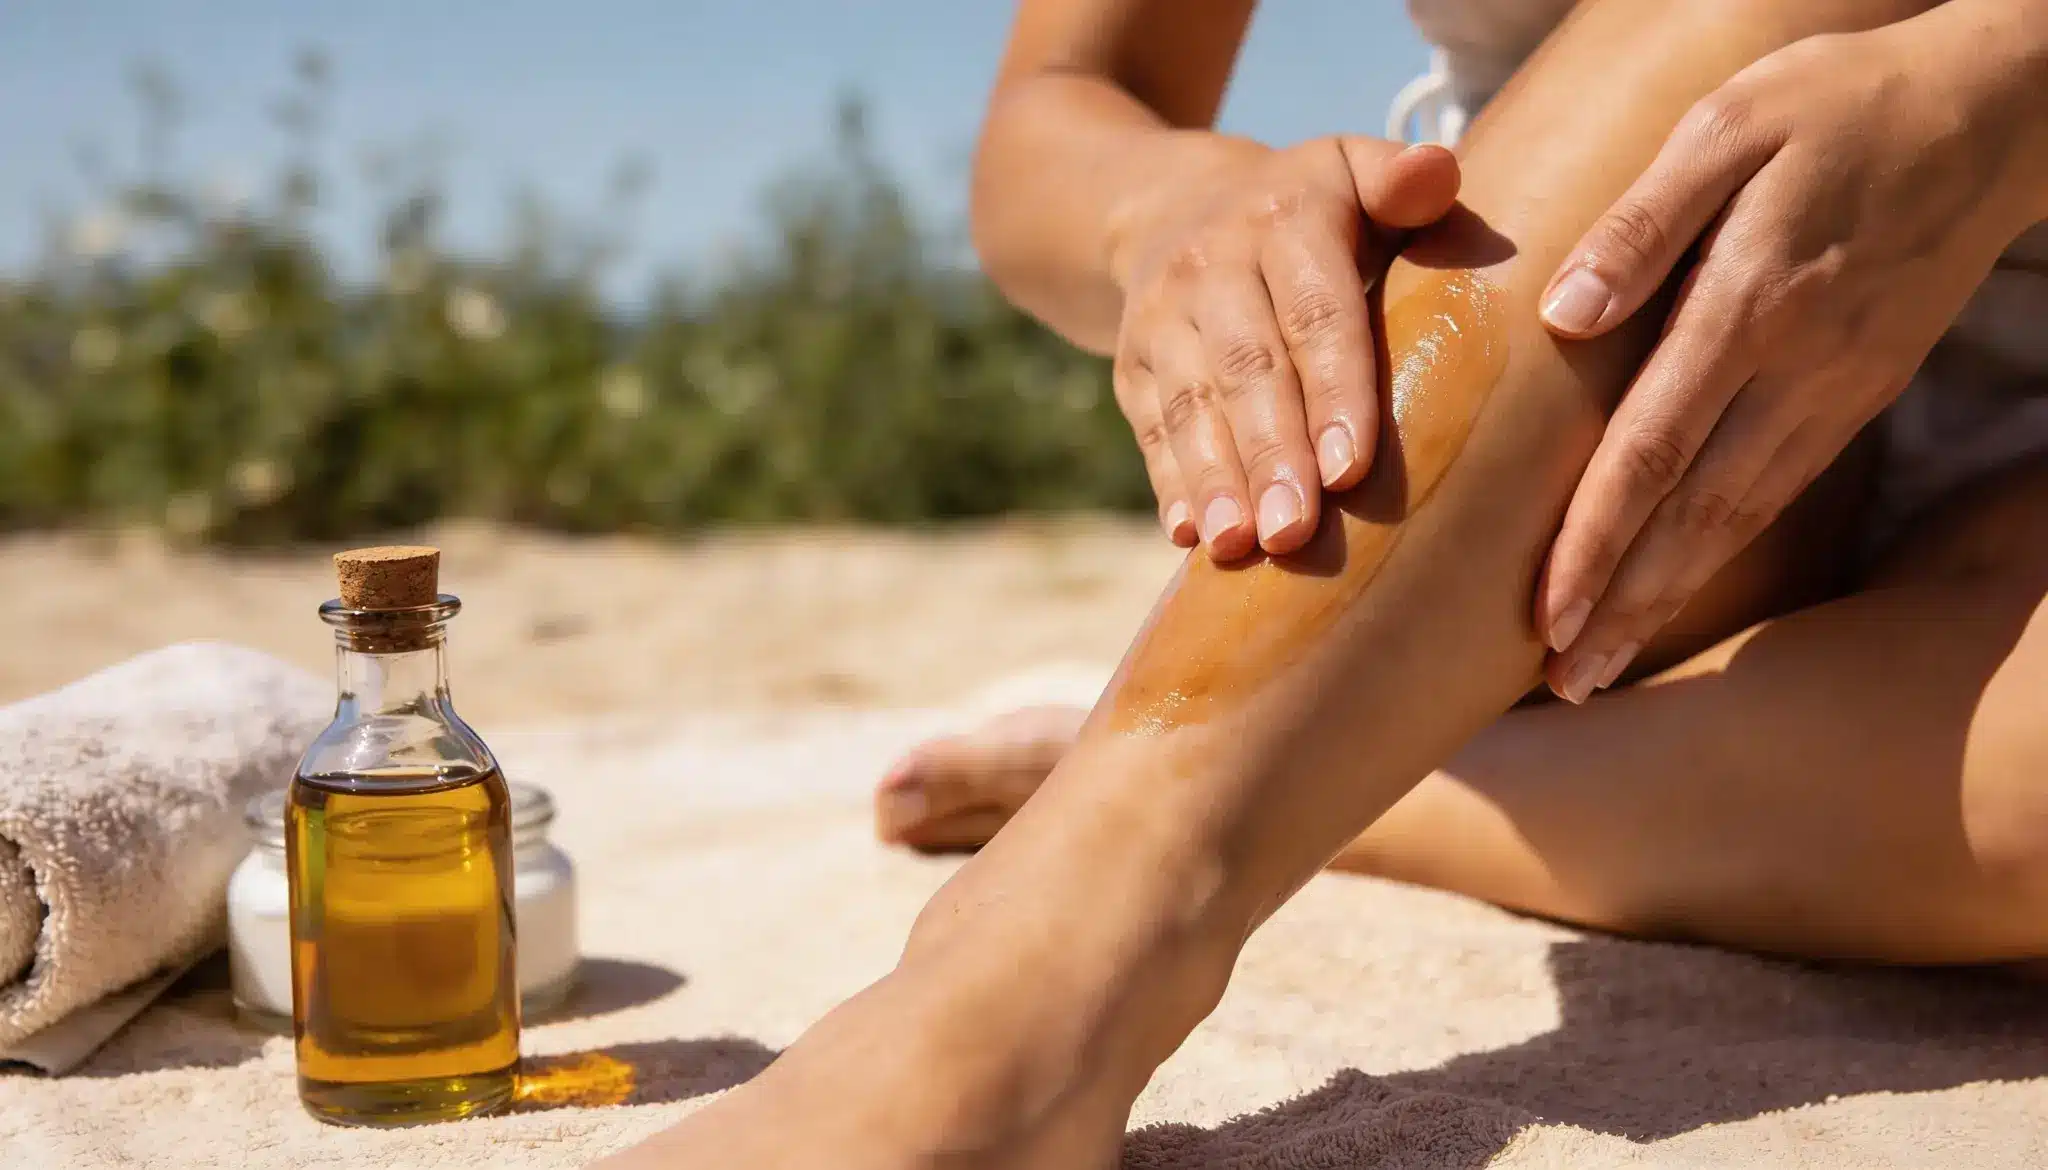
Applying the oil correctly makes a real difference in how the tan develops.
Start with clean, exfoliated skin and make sure it is fully dry before applying anything.
Wet skin dilutes the oil, affecting how evenly it sits on the skin!
Pour a small amount into the palm and work it across the skin in slow, circular motions. A thin coat is all that is needed.
Give the oil around five minutes before stepping outside. This helps it work more effectively once sun exposure begins.
Reapply every 60 minutes or after coming out of the water. Once back indoors, apply aloe vera gel or a plain moisturizer to lock in the tan and prevent peeling.
Other Homemade Tanning Oil Recipes
One recipe does not always fit all.
Depending on the skin type, budget, or ingredients on hand, any of these four blends can work just as well as the base formula.
1. Carrot Oil Glow Booster
Combine 2 tablespoons of sweet almond oil with 1 teaspoon of jojoba oil and stir well. Add 1 tablespoon of carrot oil and mix until fully blended, then finish with 3 drops of vitamin E oil.
Pour into a dark glass bottle and store away from light.
It deepens tan as carrot oil is packed with beta-carotene, which works alongside melanin to build deeper, warmer color.
Using it as the star ingredient delivers a concentrated dose to the skin with every application.
2. Coffee Bronzing Oil
This one is for anyone who wants a little color on the skin right away, not just after hours in the sun.
- Melt 2 tablespoons of coconut oil and let it cool slightly.
- Stir in 1 tablespoon of strongly brewed, cooled coffee, then add 1 teaspoon of cocoa powder and mix until smooth.
- Finish by adding 3 drops of lavender essential oil, then transfer to a sealed bottle.
Coffee and cocoa deposit a warm tint onto skin almost instantly.
It washes off with the next shower but works well for a quick bronzed look while the sun does its slower work underneath.
3. Olive Oil and Aloe Blend
Stir 2 tablespoons of olive oil and 1 tablespoon of pure aloe vera gel together until fully combined.
Add 1 teaspoon of carrot oil and 3 drops of vitamin E oil and mix well.
Transfer to a glass bottle and refrigerate for a cooling effect on application.
Olive oil nourishes, and aloe vera locks in moisture, making this blend ideal for skin that feels tight or dry after sun exposure. It tans and treats at the same time.
4. Almond Oil Radiance Mix
A go-to option for anyone with skin that doesn’t tolerate heavy or greasy formulas.
- Combine 3 tablespoons of sweet almond oil with 1 teaspoon of rosehip oil and stir well.
- Add 1 teaspoon of carrot oil and 4 drops of chamomile essential oil, then mix thoroughly.
- Pour into a dark glass bottle and store away from direct light.
Sweet almond oil absorbs quickly and leaves no greasy film, making this a great fit for anyone who finds heavier oils uncomfortable.
Rosehip adds a brightening effect that keeps skin looking fresh after time outdoors.
5. Tanning Oil for Sun/SPF
Most natural tanning oils offer little to no sun protection on their own, so this version adds a mild SPF boost to the base recipe.
- Add 1 teaspoon of raspberry seed oil for natural SPF properties.
- Stir in 1 teaspoon of non-nano zinc oxide powder for broad-spectrum protection.
- Finish with 3 drops of vitamin E oil and store in a dark glass bottle.
Is DIY Tanning Oil Safe?
This is safe for most skin types when used correctly.
The ingredients are natural, plant-based, and free from the synthetic chemicals found in many store-bought products.
That said, a patch test before the first use is always a good idea, particularly for sensitive skin. The most important thing to remember is sun protection.
Natural tanning oils carry no SPF, so applying a broad-spectrum sunscreen underneath is non-negotiable.
Spending too long in direct sun without protection raises the risk of burns and long-term skin damage regardless of what is on the skin.
Pros and Cons
Making a tanning oil at home has real advantages, but it helps to go in with a clear idea of what to expect.
| Pros | Cons |
|---|---|
| Natural ingredients, no synthetic fillers or fragrances | No SPF protection sunscreen is still required |
| Easy to make with no specialist equipment | Short shelf life of up to three months |
| Budget-friendly and easy to source | Carrot oil may tint very fair skin orange if over-applied |
| Hydrates skin for an even, longer-lasting tan | Not suitable for use on the face |
| Multiple recipes to suit different skin types | Results vary based on skin type and sun exposure |
| No artificial preservatives or dyes | Specific ingredients like carrot oil may need to be ordered online |
The main thing to keep in mind is sun protection this oil works best as part of a routine that includes a proper broad-spectrum sunscreen, not as a replacement for one.
Conclusion
Making a DIY tanning oil at home is one of the easiest switches anyone can make in their summer skincare routine.
The ingredients are natural, the process is straightforward, and the results speak for themselves.
Sticking to the base recipe or trying one of the other blends, the skin gets something genuinely good with every application.
A little preparation goes a long way, and with the right oils in the mix, a healthy, sun-kissed glow is very much within reach.
Frequently Asked Questions
1. Can I Use DIY Tanning Oil on My Face?
It is best to avoid applying tanning oil directly to the face as the skin there is more sensitive and prone to breakouts from heavier oils.
2. How Long Does Tanning Oil Made at Home Last?
Most blends stay fresh for up to three months when stored in a dark glass bottle away from heat and direct light.
3. Can I Apply Tanning Oil Over Sunscreen?
Yes, apply sunscreen first, let it absorb fully, and then layer the tanning oil on top for added moisture and tanning support.