
Your hair’s been through a lot. Heat styling, pollution, maybe one too many bleach sessions.
Store-bought treatments promise miracles but often disappoint.
What if the solution’s already sitting in your kitchen? An at-home hair mask made from simple ingredients can actually work wonders.
And the best part? You control exactly what goes on your head.
Let’s get into it.
What is a DIY Hair Mask?
Think of it as a deep conditioning treatment you make yourself.
Instead of buying expensive products, you’re mixing things from your pantry.
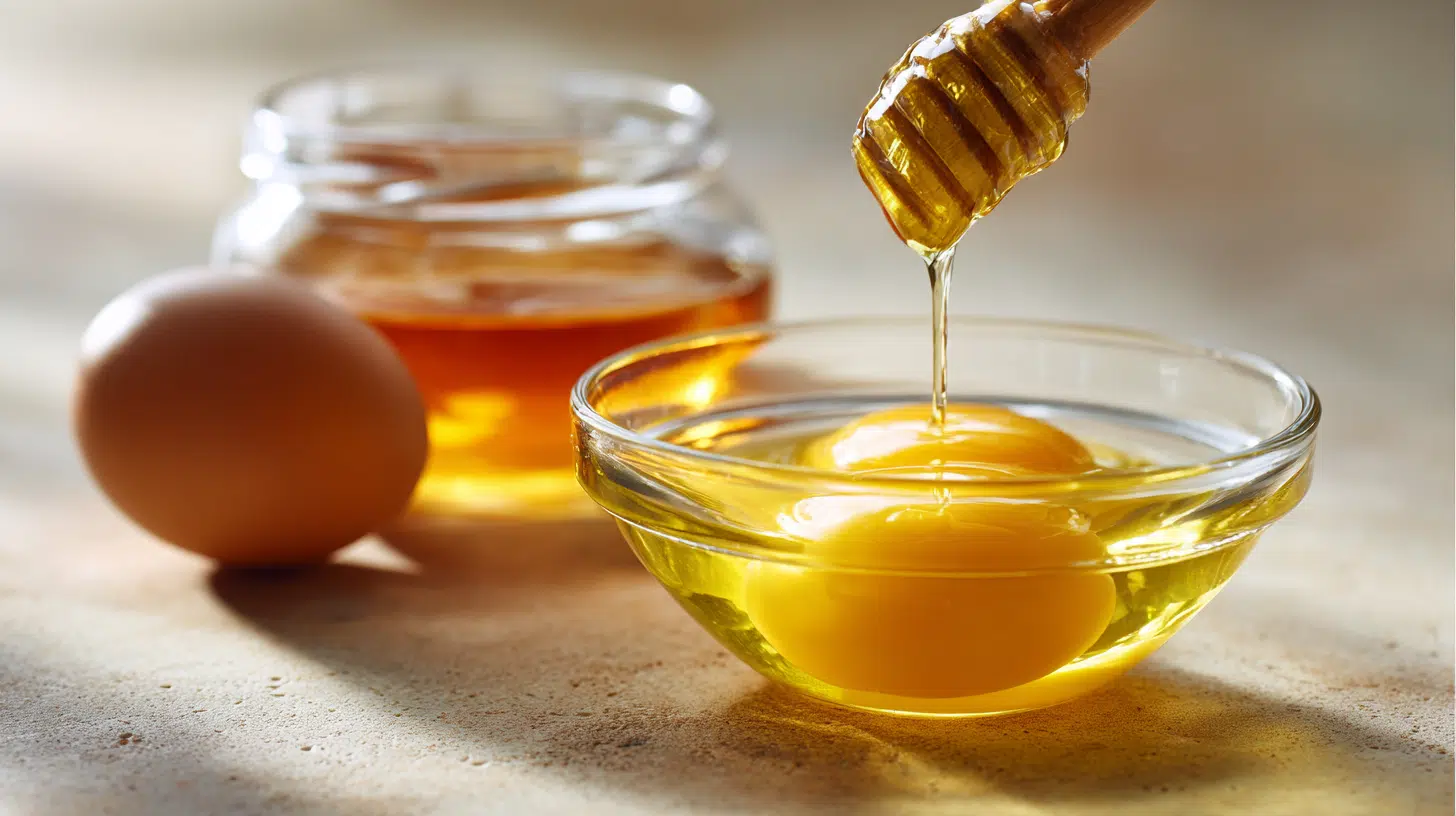
Eggs, honey, coconut oil, avocado. Real stuff. These masks work because natural ingredients are packed with nutrients your hair needs.
Proteins, vitamins, healthy fats. They repair damage from the inside out.
Benefits of Making Your Own Homemade Hair Mask:
- You control the ingredients: No mystery chemicals or fillers
- Customize for your needs: Adjust based on how your hair feels today
- Way cheaper: Costs pennies compared to $50 salon treatments
- Always fresh: Peak potency, not sitting on shelves for months
- No harsh preservatives: Just pure, natural ingredients
Your hair has an outer layer called the cuticle. When it’s damaged, your hair looks frizzy or dull.
Natural ingredients smooth it down and fill in gaps. Oils lock in moisture while proteins strengthen weak spots.
DIY Hair Mask Recipes Based on Different Hair Concerns
Different hair problems need different solutions. You wouldn’t use the same recipe for oily roots and dry ends, right? That’s why these recipes target specific issues.
Pick the one that matches what your hair’s going through right now.
1. DIY Hair Mask for Dry and Rough Hair
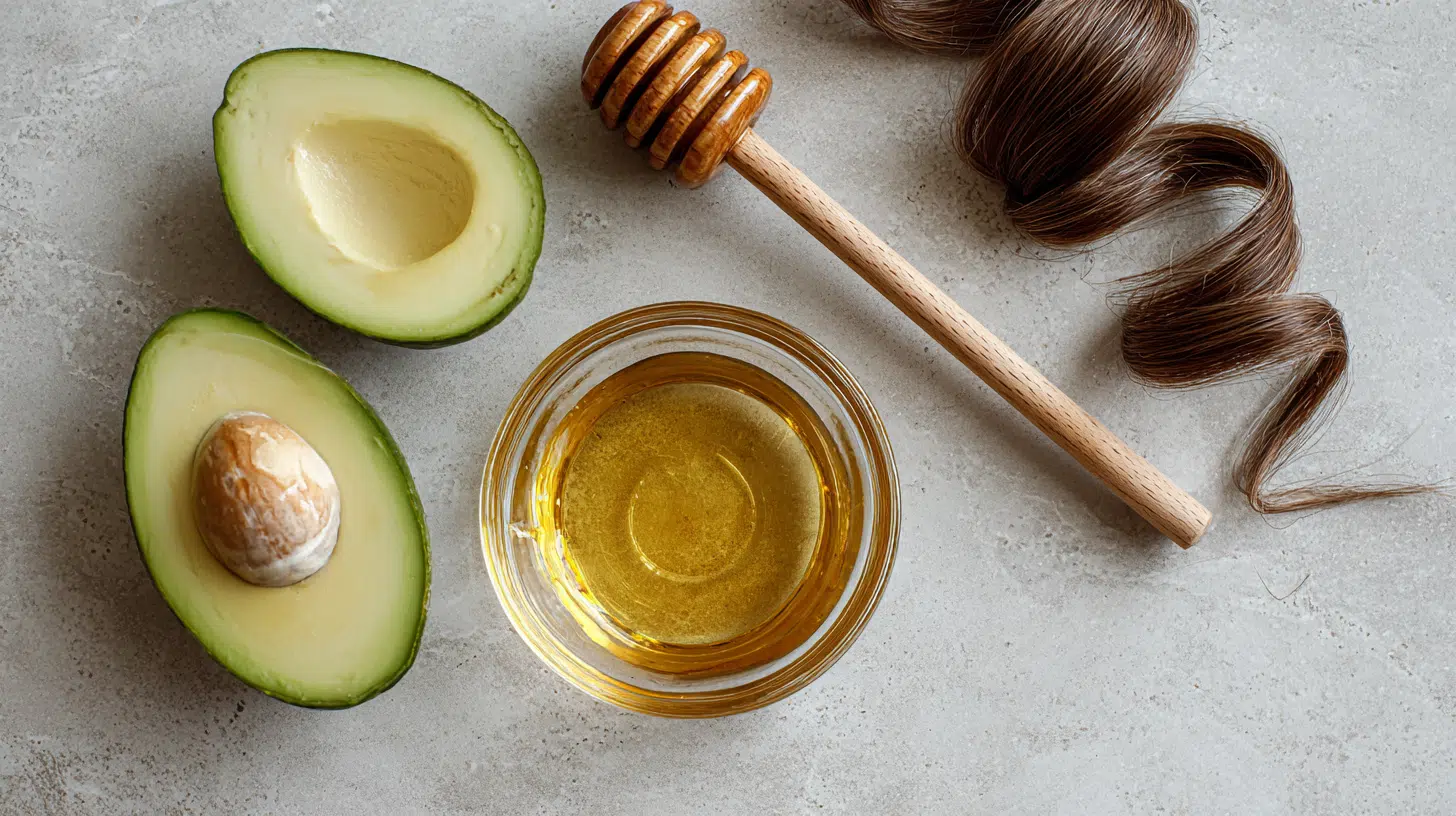
What You Need:
- 2 tablespoons coconut oil
- 1 ripe avocado
- 1 tablespoon honey
Instructions:
- Mash the avocado until smooth
- Mix in coconut oil and honey
- Apply from roots to ends, focusing on dry areas
- Leave on for 30 minutes
- Rinse with cool water and shampoo
Why It Works: Coconut oil penetrates deep while avocado softens rough texture. Honey locks in moisture.
2. Homemade Hair Mask for Hair Fall
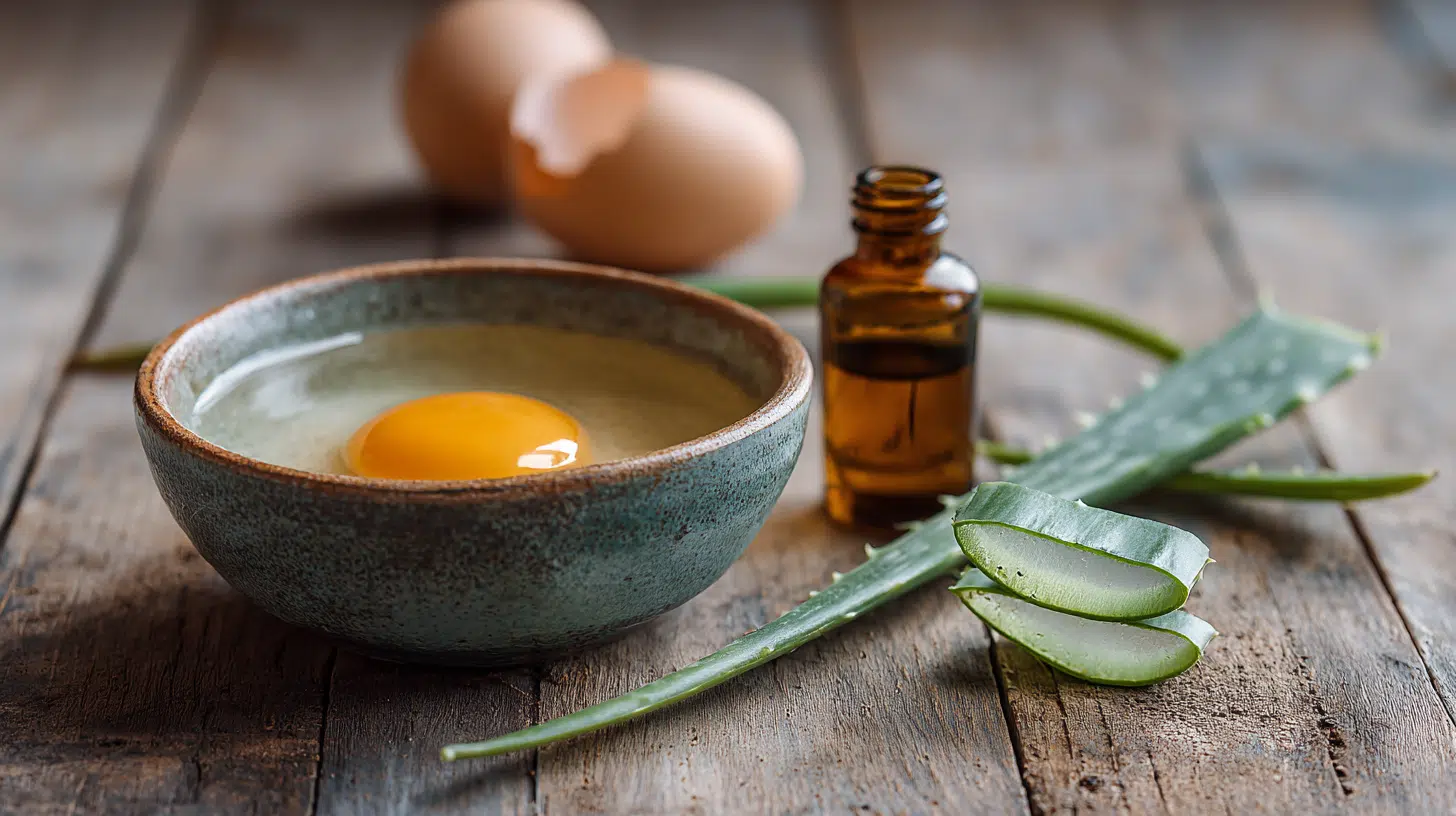
What You Need:
- 1 egg
- 2 tablespoons castor oil
- 1 tablespoon aloe vera gel
Instructions:
- Beat the egg and mix in castor oil and aloe vera
- Massage into your scalp for a few minutes
- Work through the rest of your hair
- Wait 20 minutes before washing out
Why It Works: Egg protein strengthens hair from the root. Castor oil boosts scalp circulation while aloe vera soothes inflammation.
3. At Home Hair Mask for Frizzy Hair
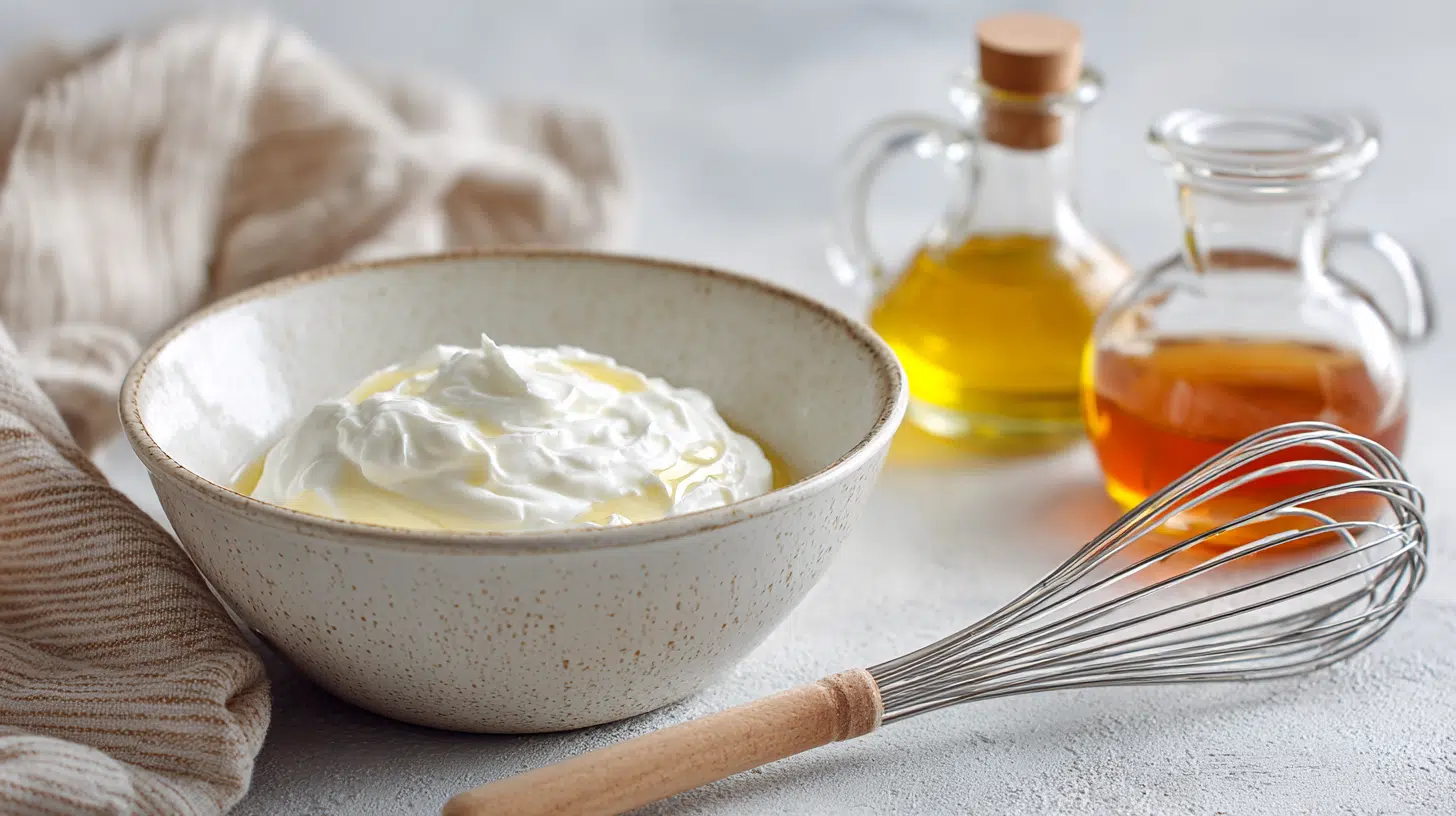
What You Need:
- 1/2 cup plain yogurt
- 1 tablespoon olive oil
- 1 tablespoon apple cider vinegar
Instructions:
- Whisk everything together until smooth
- Apply to damp hair
- Let it sit for 25 minutes
- Rinse thoroughly with lukewarm water
Why It Works: Yogurt smooths your cuticle, olive oil seals moisture, and vinegar balances pH to reduce frizz.
4. DIY Hair Mask for Dull Hair
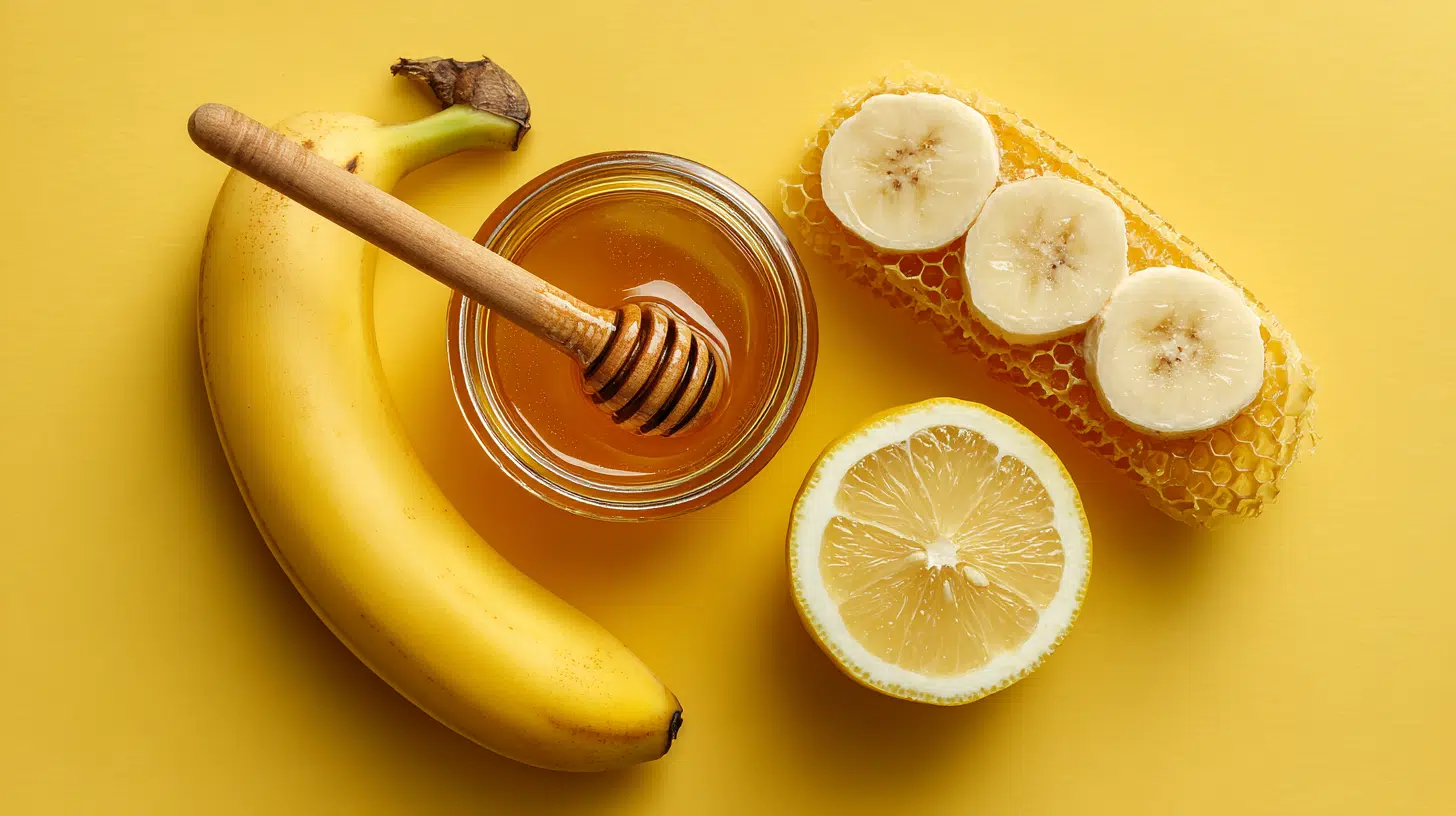
What You Need:
- 1 banana
- 2 tablespoons honey
- 1 tablespoon lemon juice
Instructions:
- Blend the banana until there are no lumps
- Stir in honey and lemon juice
- Apply to clean, damp hair
- Leave for 20 minutes and rinse well
Why It Works: Bananas add shine, honey reflects light, and lemon removes buildup that makes hair look flat.
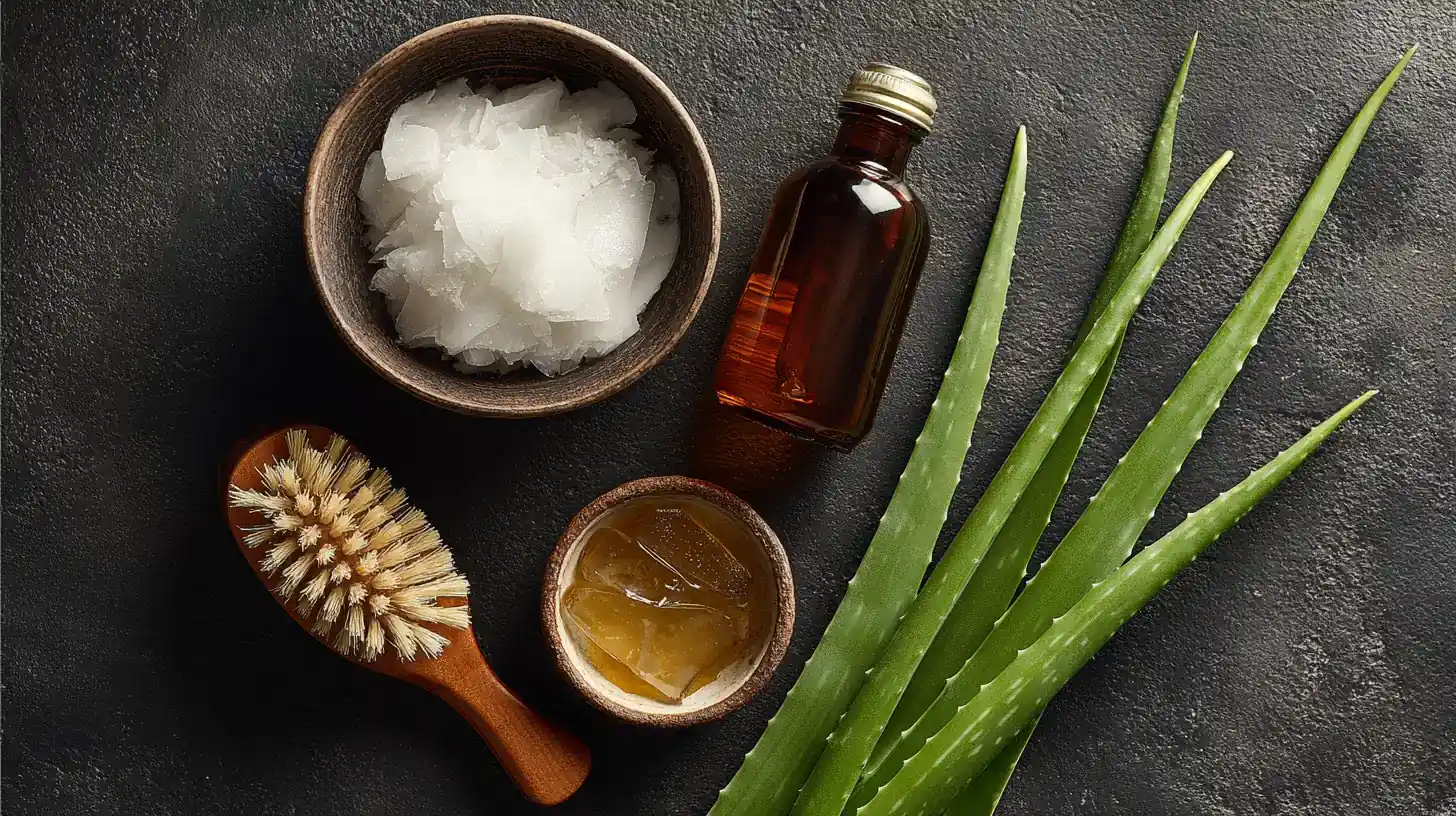
5. DIY Hair Mask for Dandruff
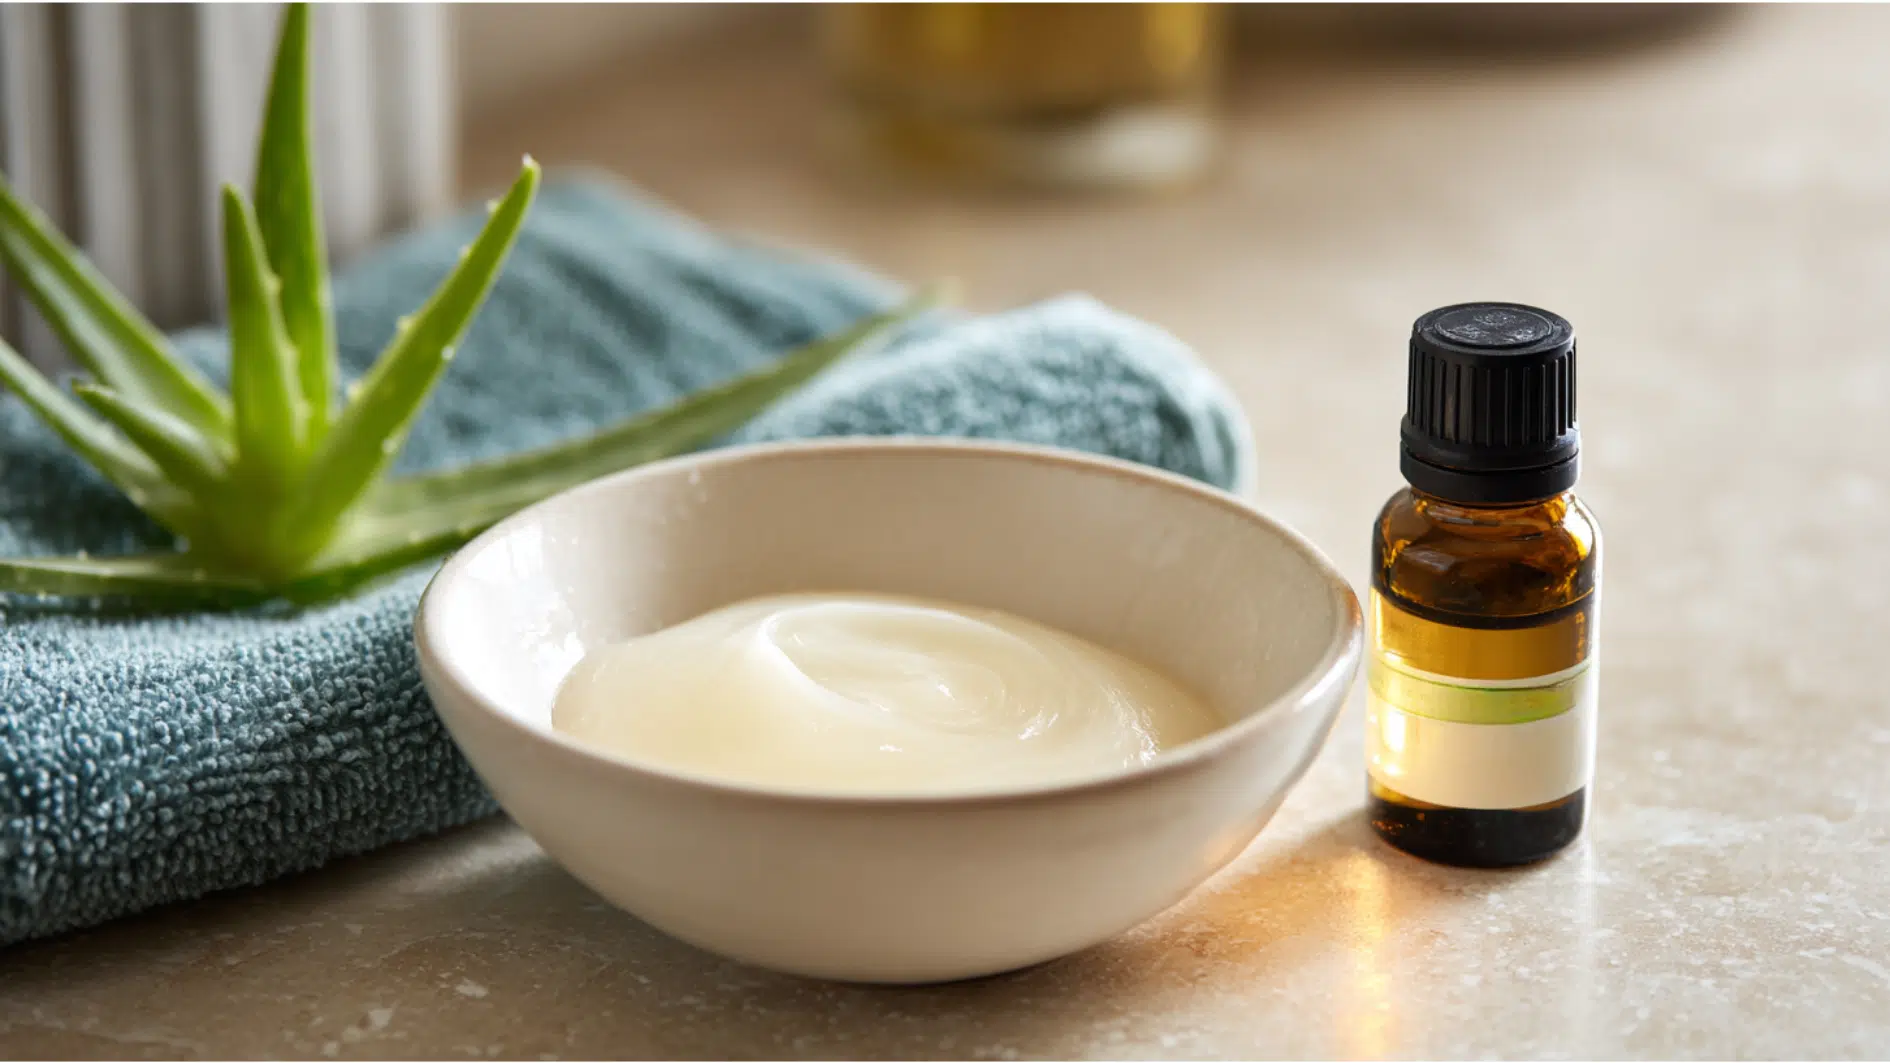
What You Need:
- 3 tablespoons coconut oil
- 1 tablespoon tea tree oil
- 2 tablespoons aloe vera gel
Instructions:
- Mix all ingredients together
- Apply directly to your scalp and massage gently
- Leave on for 30 minutes
- Wash out with mild shampoo
Why It Works: Tea tree oil fights the yeast causing dandruff, while coconut oil moisturizes, and aloe vera calms itching.
6. At-Home Hair Mask for Curly Hair

What You Need:
- 1/2 cup coconut milk
- 2 tablespoons shea butter
- 1 tablespoon argan oil
Instructions:
- Melt the shea butter slightly
- Mix with coconut milk and argan oil
- Apply generously to wet hair in sections
- Cover with a shower cap and wait 30 minutes
- Rinse with cool water
Why It Works: Coconut milk hydrates without weighing down curls. Shea butter defines patterns while argan oil fights frizz.
7. DIY Hair Mask for Oily Scalp and Dry Ends
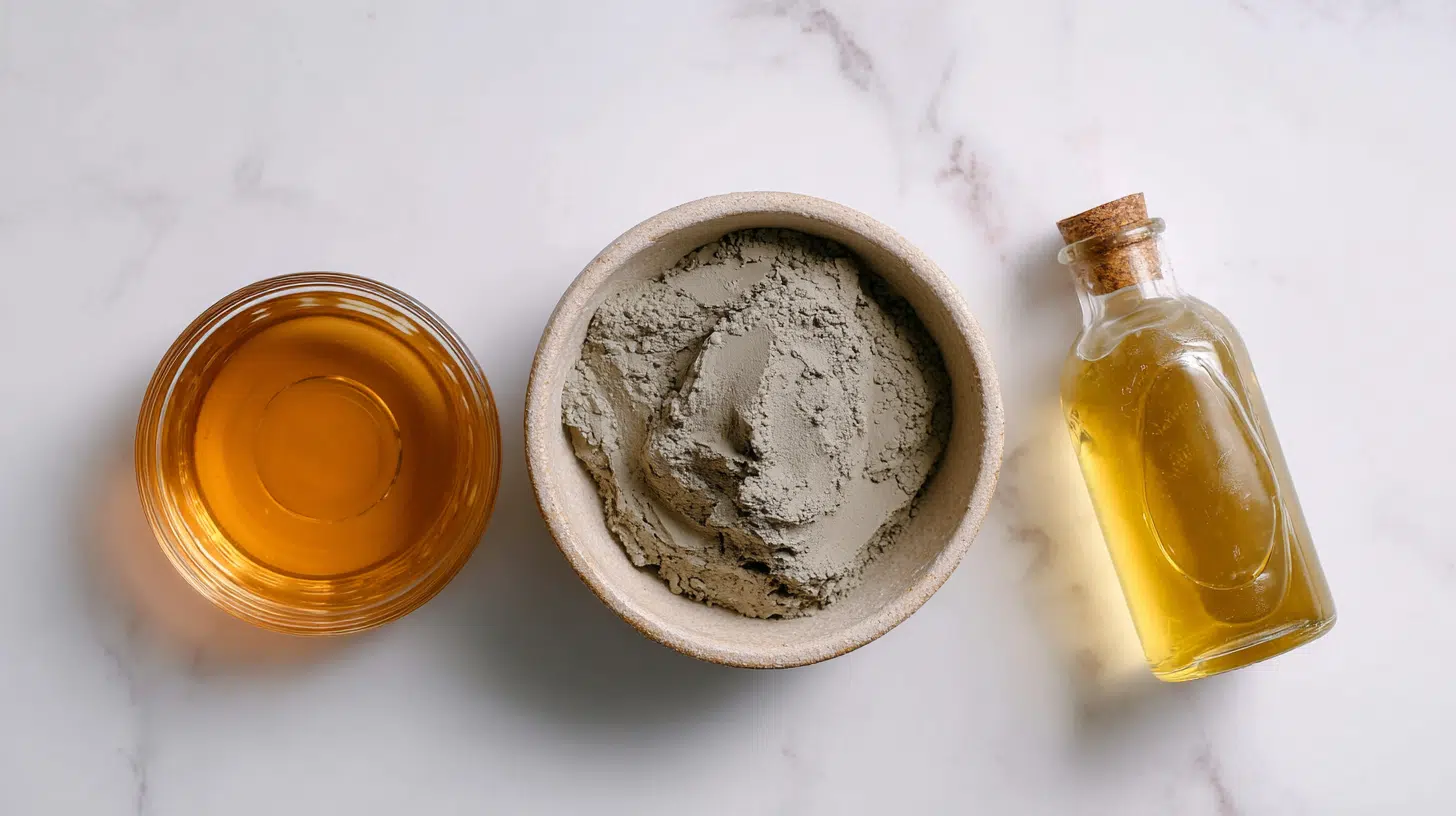
What You Need:
- 2 tablespoons bentonite clay
- 1 tablespoon apple cider vinegar
- 2 tablespoons argan oil
- Water to mix
Instructions:
- Mix clay with vinegar and water to make a paste
- Apply paste to your scalp only
- Apply argan oil to mid-lengths and ends
- Wait 15 minutes and rinse thoroughly
Why It Works: Clay absorbs excess scalp oil while argan oil nourishes dry ends without making roots greasy.
8. DIY Hair Mask for Split Ends
What You Need:
- 2 egg yolks
- 3 tablespoons olive oil
- 1 tablespoon honey
Instructions:
- Whisk egg yolks with olive oil and honey
- Focus on the last three inches of your hair
- Leave on for 25 minutes
- Rinse with cool water and shampoo
Why It Works: Egg protein temporarily binds and smooths the cuticle while oils smooth the cuticle. This won’t fix them permanently, but it helps until you trim.
9. Homemade Hair Mask for Itchy Scalp
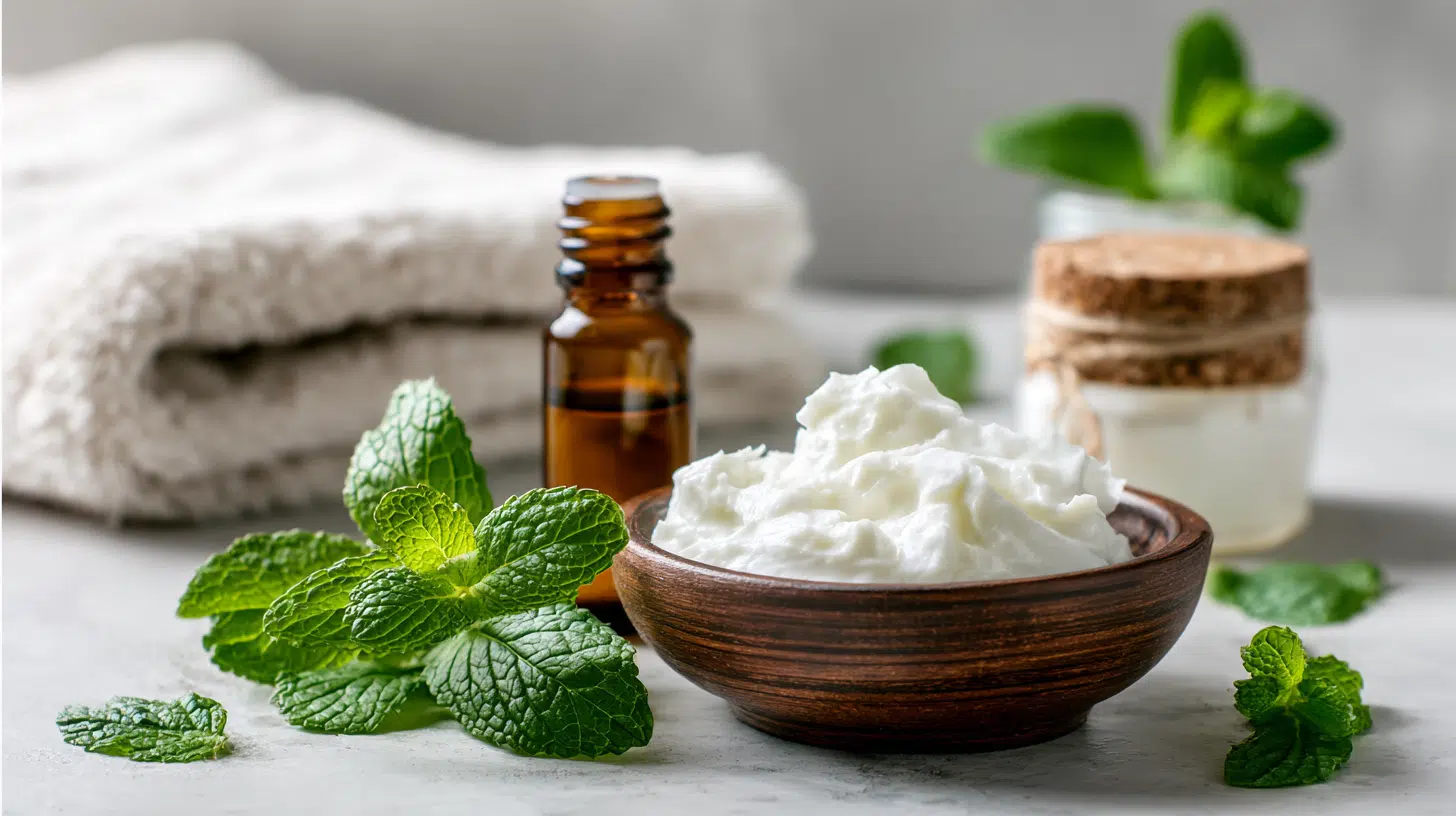
What You Need:
- 4 tablespoons plain yogurt
- 1 tablespoon peppermint oil
- 2 tablespoons coconut oil
Instructions:
- Mix everything until well combined
- Massage into your scalp
- Distribute through your hair
- Leave on for 20 minutes
- Rinse with cool water
Why It Works: Yogurt’s probiotics restore scalp health, peppermint cools irritation, and coconut oil moisturizes without clogging pores.
10. Homemade Mask for Hair Growth
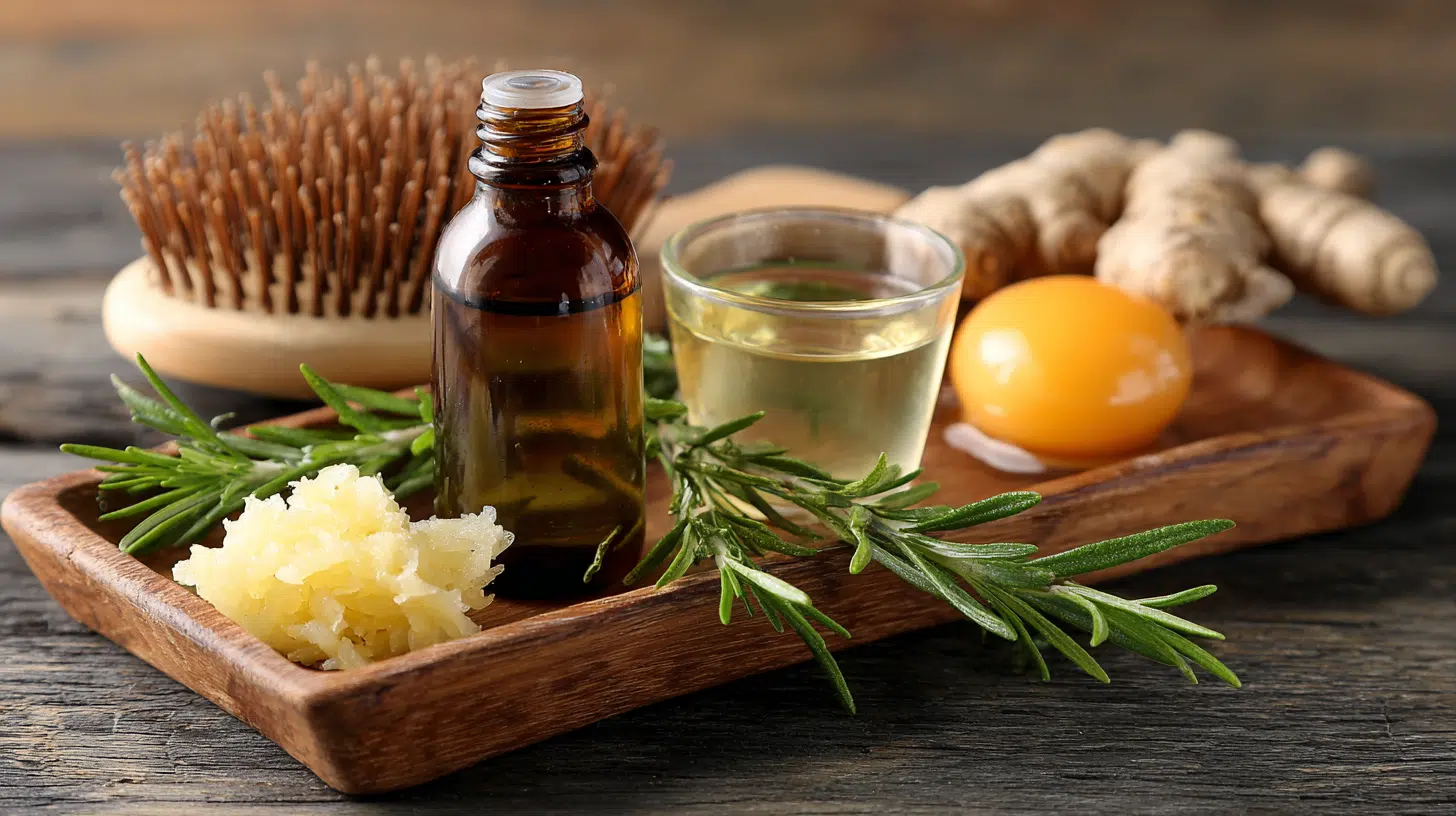
What You Need:
- 2 tablespoons castor oil
- 1 tablespoon rosemary oil
- 1 tablespoon ginger juice
- 1 egg
Instructions:
- Mix all ingredients thoroughly
- Massage into your scalp for 5 minutes
- Apply to the rest of your hair
- Wait 30 minutes before washing out
Why It Works: Castor oil stimulates follicles, rosemary improves circulation, and ginger reduces inflammation for healthy growth.
11. DIY Hair Mask for Color-Treated Hair
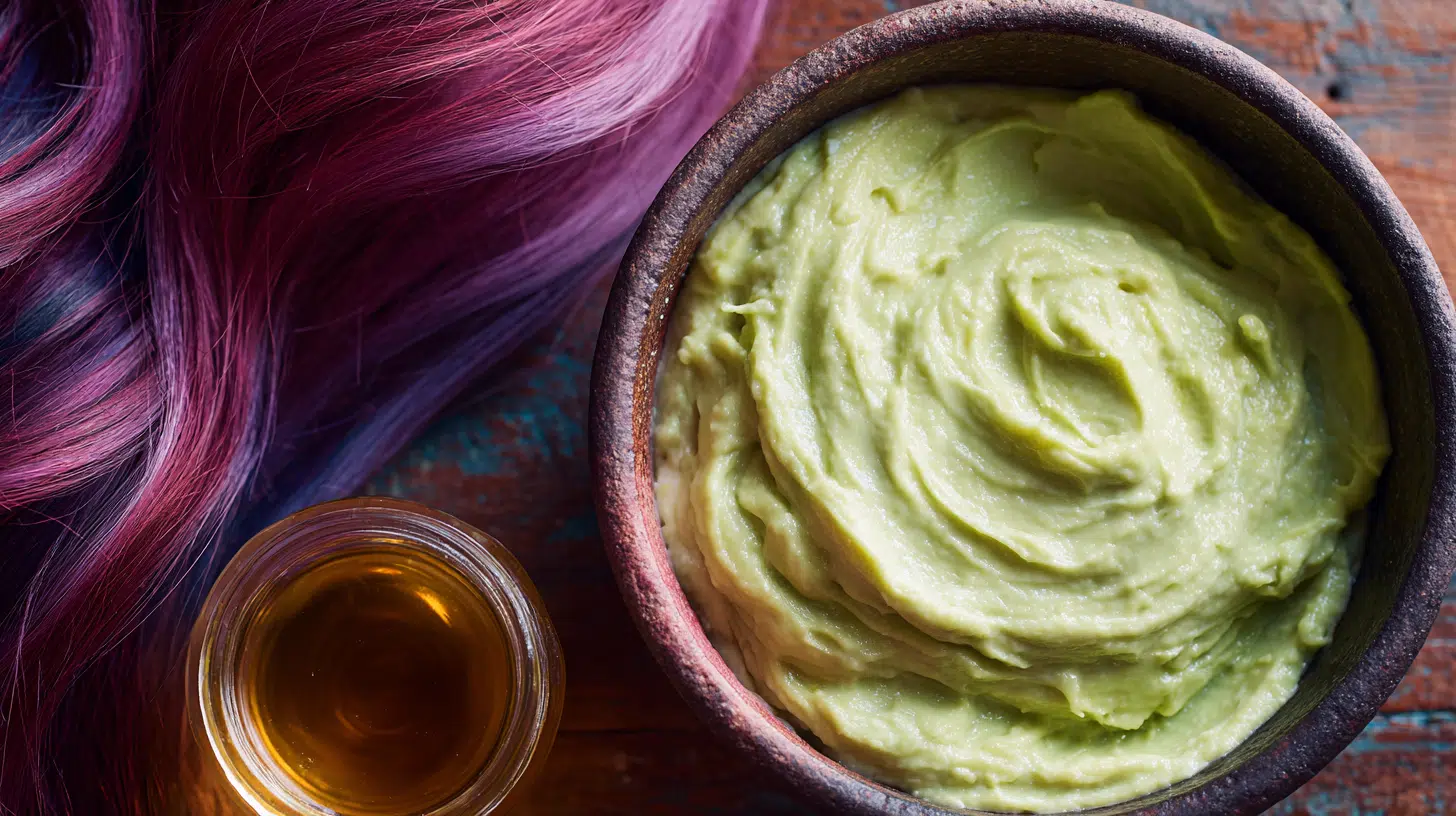
What You Need:
- 1/2 ripe avocado
- 2 tablespoons Greek yogurt
- 1 tablespoon coconut oil
- 1 teaspoon apple cider vinegar
Instructions:
- Mash the avocado until completely smooth
- Mix in Greek yogurt, coconut oil, and vinegar
- Apply to damp hair, avoiding the roots if you have an oily scalp
- Leave on for 20 minutes
- Rinse with cool water to seal the color
Why It Works: Greek yogurt locks in color while avocado and coconut oil restore moisture without fading your shade.
How Often to Use DIY Hair Masks?
Using masks too often can backfire. Your hair needs time to absorb nutrients between treatments.
- For Normal Hair: Once a week is perfect for steady improvement.
- For Dry or Damaged Hair: Twice a week works if your hair is really struggling. Space treatments three to four days apart.
- For Oily Hair: Once every 10 to 14 days is plenty. Focus on the ends, skip scalp.
- For Protein Masks: Once every two weeks maximum. Protein builds up fast and makes hair stiff if you overdo it.
- For Color-Treated Hair: Weekly masks help maintain moisture that dye strips away.
- Listen to Your Hair: Feels soft and manageable? Your schedule’s working. If it feels limp or straw-like? Adjust frequency.
Consistency matters more than frequency. Regular treatments at the right intervals beat random intensive sessions.
Common Mistakes People Make
Even simple recipes can go wrong. Here are the mistakes that ruin your results.
Leaving the Mask On Too Long: Stick to 20 to 30 minutes. Longer doesn’t mean better and can make hair stiff.
Using Hot Water to Rinse: Use cool or lukewarm water instead. Hot water strips moisture.
Skipping the Patch Test: Test ingredients on your inner arm first. Wait 24 hours before using on hair. You might be allergic to things you think are harmless.
Applying to Soaking Wet Hair: Towel dry first. Water dilutes the mask.
Not Rinsing Thoroughly: Rinse until water runs clear. Leftover product makes hair greasy and heavy, which defeats the whole point of treating it.
Using Masks Too Often: Once a week is enough. Daily use overloads your hair.
Ignoring Your Hair Type: Match recipes to your needs. Heavy oils weigh down fine hair, while thick, coarse hair needs richer formulas to see results.
How to Store Leftover Hair Mask Safely?
You made too many masks and don’t want to waste them. Smart thinking.
But storing homemade masks isn’t like storing store-bought ones. No preservatives means they go bad fast.
- Use airtight containers
- Refrigerate immediately
- Label with date and ingredients
- Check for spoilage before using
- Don’t store egg masks longer than two days
- Freeze oil-based masks for up to a month
- Make smaller batches instead
Storage helps reduce waste, but there’s another question worth asking.
Are homemade masks actually better than the ones you buy? Let’s compare.
DIY Hair Mask vs Ready-Made Hair Mask
Should you make your own or buy from a store? Both have their place.
| Factor | DIY Hair Mask | Ready-Made Hair Mask |
|---|---|---|
| Cost | Under $5 per batch | $10 to $50+ per jar |
| Ingredients | Fresh, natural, fully controlled | Contains preservatives |
| Customization | Fully customizable | One-size-fits-all |
| Shelf Life | 3 to 5 days in the fridge | 1 to 2 years |
| Convenience | Requires prep time | Ready to use |
| Mess Factor | Can be messy | Clean and smooth |
Choose homemade hair masks when you want control over ingredients, need a budget option, or have allergies.
They’re perfect if you enjoy DIY and don’t mind prep time. Go with ready-made masks for convenience, travel, or consistent results without experimenting.
They’re better if you’re new to hair care. Many people use both.
Wrapping Up
Your hair deserves ingredients you can trust, and now you have the recipes to make that happen.
Start with one mask that targets your biggest concern.
Mix it fresh, apply it right, and give it a few weeks to show results. Real change takes consistency, not miracles.
Ready to ditch expensive treatments that disappoint? Grab what’s in your kitchen and treat your hair to something actually good.
Your best hair day starts with a homemade hair mask you make today.
Read Next: Best Hair Masks for Damaged Hair