Salon visits drain the wallet fast, and honestly, not everyone has two hours to spare on a weekday.
A lot of people walk out with perfect nails, only to find chips by Wednesday.
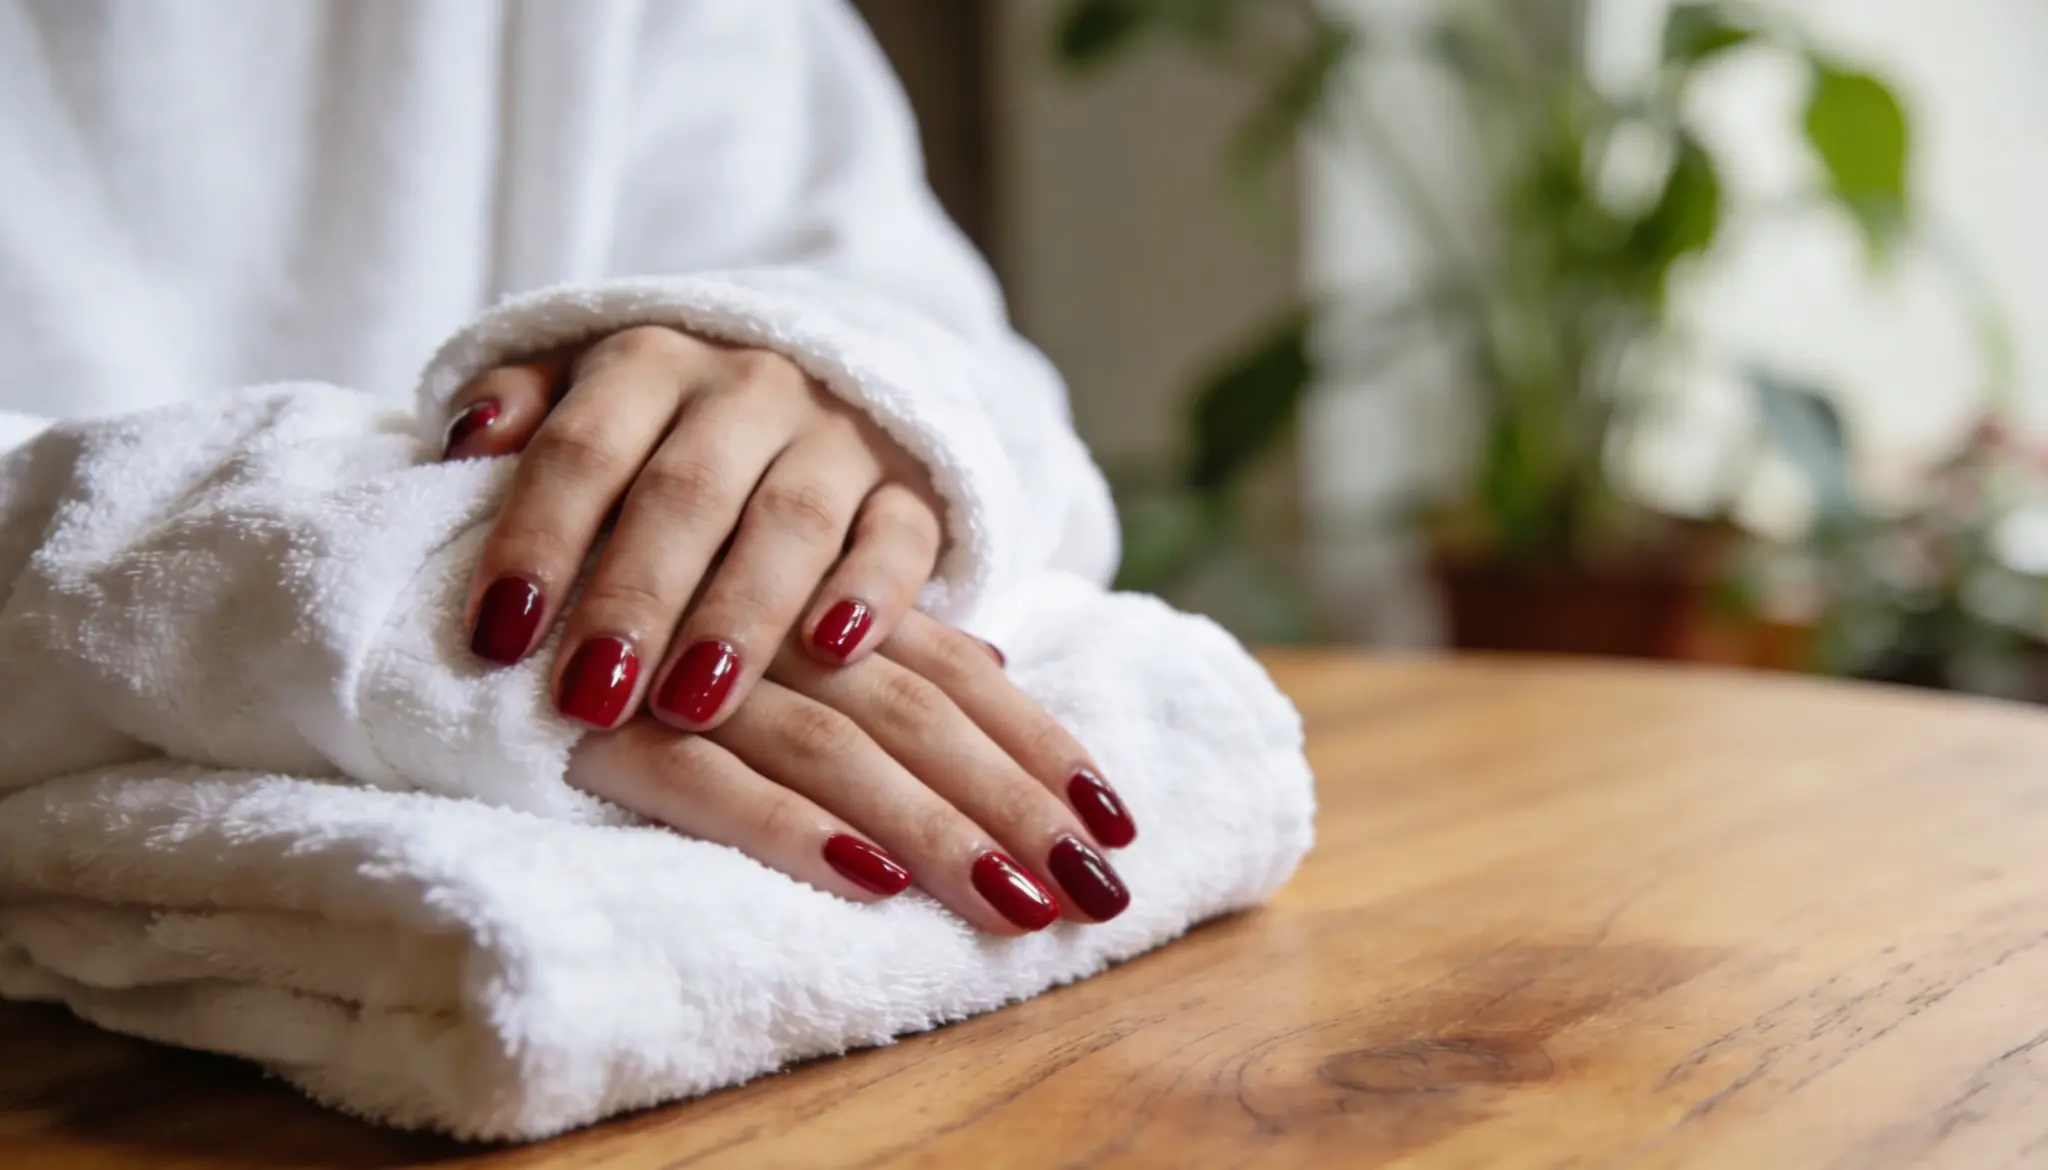
That is exactly why so many are switching to a diy manicure and never really looking back.
With the right tools and a simple routine, getting clean and polished nails at home is far more doable than it sounds.
The steps are simple once you know the right order. Most people mess up at prep, not polish.
Tools for a DIY Manicure at Home
A dull nail file and a dried-up cuticle pusher will sabotage a manicure before the polish even opens.
These are the tools actually worth having!
Shaping and Prep
- Nail Clippers
- Nail File
- Nail Buffer
Cuticle Care
- Cuticle Pusher
- Cuticle Nippers
Polish
- Base Coat
- Nail Polish
- Top Coat
Finishing
- Cuticle Oil
- Cotton Pads
- Nail Polish Remover
Never skip prep. Dirty tools, oily surfaces, and damp nails are the main reasons polish chips early. Always wash your hands, sanitize tools, and make sure your nails are fully dry before starting.
Step-by-Step Process to do a DIY Manicure at Home
The order of steps matters more than technique. Get the sequence right, and the results follow.
All it takes is the right order of steps and a little patience.
Rushing through even one step can affect how the whole manicure turns out, so taking it slow from the start is always worth it.
1: Remove Old Polish and Clean Your Nails
Soak a cotton pad in nail polish remover, then press it firmly against each nail and wipe downward. Work one nail at a time. Then soak the fingertips in warm, soapy water for 3 to 5 minutes and pat them completely dry.
Any moisture left on the nail plate stops the polish from bonding.
For an even more relaxing setup, pair the whole session with a self care routine beforehand. It softens the skin and sets the right mood.
Step 2: Take Care of Cuticles
Use a cuticle pusher to gently ease cuticles back toward the base of the nail. If there is any loose skin around the edges, cuticle nippers can carefully take care of it.
The aim is simply to expose the nail plate without disturbing the surrounding skin too much.
Going too deep with the nippers can break the skin barrier and leave the area sore for days afterward.
Step 3: Trim, Shape, and File
Use nail clippers to bring nails to the desired length, then refine the shape with a nail file.
Always file in one direction rather than sawing back and forth.
Round, oval, square, and squoval are the most common shapes to choose from depending on the natural width of the nail bed.
Glass nail files cause less splitting and fraying than standard emery boards and last much longer with proper care.
Step 4: Buff for a Smooth Finish
Take the smoothing side of a nail buffer and work across each nail in light circular motions.
This clears away surface ridges, old staining, and unevenness that would otherwise show through polish.
Dust off each nail with a dry cloth before moving on.
- Buff once every two to three weeks at most
- Over-buffing thins the nail plate and weakens nails over time
- Always wipe nails clean before applying any polish or treatment
Step 5: Apply Base Coat, Color, and Top Coat
Wipe each nail with a cotton pad lightly dampened with remover to clear away oils. Apply one thin layer of base coat and let it dry fully.
Then paint the color in three clean strokes, starting down the center and finishing with one stroke on each side.
Two thin coats always outperform one thick one. Seal with a top coat, running it along the nail tips to lock the edges in place.
Most people skip the wait and press a finger into wet polish without realizing it. Two full minutes between each coat is all it takes to avoid that entirely.
Step 6: Moisturize and Finish
Once the top coat has set, work a drop of cuticle oil around each nail and massage it into the surrounding skin.
Follow up with hand cream to keep everything soft between sessions. For a sharp finish around the edges:
- Dip a thin brush into remover and trace carefully around each nail
- Take it slow rather than trying to clean everything up at once
- Let nails dry fully before touching anything to avoid smudging
How Often Should You do an At-Home Manicure
There is no fixed rule, but most people do well with a fresh manicure every one to two weeks. Nail type and daily habits play a big role.
Oily nails need more frequent touch-ups since polish lifts faster, while dry or damaged nails benefit from a longer gap to recover.
These are the signs your nails are ready for a fresh coat:
- Polish is chipping or peeling at the tips
- The top coat has gone dull and lost its shine
- Cuticles look overgrown or ragged
- There is noticeable lifting at the sides of the polish
The American Academy of Dermatology recommends giving nails a rest between polish applications to prevent brittleness. Most people find that every ten to fourteen days is the sweet spot.
DIY Manicure vs Salon Manicure
Both options have their place depending on what someone needs. A salon visit has its appeal, but a well-done DIY manicure can hold its own in more ways than one.
| Factor | DIY Manicure | Salon Manicure |
|---|---|---|
| Cost | Low, minimal ongoing spend | $25 to $60+ per visit |
| Convenience | Anytime, no appointment needed | Requires booking and travel |
| Results | Great with regular practice | Consistently professional |
| Maintenance | Easy home touch-ups | Needs another salon visit |
| Hygiene Control | Full control over tools | Varies by salon |
| Long-term Value | Saves money over time | Costs add up over months |
Conclusion
The first attempt will not be perfect.
Neither was the second for most people. But by the third, the steps click, and the whole thing takes under thirty minutes.
It costs less than one salon visit to get fully set up at home. The tools last for months. The results keep getting better every time.
And honestly, there is something quietly satisfying about doing it yourself.
That is really all there is to it.
Frequently Asked Questions
1. Can I do a DIY Manicure if My Nails are Very Short?
Yes, short nails actually hold polish better and are easier to manage during the manicure process.
2. Is it Safe to Push Back Cuticles at Home?
It is safe as long as a proper cuticle pusher is used with gentle pressure and nails are softened beforehand.
3. What is the Best Way to Dry Nail Polish Faster?
Applying thin coats and using a quick-dry top coat significantly cuts down drying time between layers.
4. Should Nails be Soaked Before Every Manicure?
A short soak helps soften cuticles, but nails should be fully dried before applying polish.
5. Does Nail Polish Expire?
Yes, most nail polishes last two to three years and start to thicken, separate, or smell off once they go bad.