

You just stepped out of the shower, reached for your blow dryer, and paused.
Is your hair ready, or should you wait?
Most of us have been getting this wrong for years. Damp hair isn’t the same as wet hair, and mixing them up could be why your hair feels damaged or looks frizzy.
Once you know the difference, you’ll finally get those salon-worthy results at home.
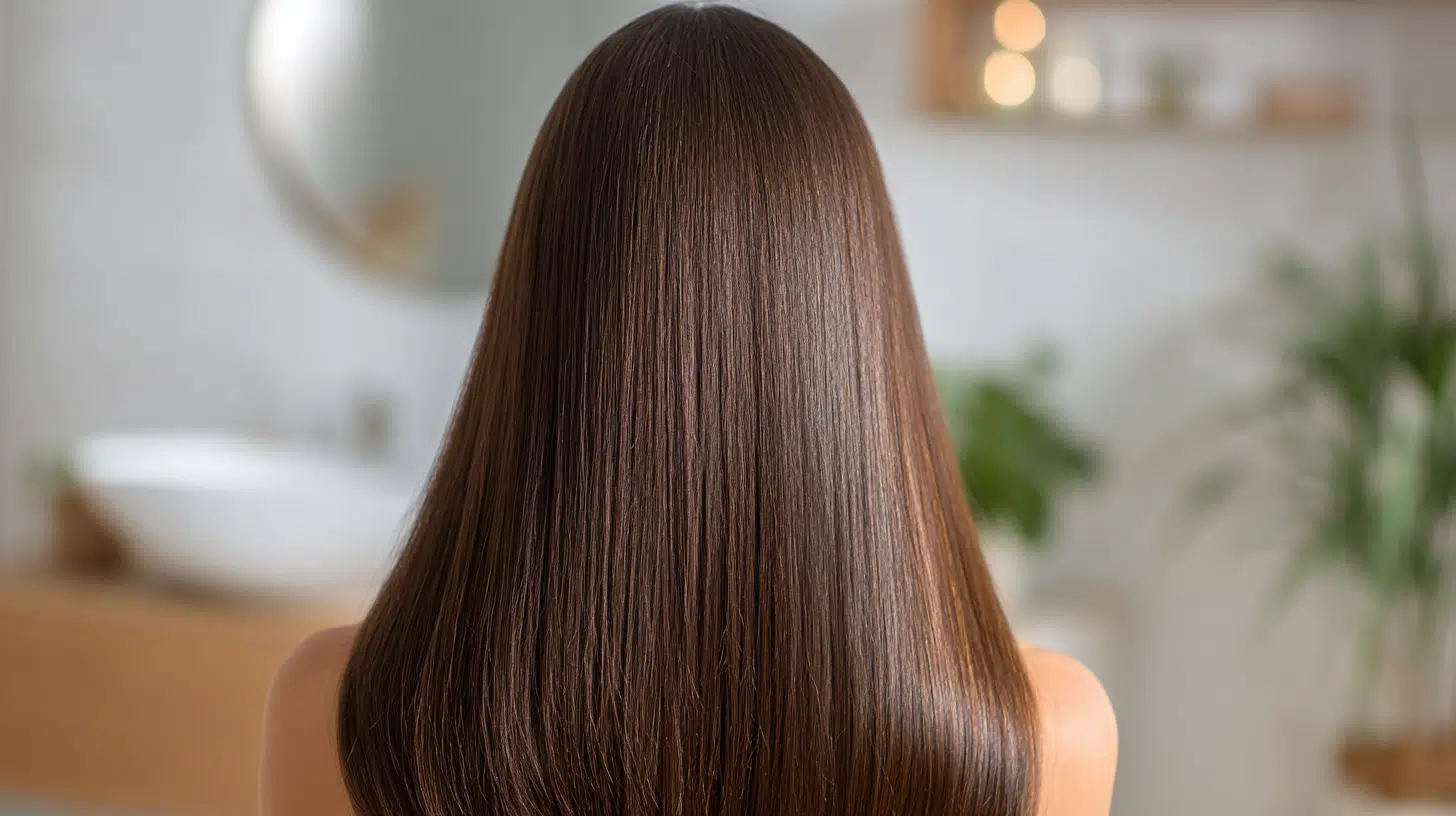
What Does Damp Hair Mean?
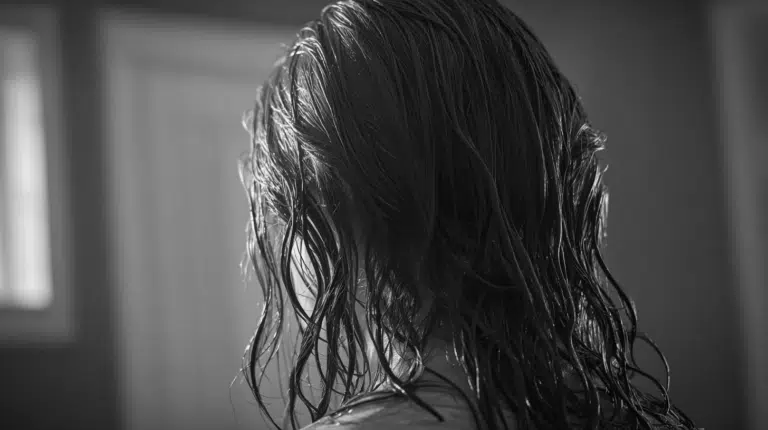
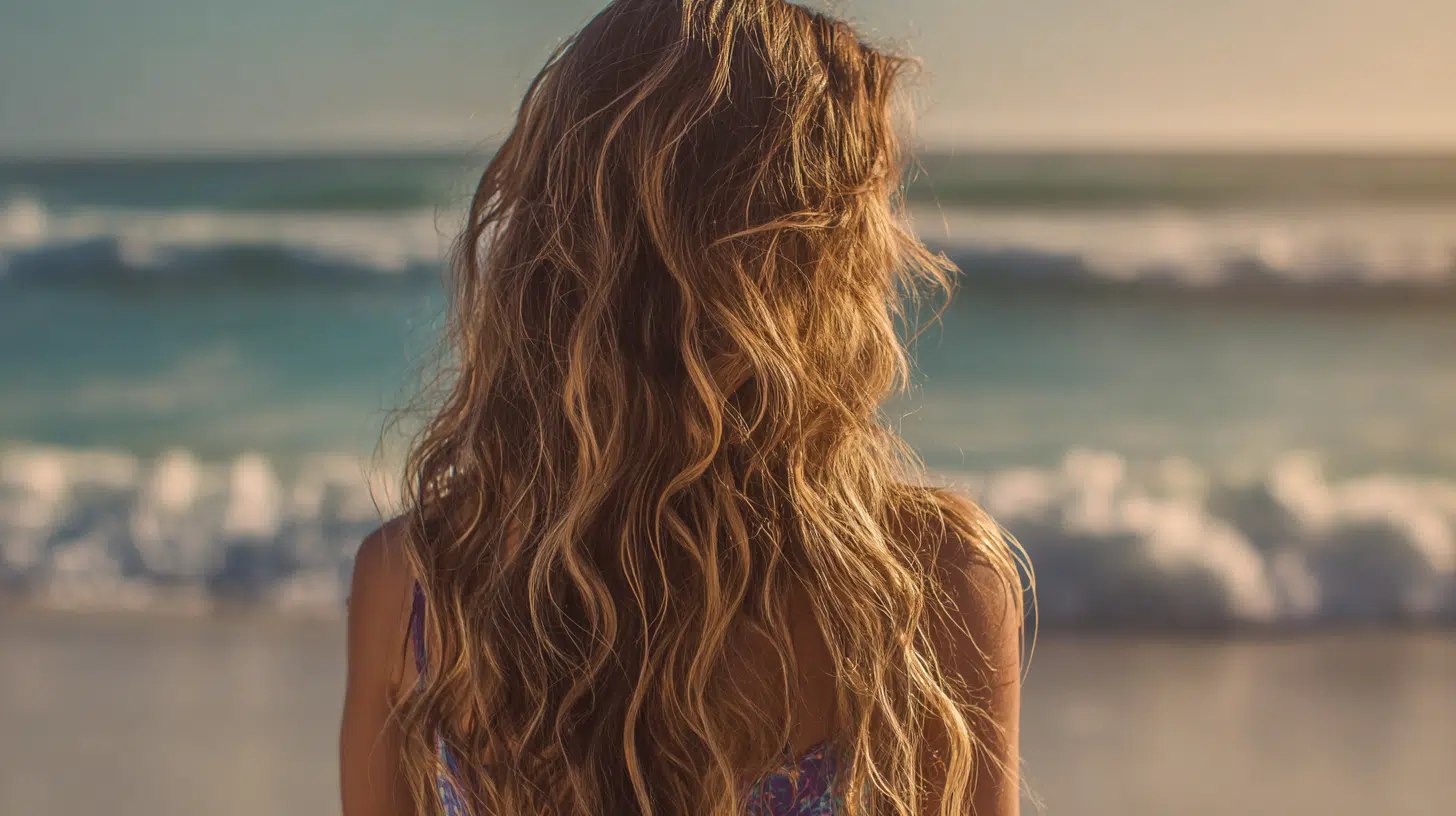
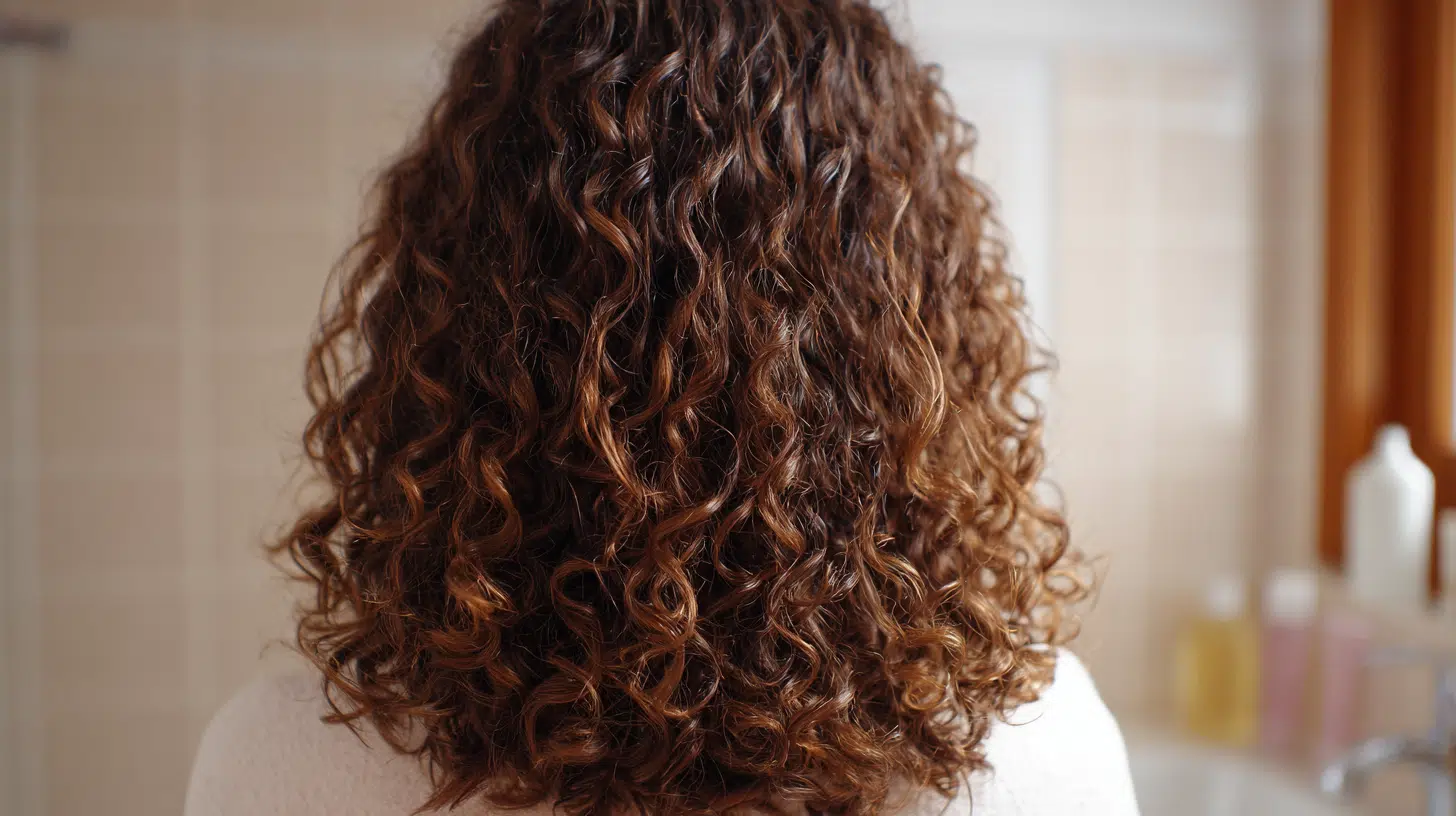
Damp hair is that in-between stage where your hair still holds moisture but isn’t soaking wet anymore. Think of it as slightly moist to the touch, not dripping water down your back.
When you first step out of the shower, your hair is saturated with water.
After you gently towel-dry it or let it air out for a few minutes, it moves into the damp phase. Your hair feels cool and a bit heavy, yet manageable.
Quick Test:
Squeeze a section of your hair. If water drips out, it’s still wet. If it feels slightly moist but no water comes out, you’ve hit the damp zone.
This stage is perfect for styling since your hair cuticles are open and ready to absorb products.
Why You Should Keep Hair Damp Before Drying?
Jumping straight from soaking wet to blow-drying might seem like a time-saver, but it actually works against you.
When hair is dripping wet, the heat has to work overtime to evaporate all that excess water.
Why is damp hair better for heat styling?
- Less heat exposure needed: You’re doing half the drying work without any heat at all, which means your dryer runs for less time.
- Cuticles start closing: As hair moves from wet to damp, cuticles begin to seal, making them less vulnerable to damage.
- Faster drying time: Damp hair responds to heat more efficiently than soaking wet strands.
- More even results: Heat distributes better when there’s less water to push through.
A few extra minutes of air-drying protects your strands and gives you better styling results.
Damp Hair vs Wet Hair vs Dry Hair
Understanding these three stages can save your hair from unnecessary damage and styling disasters.
Each one has different characteristics that affect how you should handle your hair.
| Hair State | Moisture Level | How It Feels | Strength | Best For |
|---|---|---|---|---|
| Wet Hair | Fully saturated | Heavy, drips when squeezed, cold to the touch | Most fragile, stretches easily | Gentle detangling with a wide-tooth comb |
| Damp Hair | Holds moisture but doesn’t drip | Cool, slightly heavy, no water comes out | Moderate strength, more stable | Applying products, heat styling, and careful brushing |
| Dry Hair | No moisture | Light returns to natural color, room temperature | Strongest state | Aggressive styling, tight hairstyles, thorough brushing |
The damp stage gives you the best balance between workability and strength. Your hair can handle styling without the extreme fragility of wet hair or the reduced product absorption of parched hair.
Proper Drying Techniques for Damp Hair
Drying your hair the right way starts the moment you step out of the shower. How you handle those first few minutes can make or break your final look.
1. Air-Drying Basics
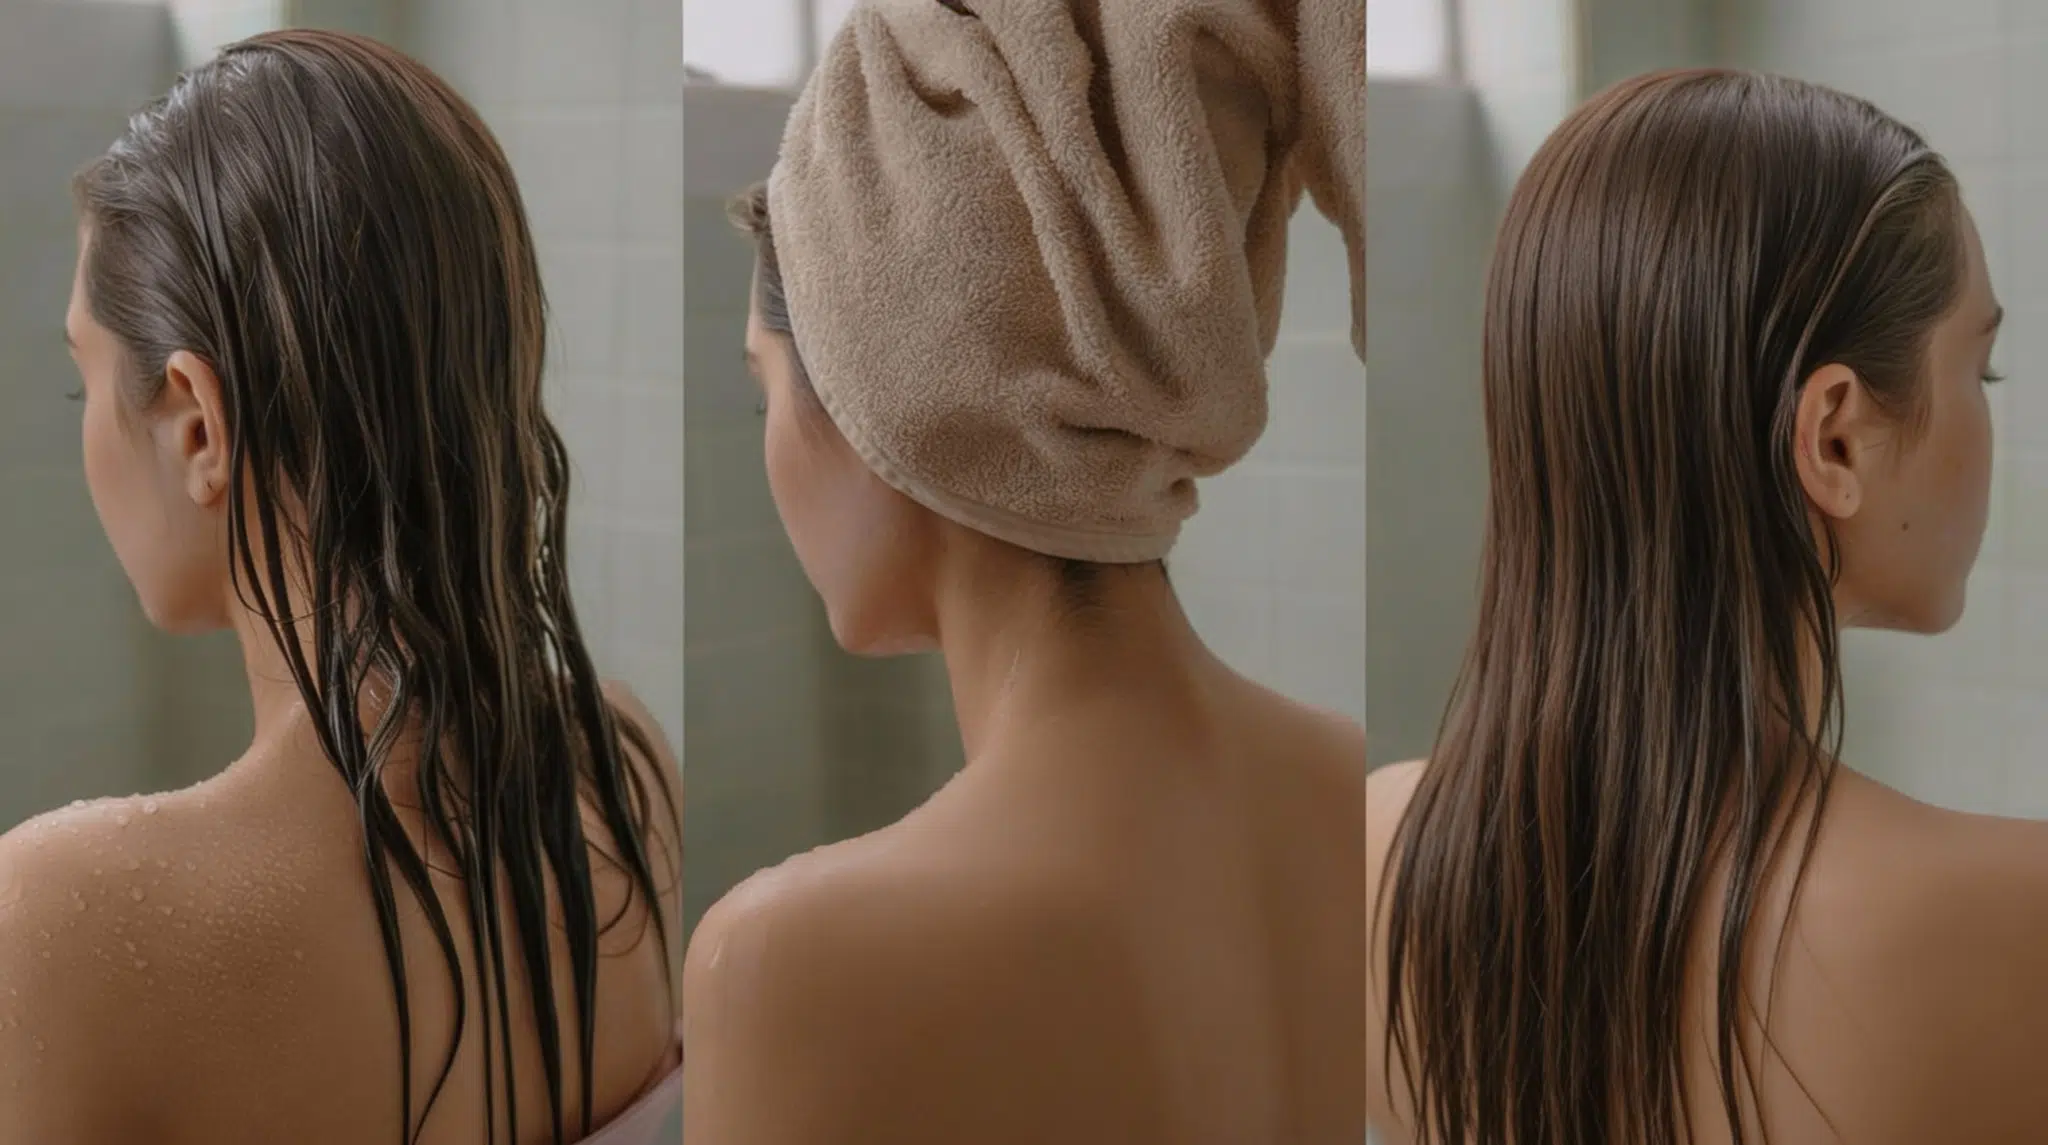
Gently squeeze out excess water with your hands, then wrap your hair in a microfiber towel or an old t-shirt.
These materials absorb water without creating friction. Let it sit for 5-10 minutes, and you’re already halfway there.
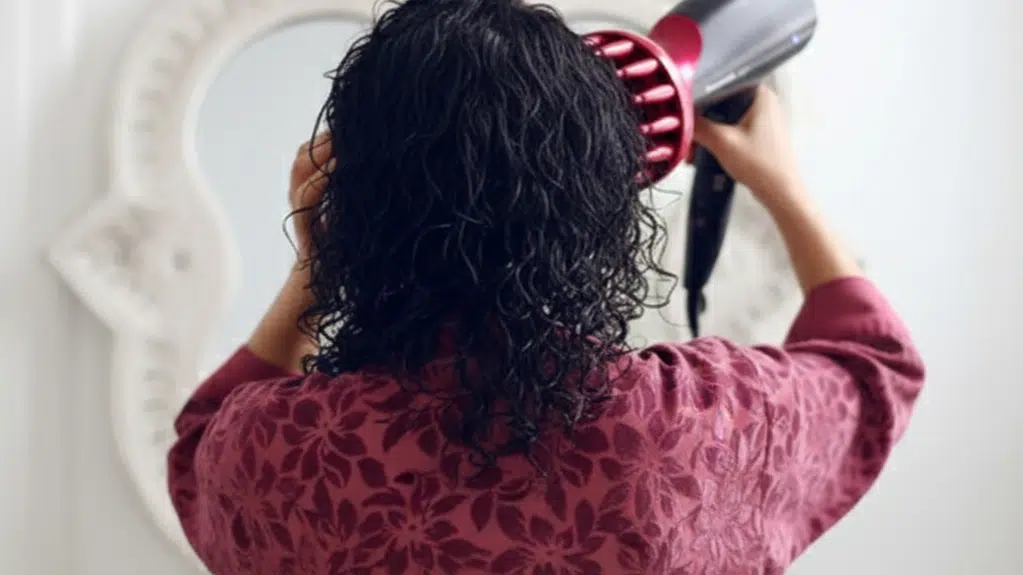
2. Blow-Drying from Damp
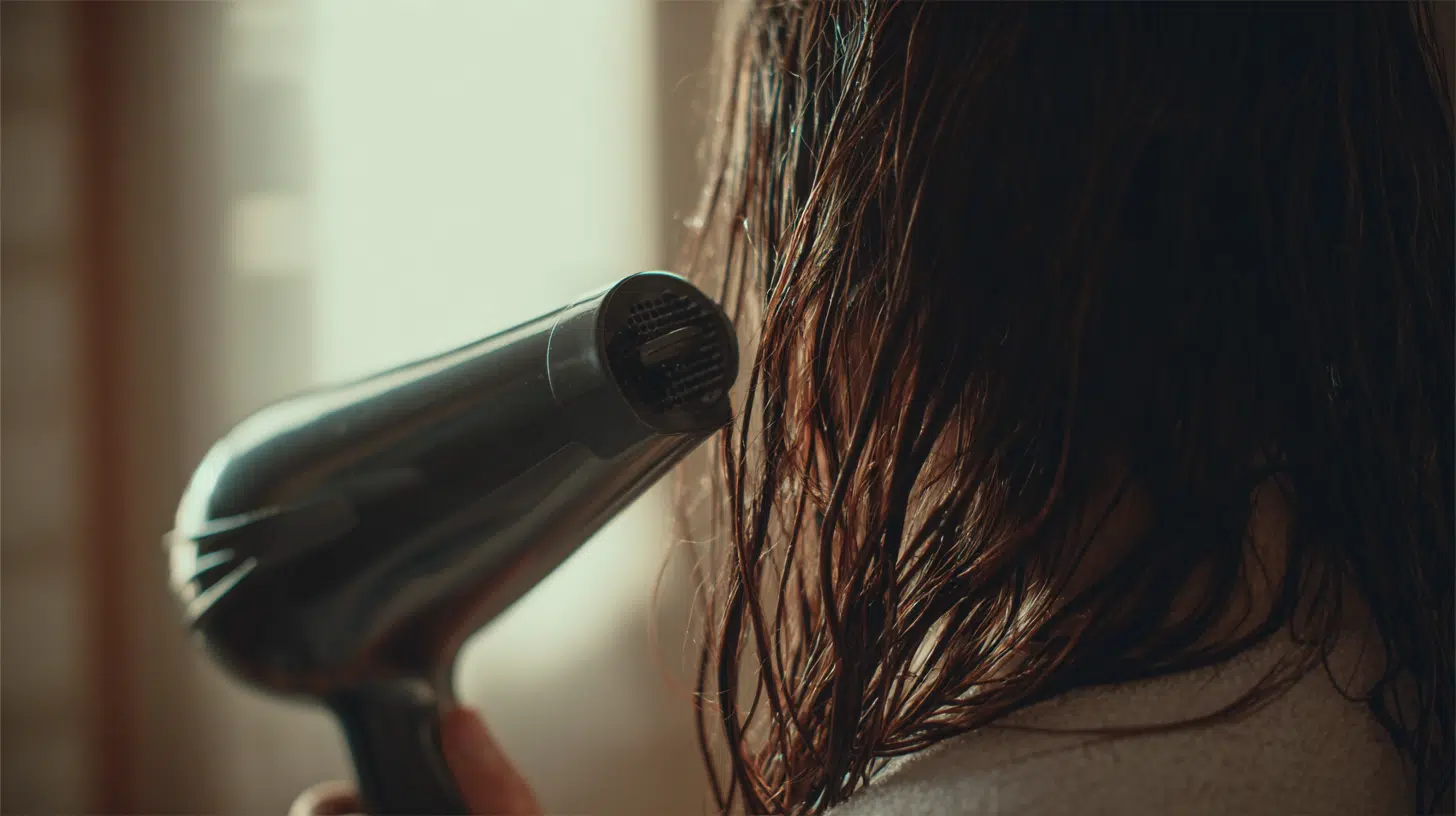
Keep your dryer on medium heat and hold it at least six inches away from your head. Move it constantly instead of focusing on one spot.
This prevents heat damage and gives you more even results.
3. Section by Section
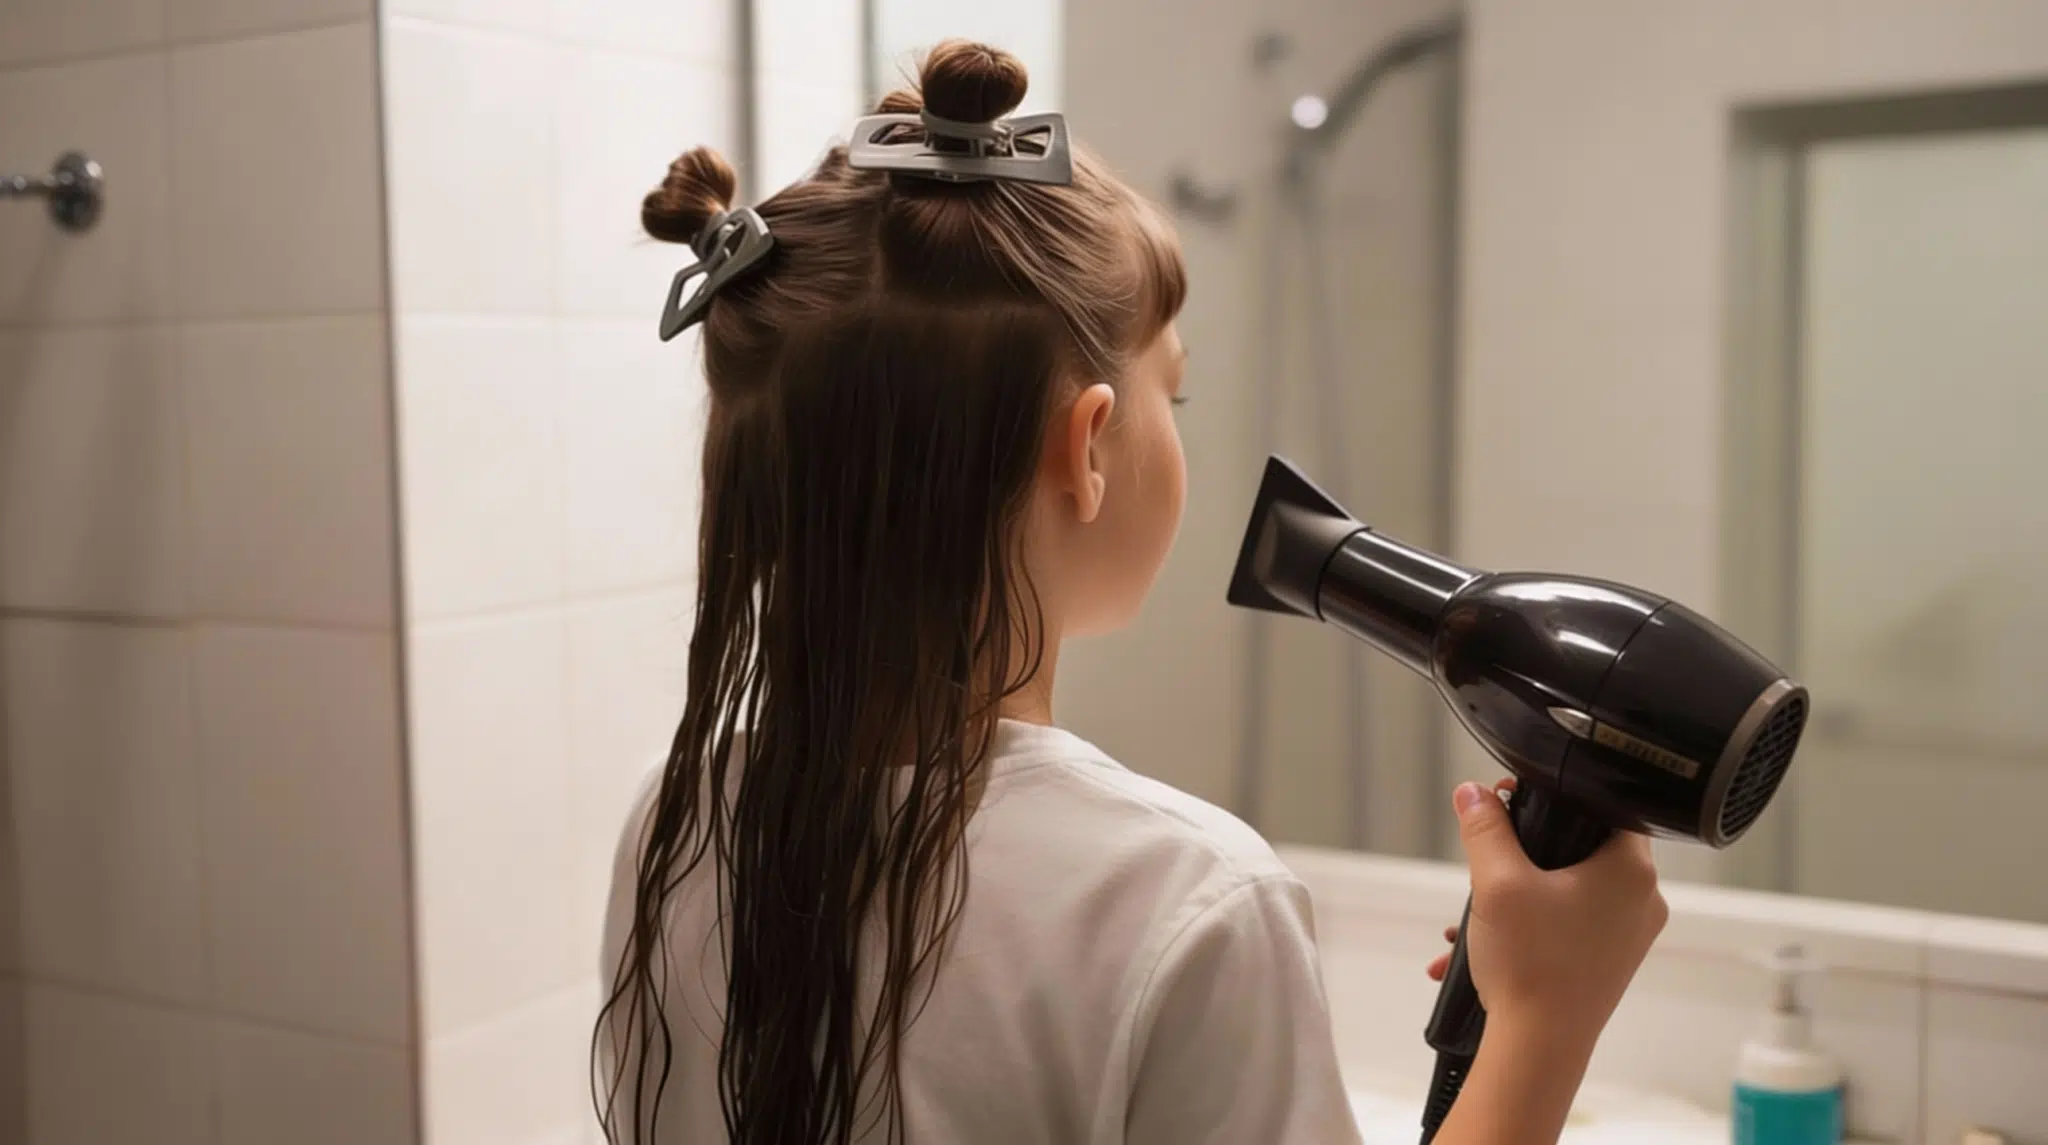
Clip your hair into manageable sections if it’s thick or long. Dry the bottom layers first, then work your way up.
This method cuts down on drying time and reduces the temptation to crank up the heat. Finish with a superb shot to seal everything in place.
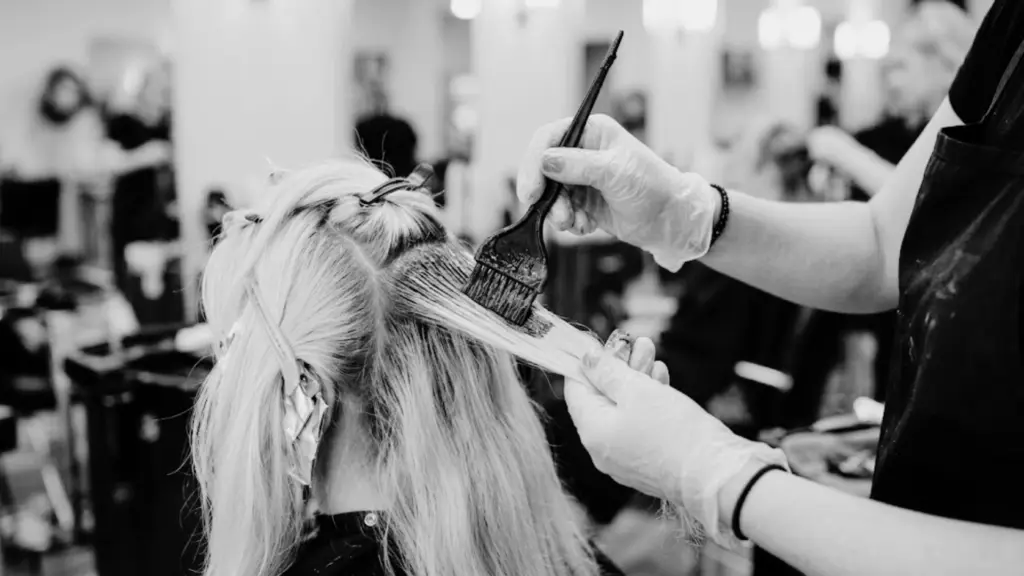
Styling Damp Hair With Different Hair Types
Not all hair responds the same way to styling when it’s damp. What works for straight hair might turn curly hair into a frizzy mess, and vice versa.
Straight Hair
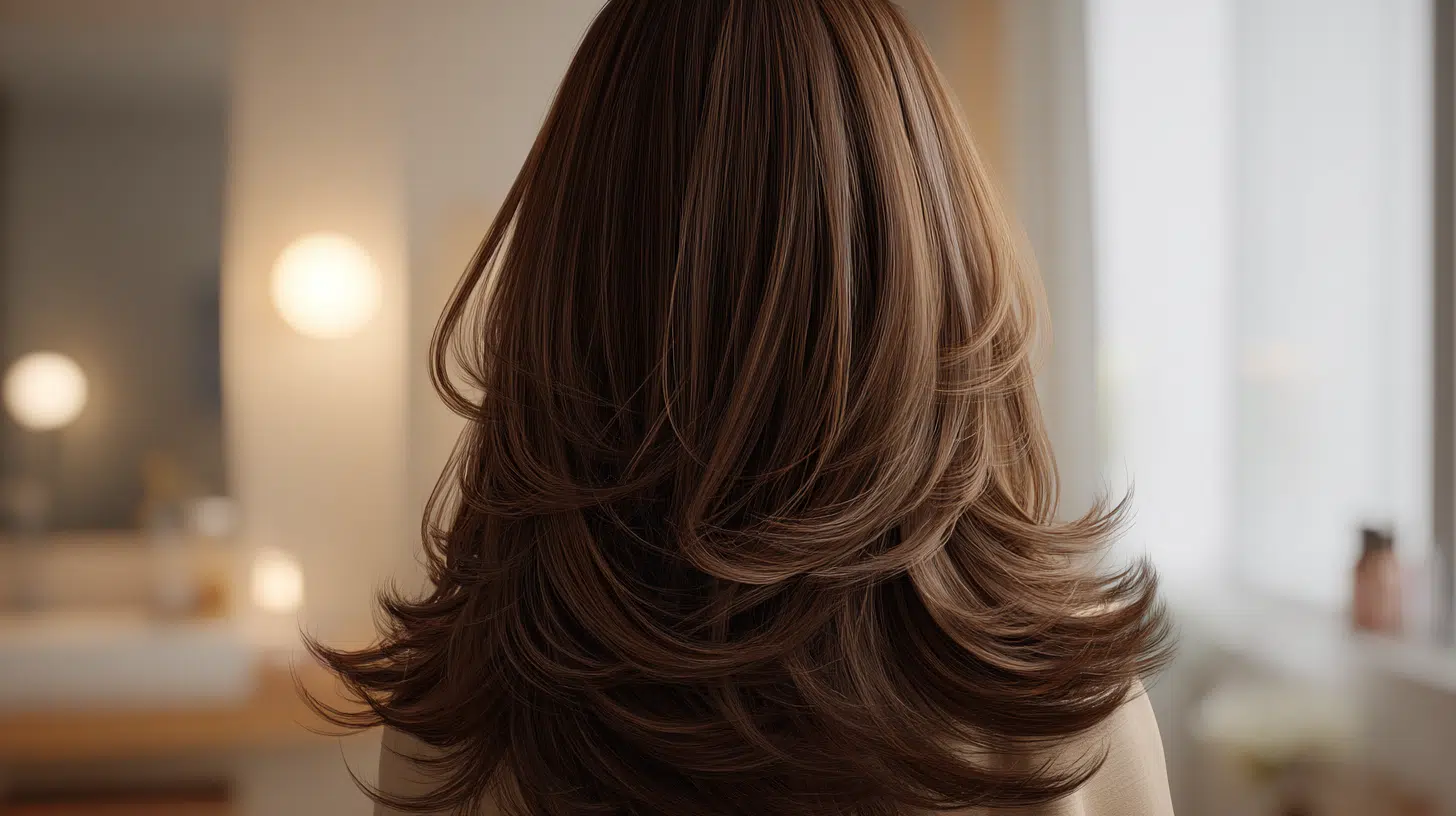
Straight hair holds styles well when you start from the damp stage. It’s easier to add volume or smooth it down before it dries completely.
1. Sleek and Smooth
Apply heat protectant to damp hair and work it through evenly.
Use a paddle brush to pull hair straight while blow-drying from roots to ends. Keep the dryer moving constantly for that glass-like shine.
2. Bouncy Blowout
Section damp hair and apply volumizing mousse at the roots for extra lift.
Wrap each section around a round brush while blow-drying, rolling the ends under as you work.
The tension creates volume that lasts all day.
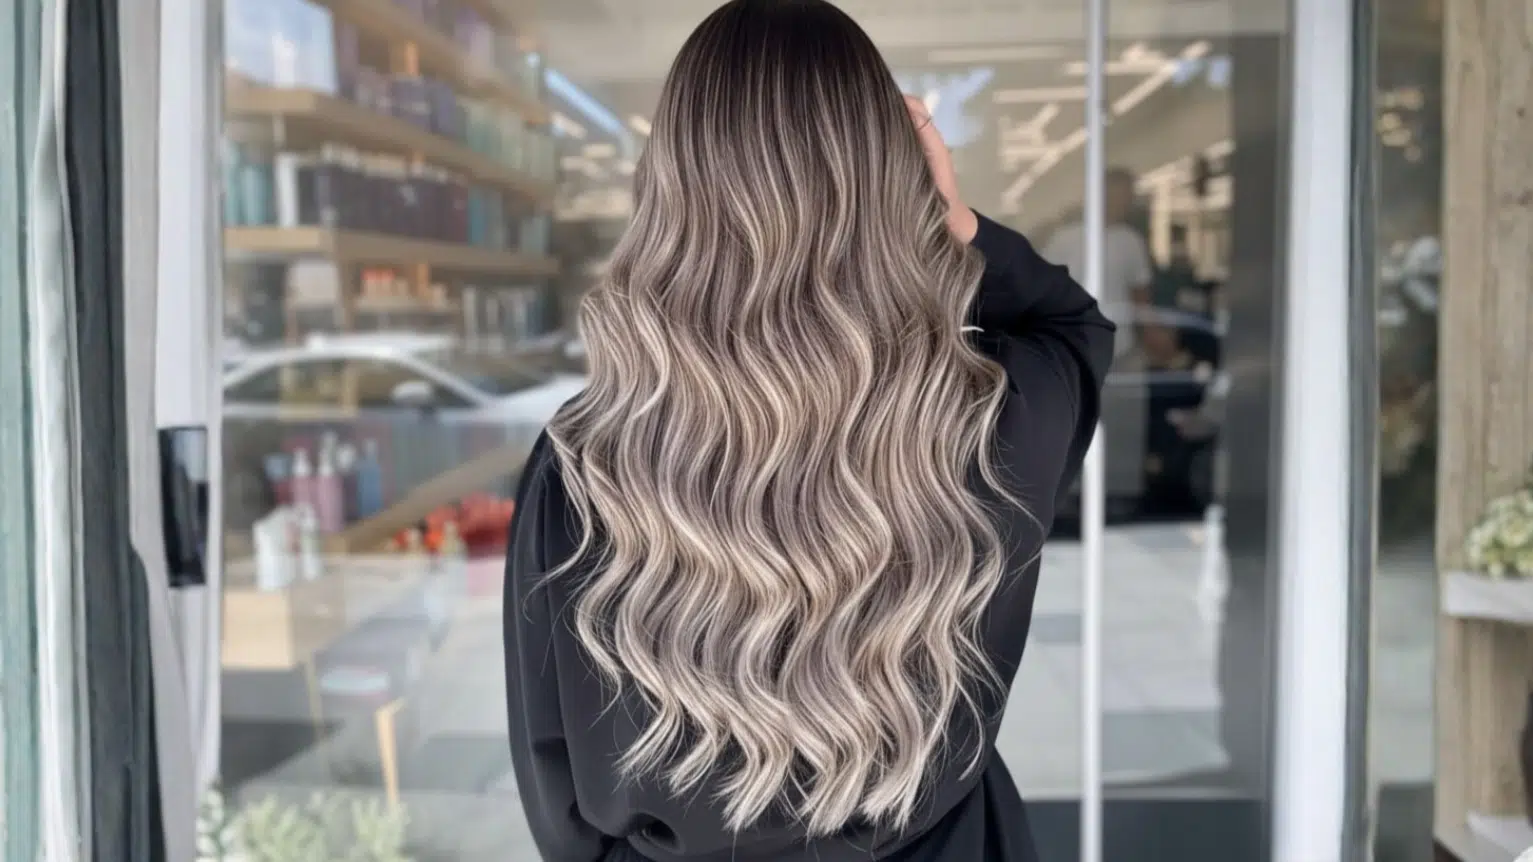
3. Textured Waves
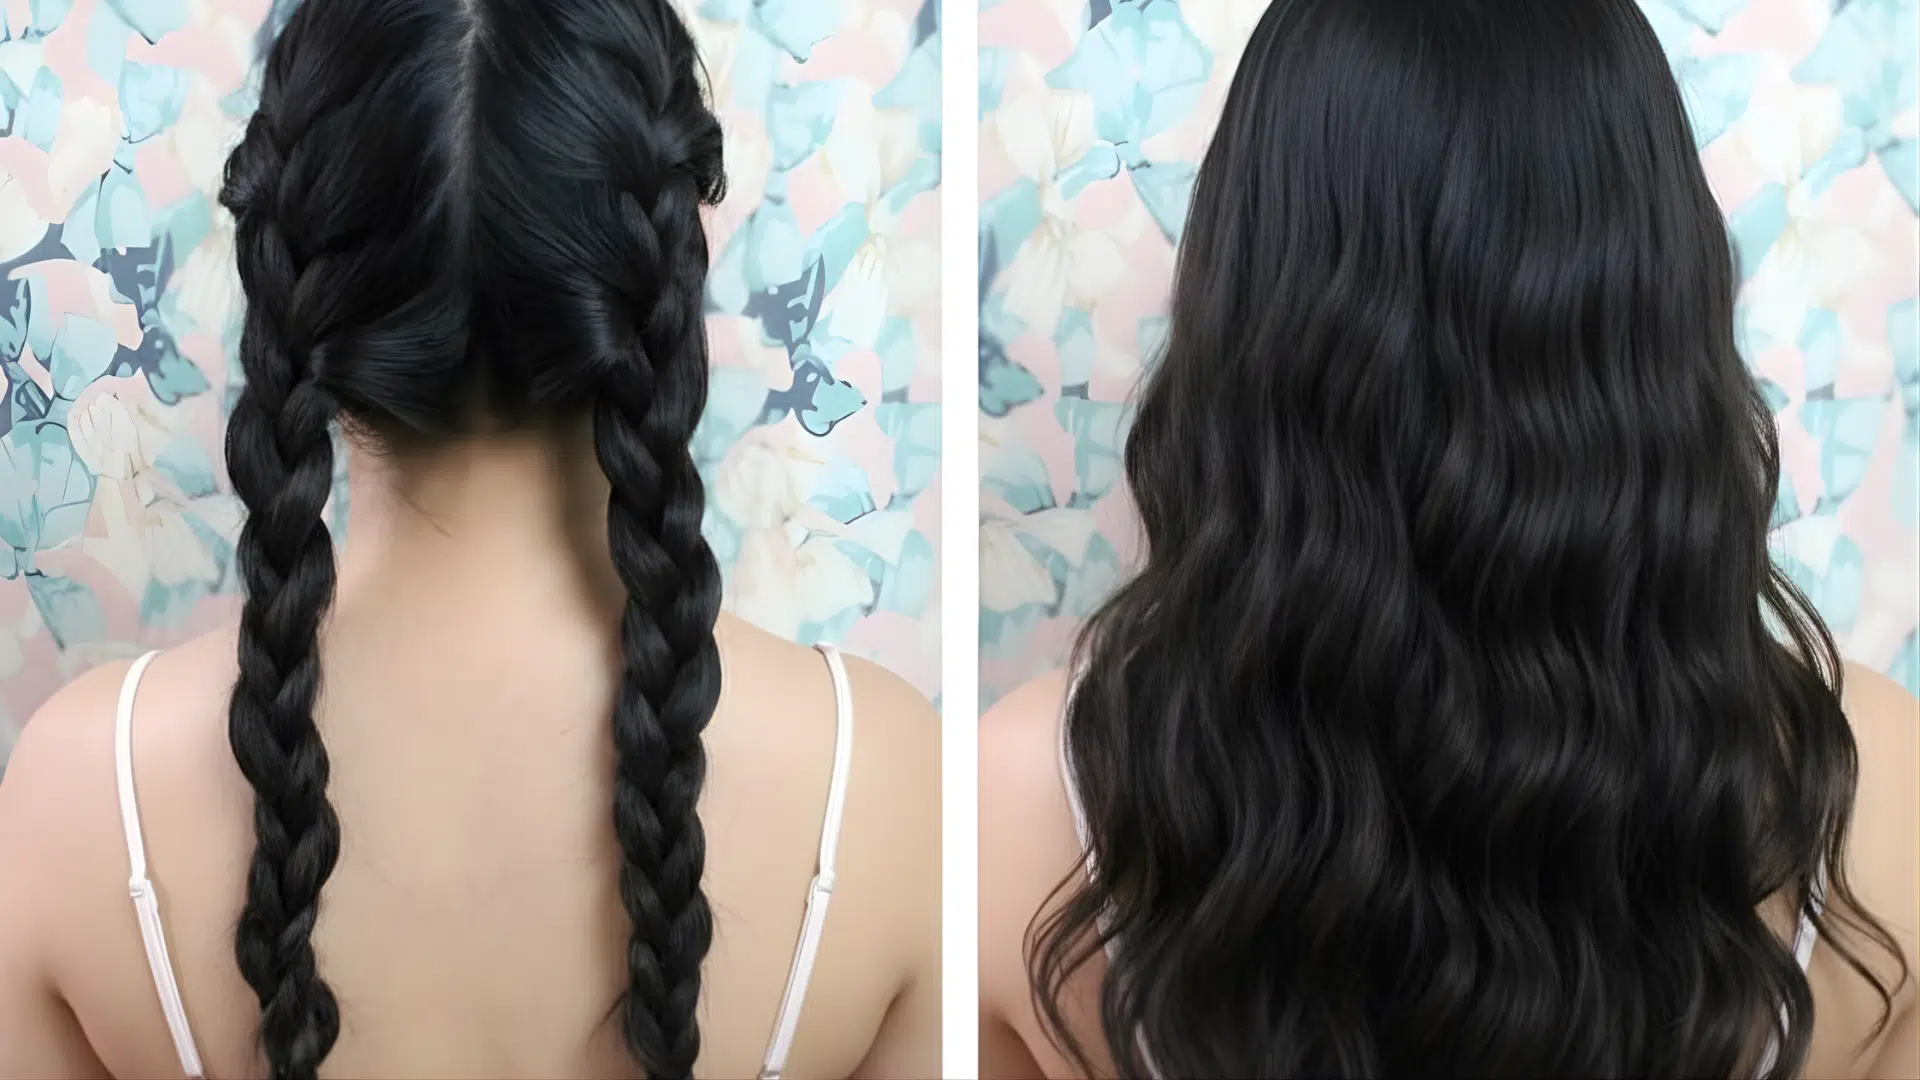
Divide damp hair into two or three loose braids.
Air-dry completely, then unravel for effortless bends. Looser braids mean softer waves.
4. Slicked-Back Style
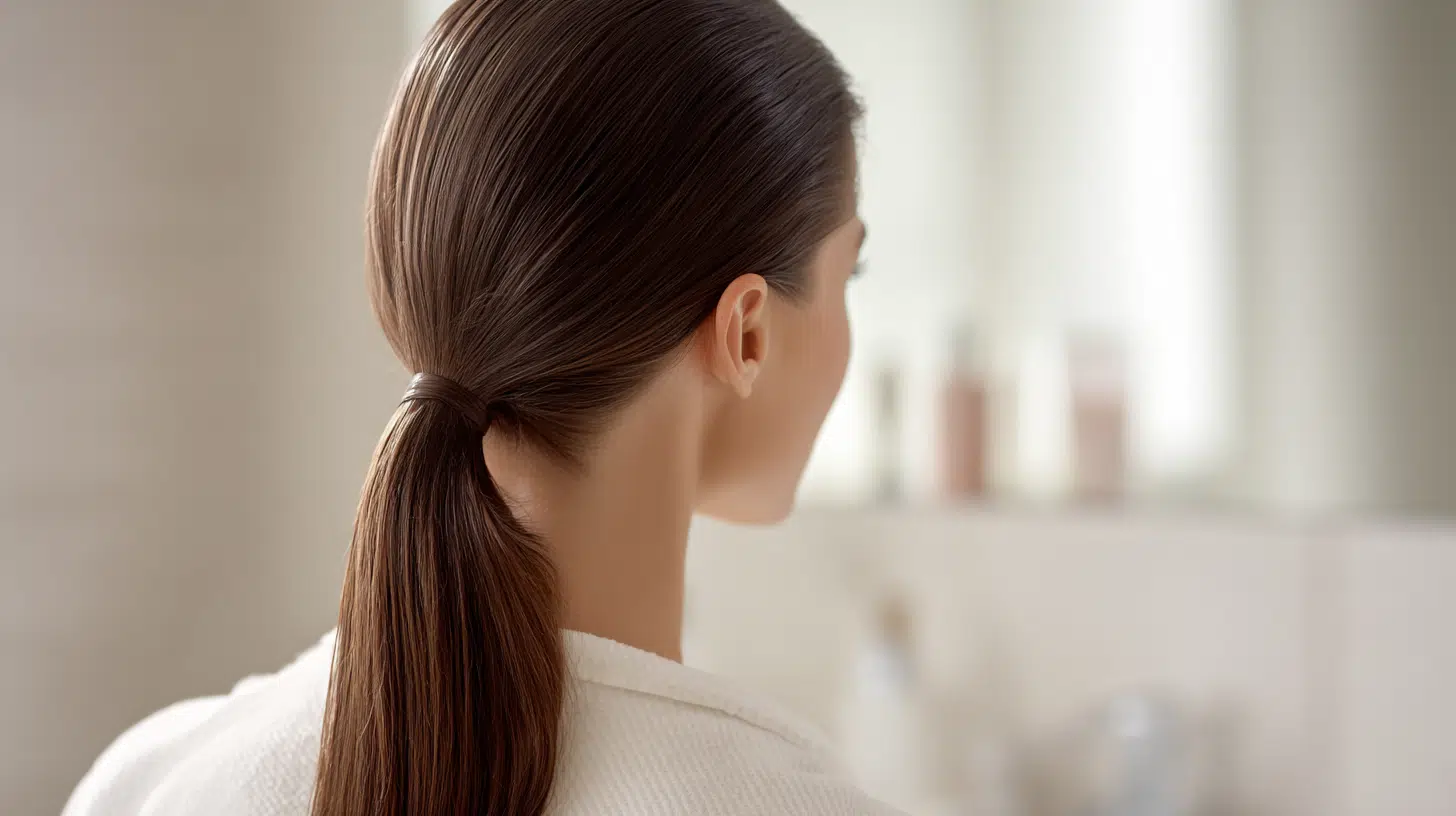
Comb gel through from roots to ends.
Smooth everything back and secure into a low bun or ponytail, letting it dry in place for a polished hold.
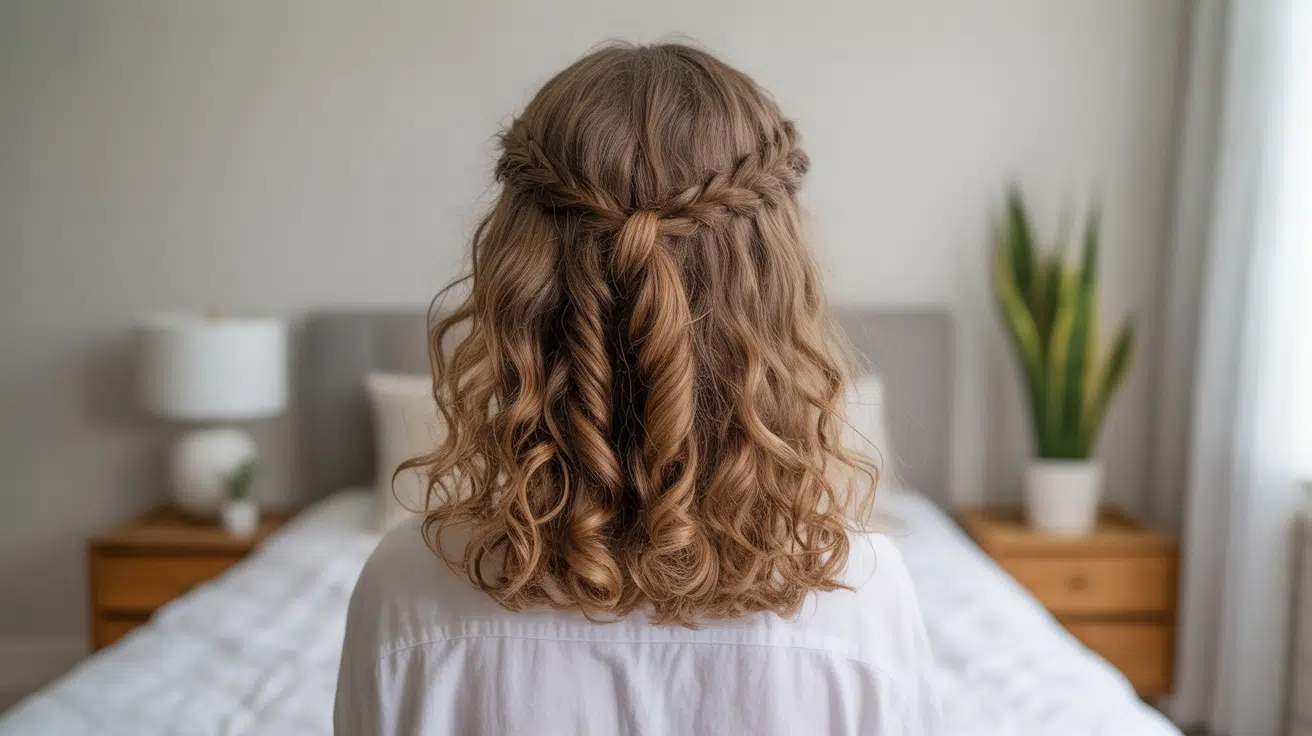
Wavy Hair
Wavy hair comes alive with the right products on damp strands.
You can enhance your natural texture or add extra definition without fighting against your hair’s natural pattern.
5. Beachy Waves
Spray sea salt spray throughout damp hair, focusing on mid-lengths and ends. Scrunch upward from the bottom and let it air-dry naturally.
The salt enhances your natural wave pattern for that casual texture
6. Defined Waves
Apply curl cream to damp hair in small sections. Twist each section around your finger to encourage curl formation, then release gently.
Air-dry completely for consistent, frizz-free waves.
7. Volume Boost
Flip your head upside down and apply mousse to the roots.
Diffuse on low heat while scrunching upward. This lifts roots and enhances your natural pattern.
8. Half-Up Twist
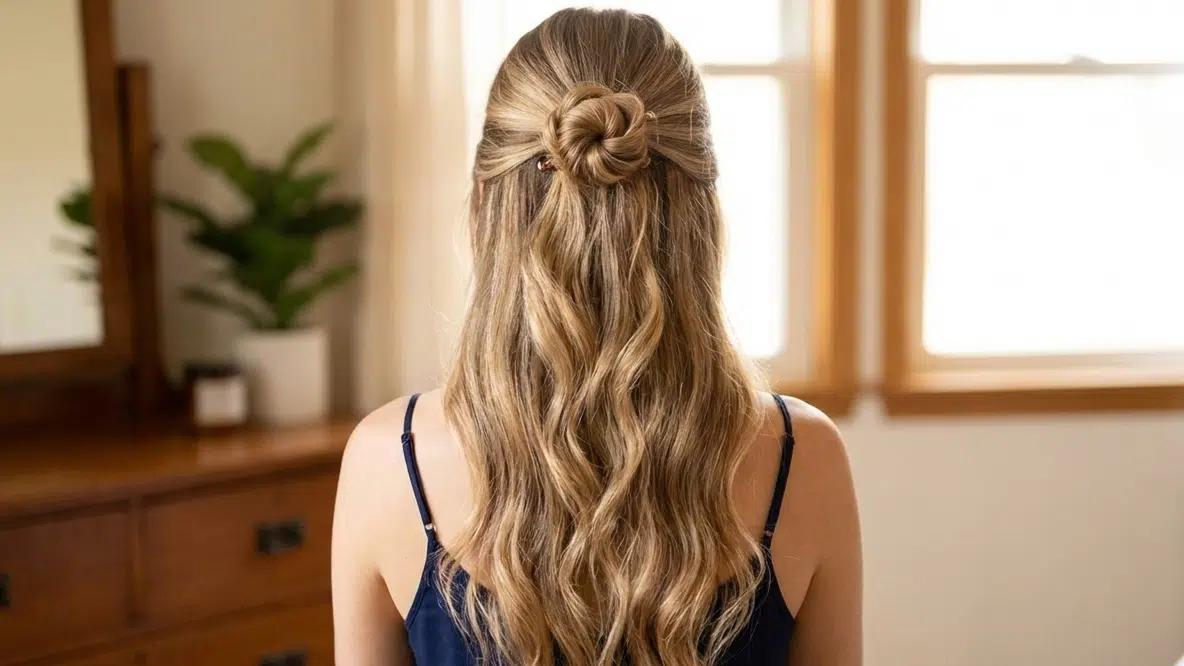
Pull the top section of damp hair back and twist gently. Secure with a clip and let the rest air-dry naturally.
This creates an easy, versatile look that keeps hair off your face.
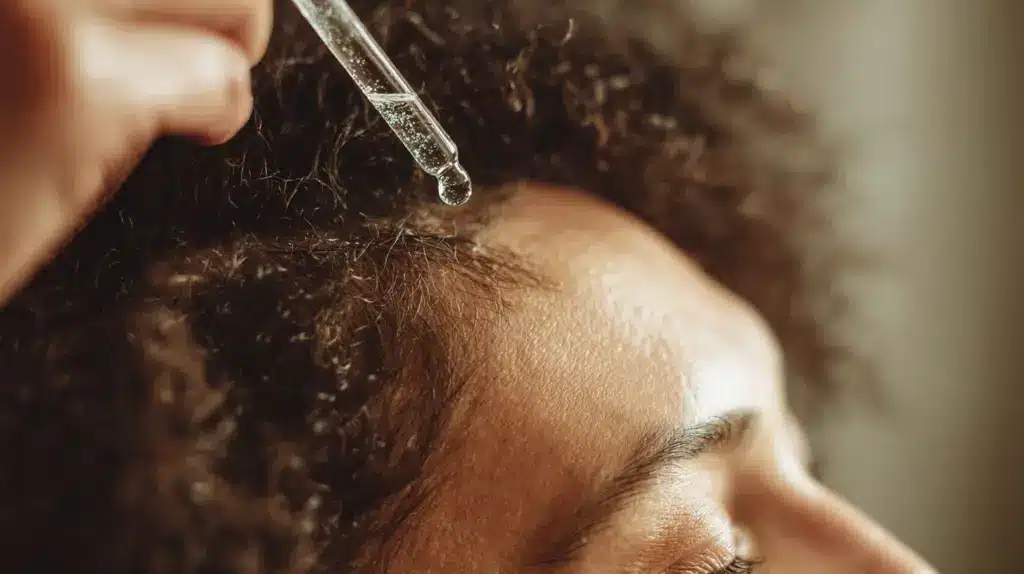
Curly and Coily Hair
Curly and coily textures need moisture locked in while hair is still damp. The proper technique keeps curls defined and frizz under control as they dry.
9. Wash-And-Go
Apply leave-in conditioner and gel using the praying hands method to smooth products down.
Scrunch gently, then air-dry or diffuse without touching until completely dry.
10. Braid-Out
Braid damp hair into several sections after applying the product. Smaller braids create tighter curls, while larger ones give looser waves.
Let dry overnight, then unravel for soft curls with reduced shrinkage.
11. Pineapple Updo
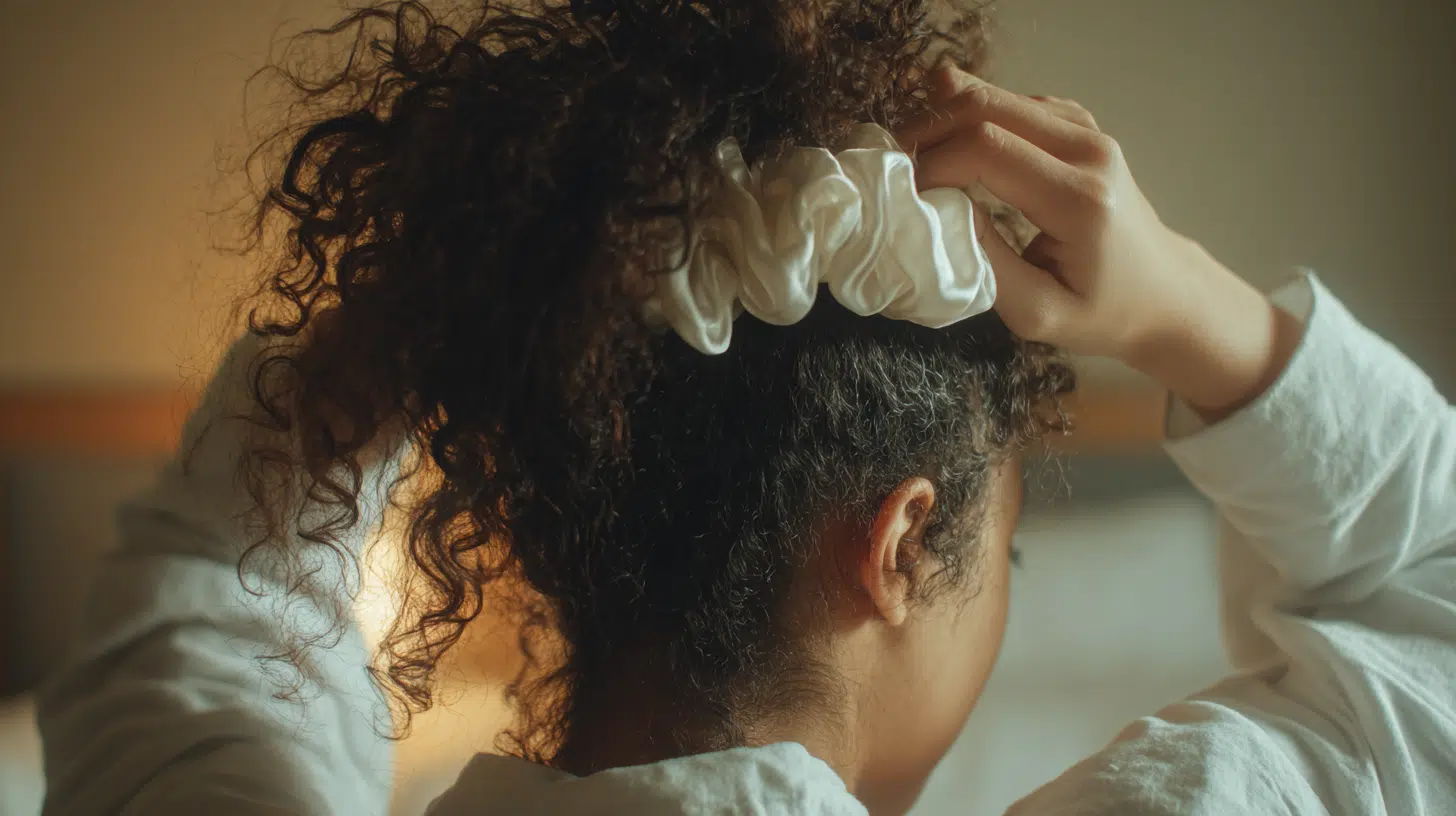
Gather curls loosely at the top of your head using a silk scrunchie.
This preserves your curl pattern while you sleep, and curls fall naturally when released.
Each hair type has its sweet spot when it comes to damp styling. Knowing yours means less frustration and better results every time.
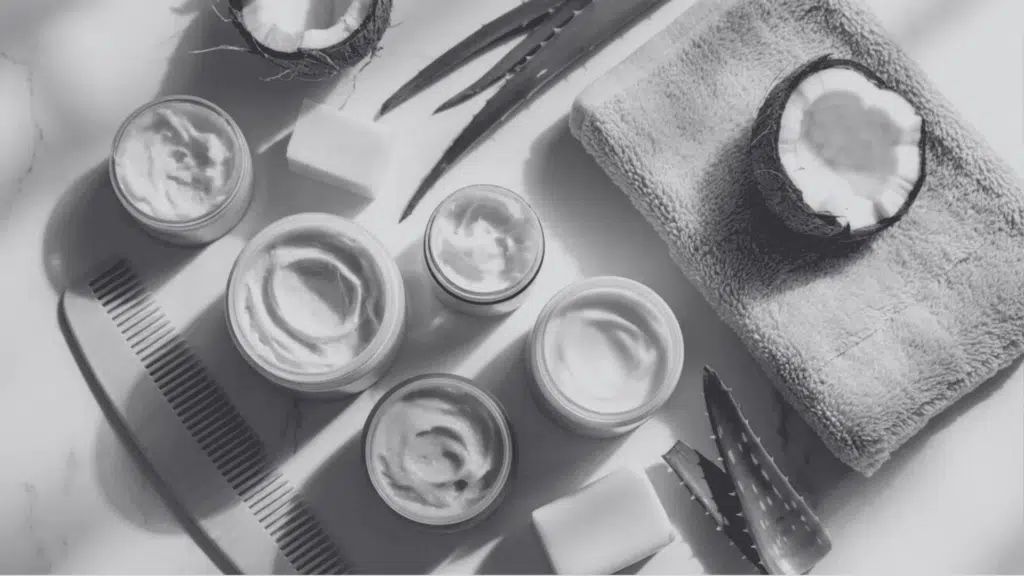
Products That Work Best on Damp Hair
Damp hair soaks up products better because the cuticles are still open. You get more bang for your buck and better results overall.
Leave-in conditioners:It’s a 10 Miracle Leave-In or Kinky-Curly Knot Today lock in moisture as your hair dries.
Heat protectants:TRESemmé Thermal Creations Spray or Chi 44 Iron Guard create a barrier before blow-drying.
Top Styling Products for Damp Hair:
- Curl creams – DevaCurl SuperCream or Eco Styler Gel for frizz-free definition
- Smoothing serums – John Frieda Frizz Ease or Moroccanoil Treatment for shine
- Volumizing mousses – Bumble and bumble Thickening Mousse or Aussie Aussome Volume for lasting body
- Hair oils – Olaplex No. 7 or Argan Oil to seal in moisture (use sparingly)
Apply from mid-length to ends first, then work toward your roots. This keeps your scalp from getting overloaded while giving your ends the hydration they crave.
Things You Should Never do to Damp Hair
Even when you know the basics, it’s easy to slip into habits that wreck your hair without realizing it.
- Using too much product: Damp hair absorbs everything, so start with a dime-sized amount
- Skipping heat protectant: Moisture turns to steam under heat and weakens strands from the inside.
- Combing from roots down: Always start at the ends and work your way up
- Wrapping hair too tightly: Towels twisted too firmly cause breakage at the hairline
- Applying products when soaking wet: Wait for the damp stage for better absorption
- Maxing out heat settings: High heat on damp hair literally boils the water in your strands
- Sleeping on damp hair: Pillow friction creates frizz and tangles that lead to breakage
- Brushing aggressively: Use a wide-tooth comb or wet brush with gentle strokes
Conclusion
Getting to know what does damp hair mean changes everything about your styling routine.
This middle ground between wet and dry is where your hair is most receptive to products yet strong enough to handle gentle styling. Stop guessing and start paying attention to your hair’s moisture level.
Your strands will thank you with less breakage, better texture, and styles that actually last.
Ready to level up your hair game?
Start with these damp hair techniques today.