
Tired of flat, lifeless hair that just hangs there? The butterfly haircut might be exactly what you need.
This cut has been making waves on social media, and for good reason.
It adds volume, movement, and shape without requiring you to chop off all your length. Think soft layers that frame your face and give your hair that bouncy, lived-in look.
Let’s break down what this style is all about and whether it’s right for you
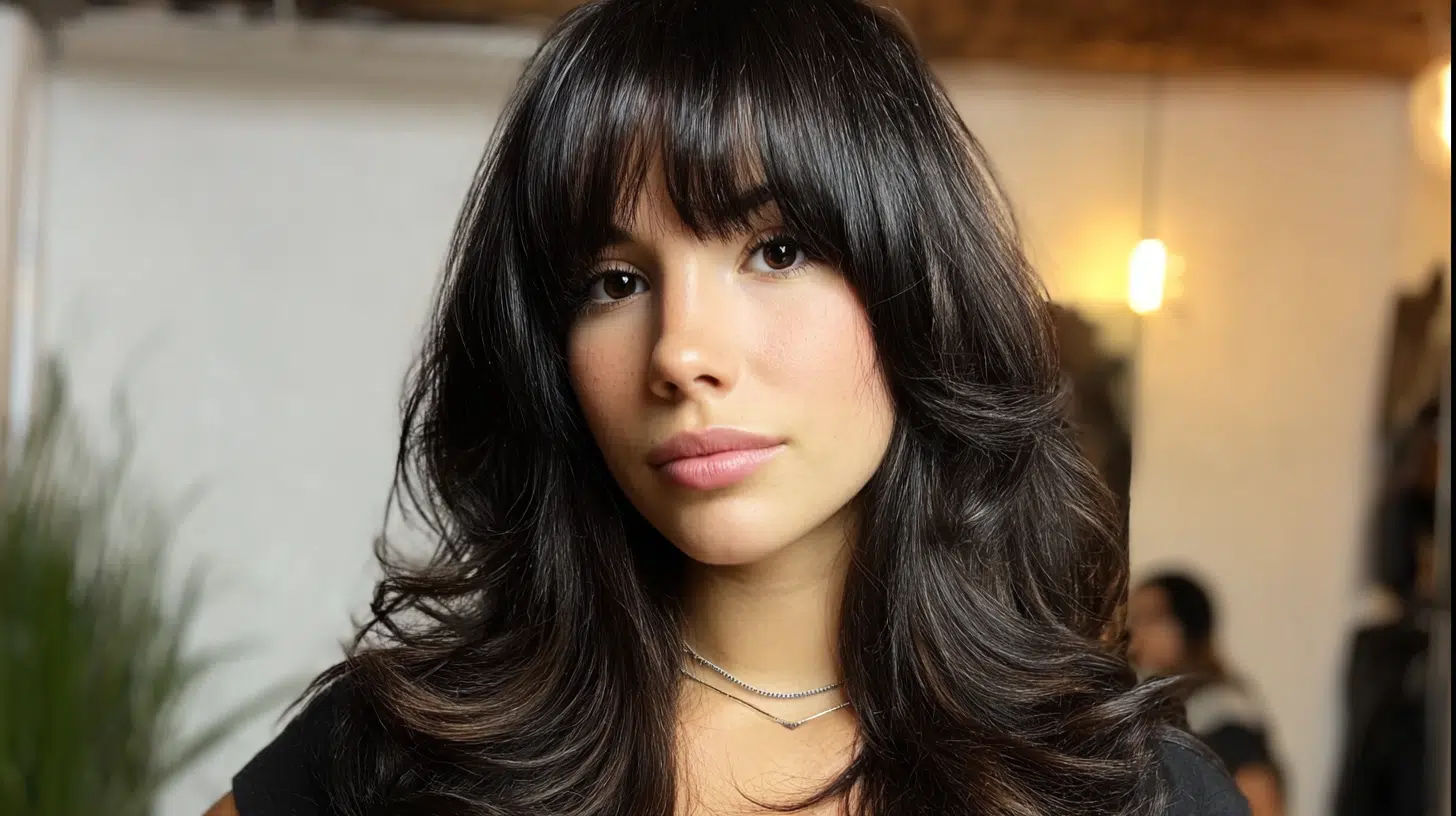
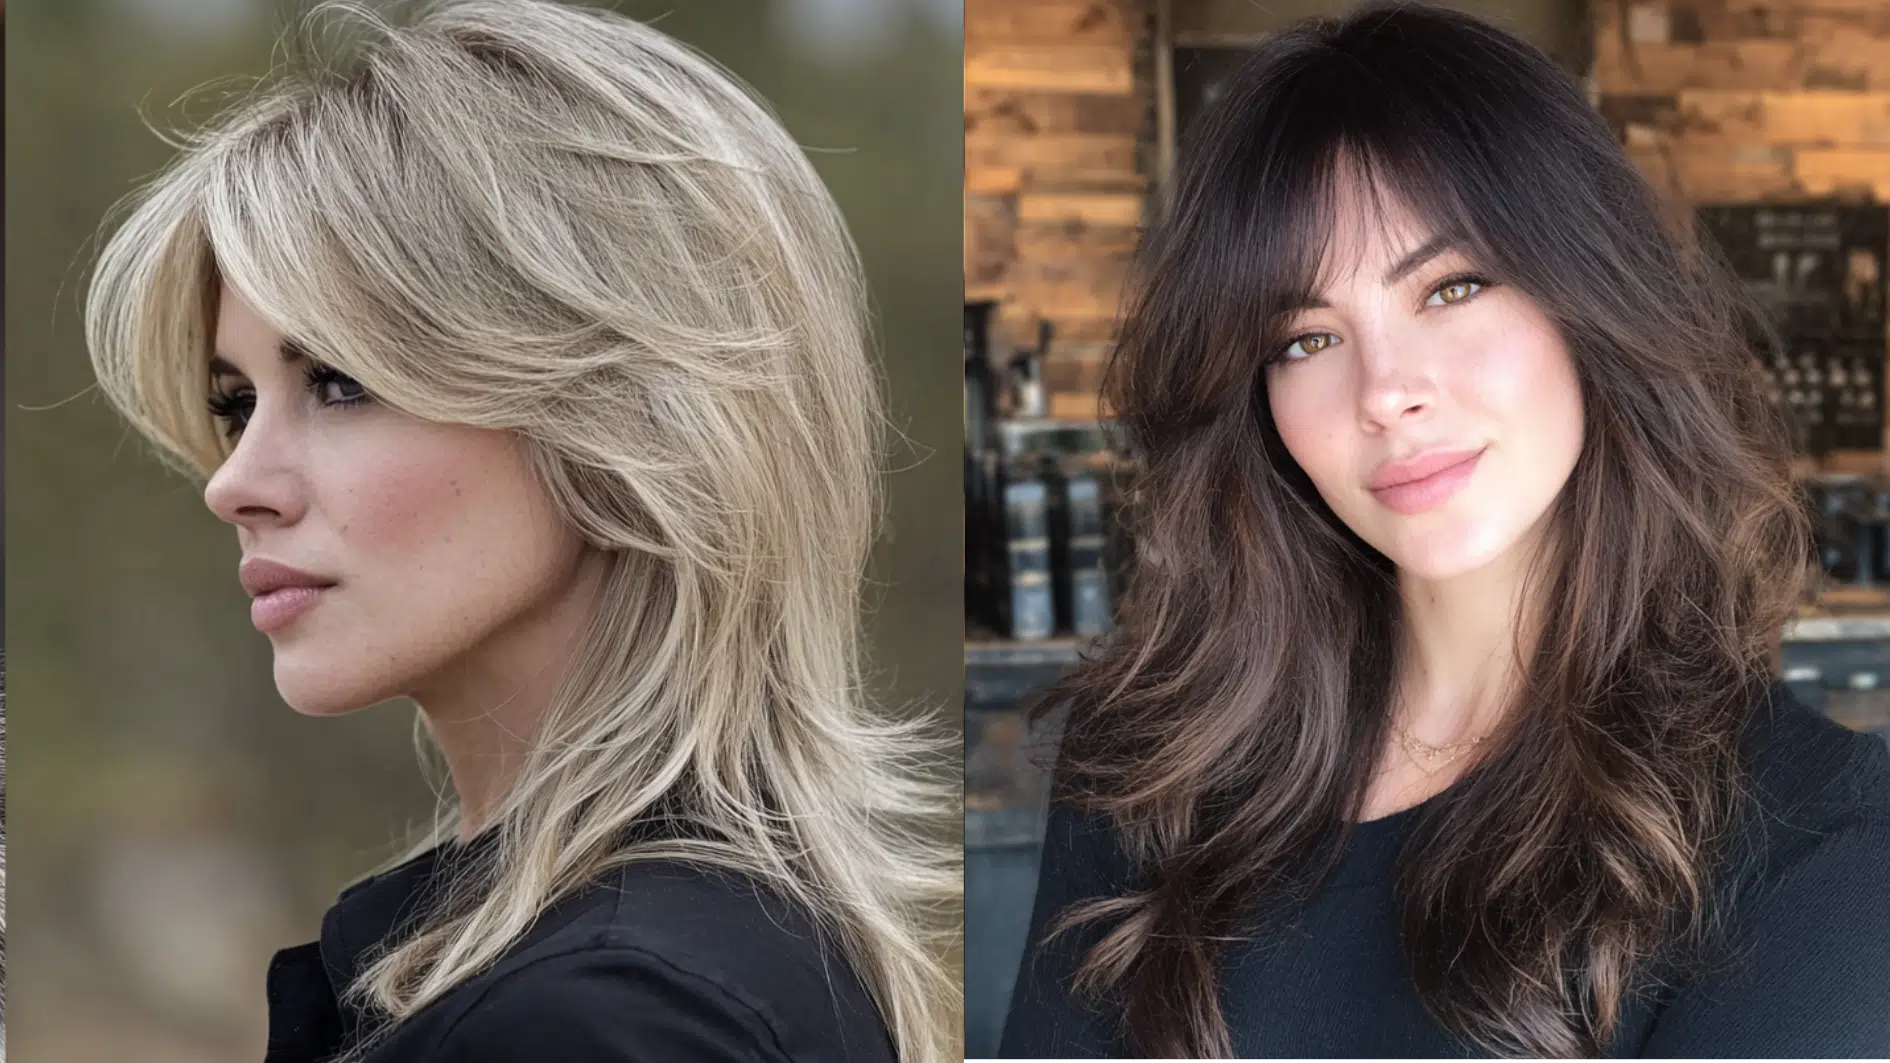
What is a Butterfly Haircut?
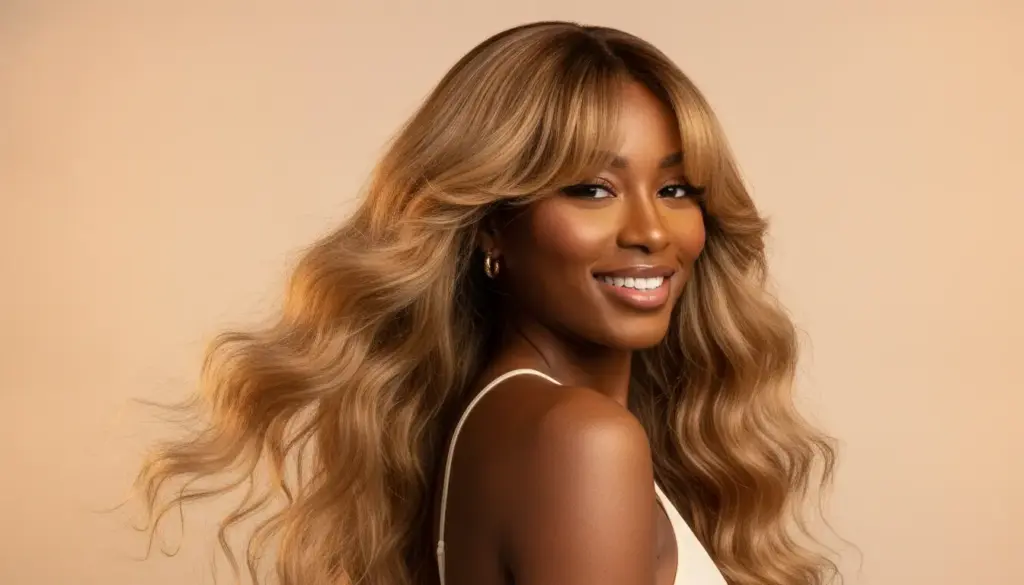
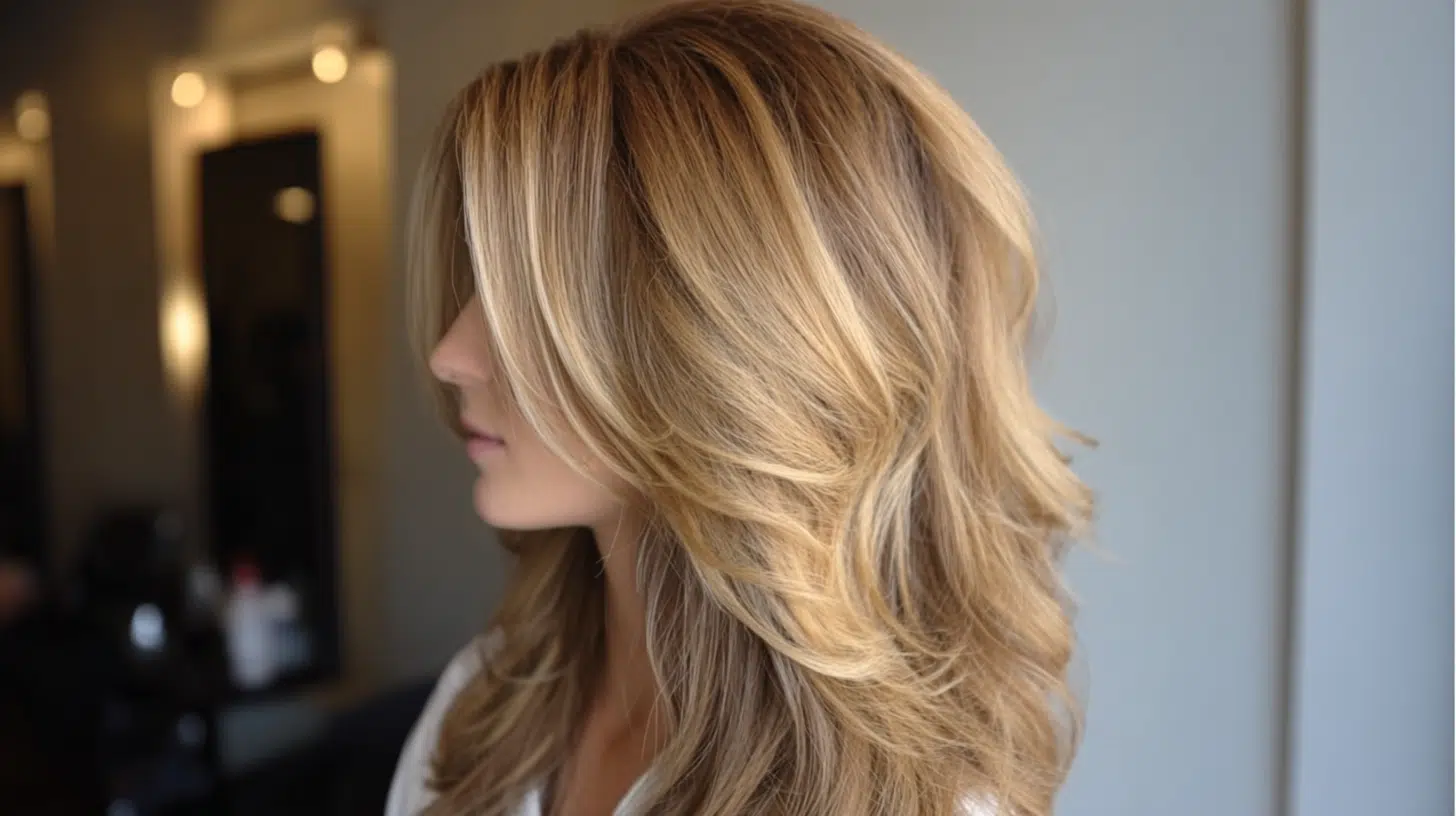
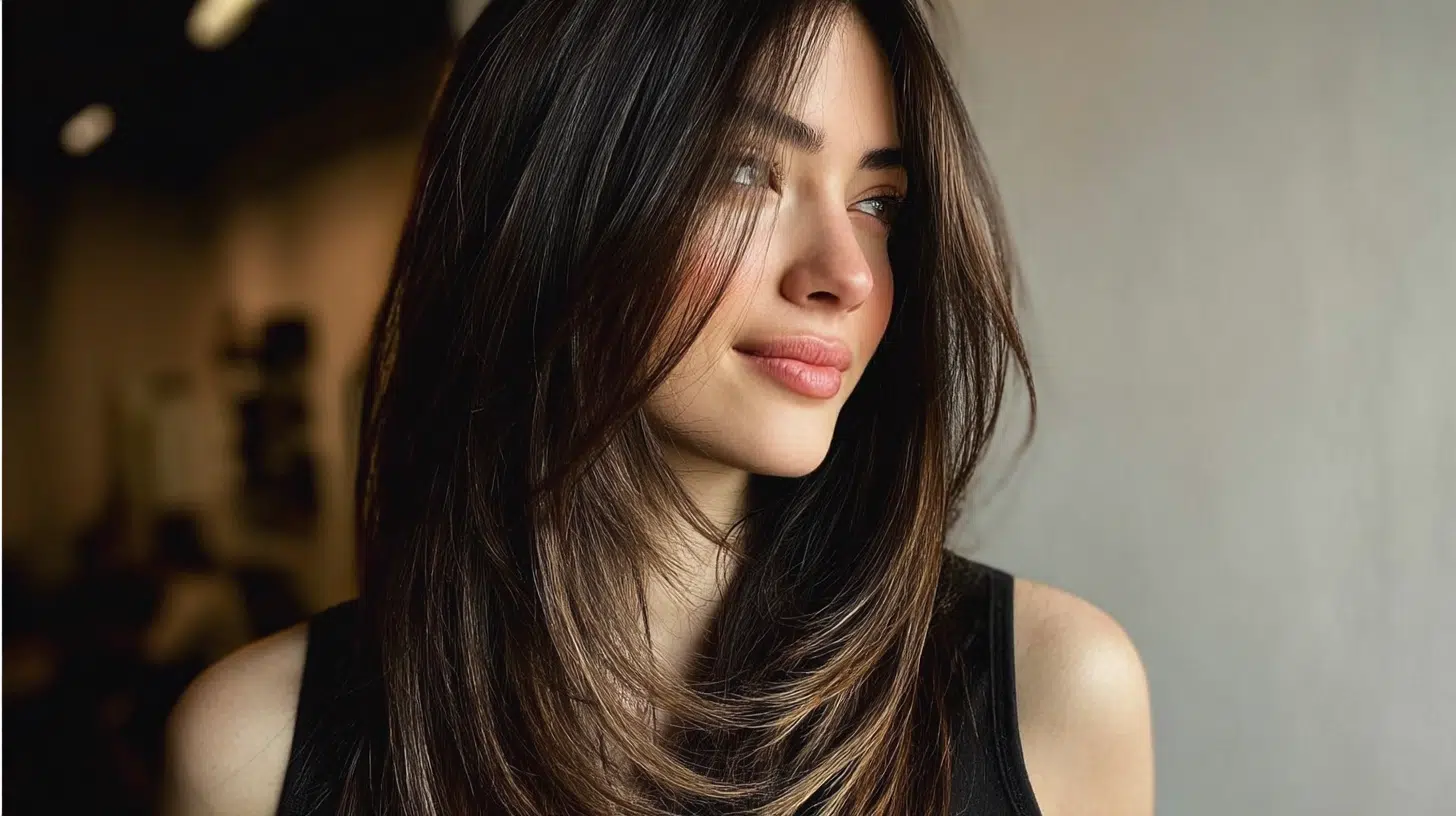
Picture layers that start around your cheekbones and get longer as they go down.
The shortest pieces frame your face while the back keeps its length. When you move, the layers fan out like butterfly wings.
The top sections are cut shorter to create volume at the crown. Your stylist angles the layers so they lift away from your face naturally.
You get movement and body without losing length in the back.
The name comes from how the layers spread out and settle back down, just like a butterfly’s wings.
It brings flat or thin hair back to life with minimal effort. So who actually looks best with this cut?
Who This Haircut Flatters Most
This cut isn’t picky, but it does work better for some people than others.
Face Shapes
Oval faces: You get the most flexibility here. The layers complement your balanced proportions, and you can adjust the face-framing pieces however you like.
Round faces: The layers create vertical lines that lengthen your face. Keep the shortest pieces below your cheekbones to draw the eye down instead of emphasizing width.
Long or rectangular faces: This cut adds width at the sides to balance your length. Ask your stylist to keep the shortest layers around cheekbone level.
Heart-shaped faces: The layers add volume through the mid-lengths, balancing a wider forehead naturally.
Square faces: The soft, feathered layers help soften angular jawlines and create a gentler appearance.
Hair Types
Thin or fine hair: The layers create the illusion of thickness and add volume. Just make sure your stylist doesn’t go too short, or you’ll lose density.
Thick hair: This works with adjustments. Your stylist needs to thin out the ends so the layers don’t look bulky. The cut removes weight and makes thick hair easier to manage.
Wavy hair: The layers enhance your natural texture and prevent that triangle shape. You get definition without frizz.
Curly hair: This requires a skilled stylist who cuts curls dry. Done right, it works beautifully. Done wrong, you get awkward shrinkage.
Straight hair: The layers show up clearly, so the cut needs to be precise. When done right, straight hair moves gorgeously with this style.
Butterfly Haircut Styling Ideas
Once you have the cut, styling it in different ways keeps things interesting. Here are some butterfly haircuts for girls you can try.
1. Sleek and Straight
Blow-dry your hair straight with a round brush to show off the layers clearly. The smooth finish highlights every angle and makes the cut look polished.
Add a little shine serum to the ends for extra gloss. This works great for work or formal events.
Perfect for: Oval and long faces, as the straight style emphasizes the vertical lines and balanced proportions without adding width.
2. Beachy Waves
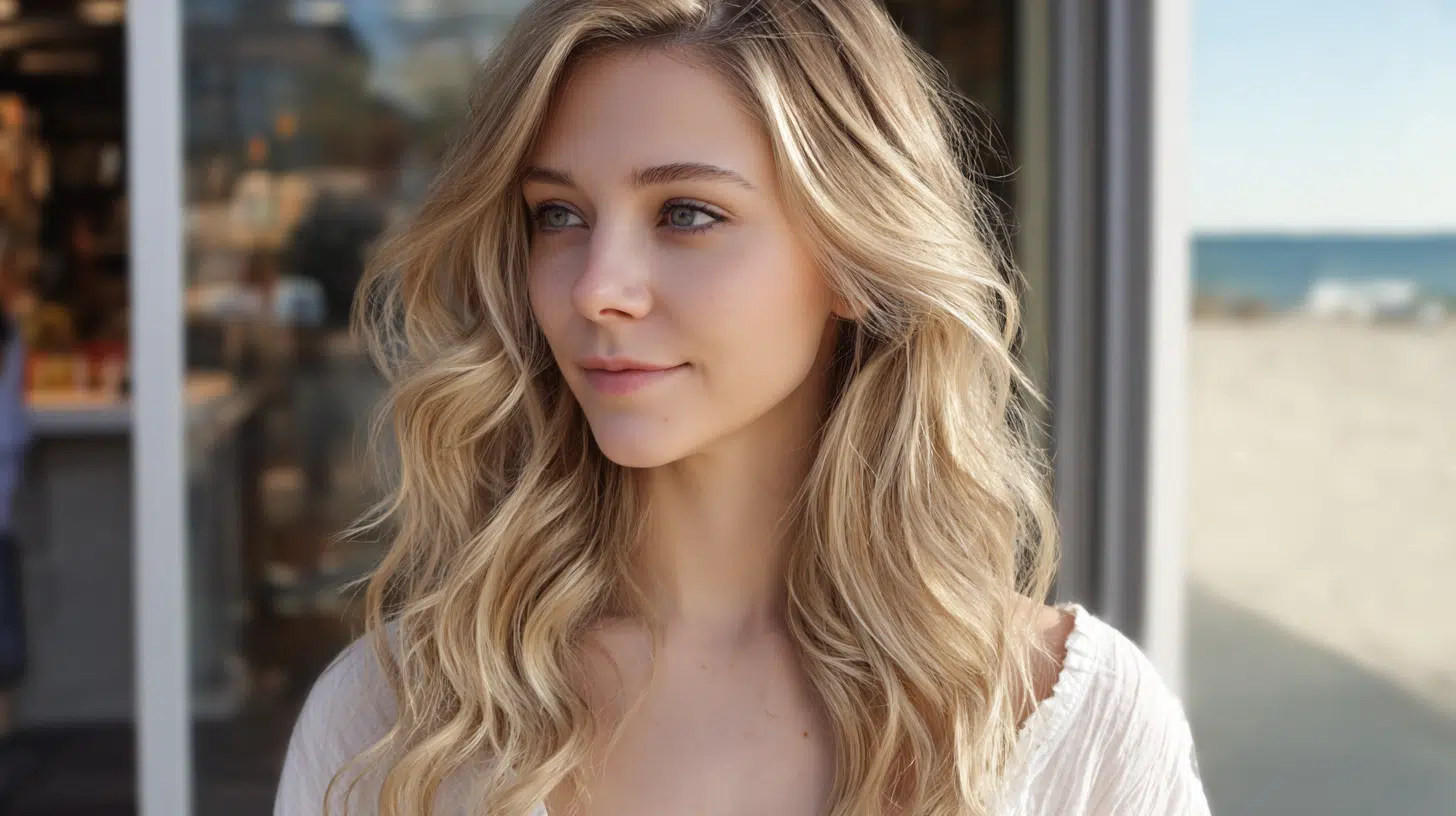
Scrunch some mousse or sea salt spray into damp hair and let it air-dry. The layers create natural movement that looks effortless.
You can also use a curling wand on random sections for a more defined wave. This is your go-to for casual days.
Suits: Round and square faces because the waves add softness and break up any angular or wide features with texture.
3. Voluminous Blowout
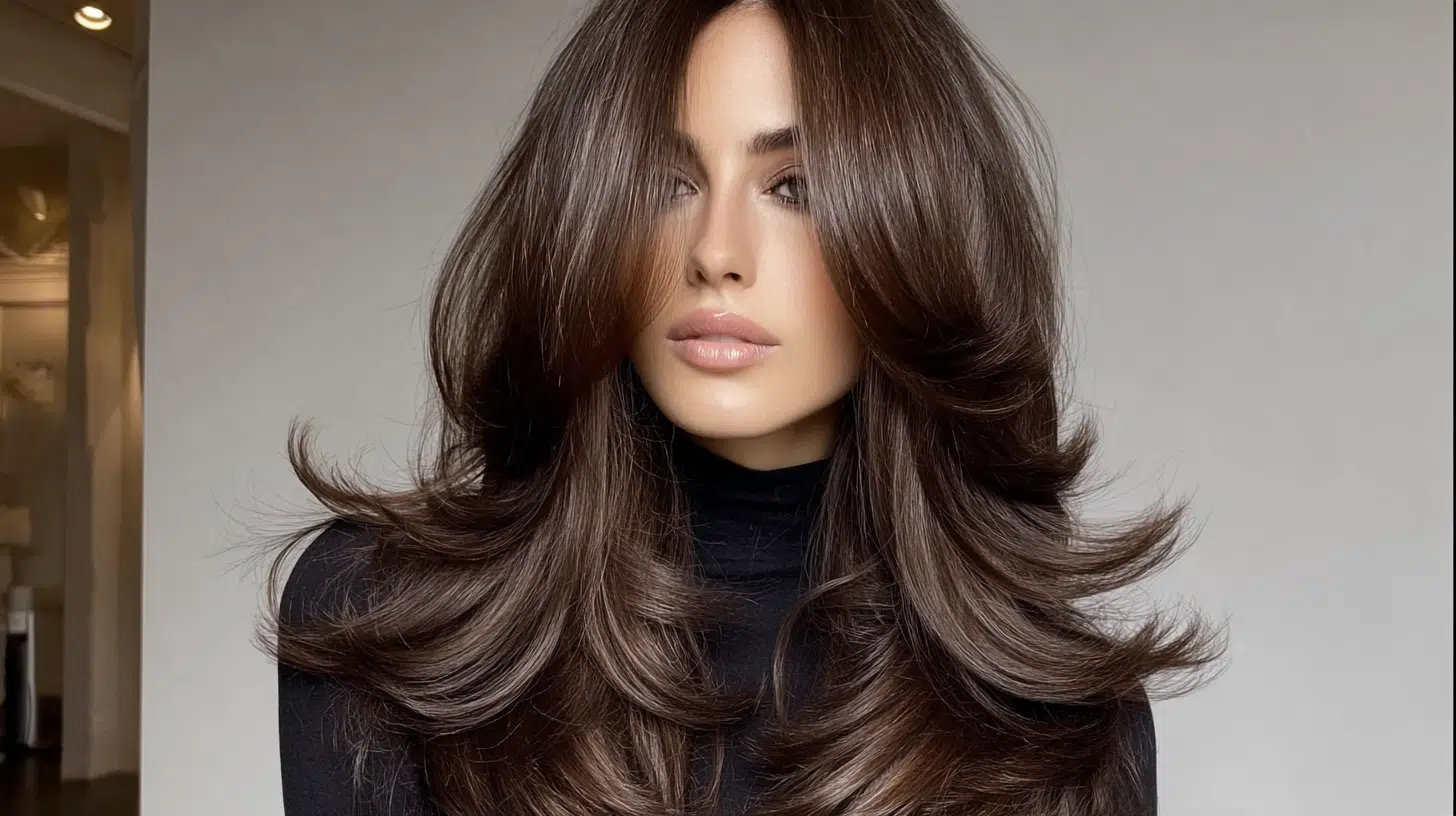
Flip your head upside down while blow-drying to maximize volume at the roots.
The layers will lift naturally and create a serious body.
Finish with your head right-side up, smoothing the ends with a brush. You’ll look like you just left the salon.
You should try if: You have a long or rectangular face and want to add width at the sides to balance your proportions.
4. Curtain Bangs Effect
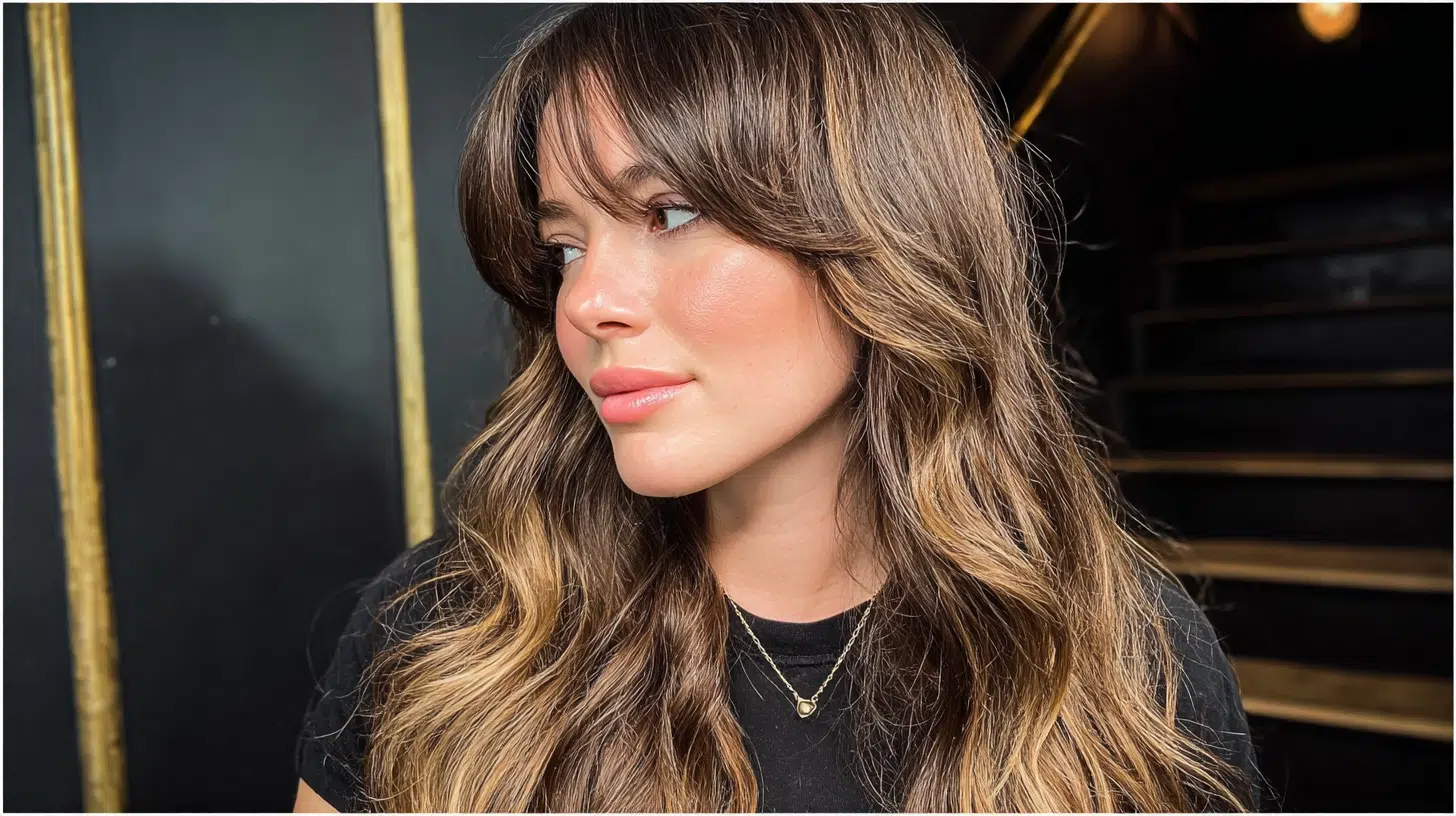
Even if you don’t have actual bangs, you can style the shortest face-framing layers to sweep across your forehead like curtain bangs.
Use a small round brush while blow-drying to create that wispy, face-framing effect. It softens your look instantly.
Perfect for: Heart-shaped and square faces, as the soft framing balances a wider forehead or softens angular jawlines beautifully.
5. Half-Up Style
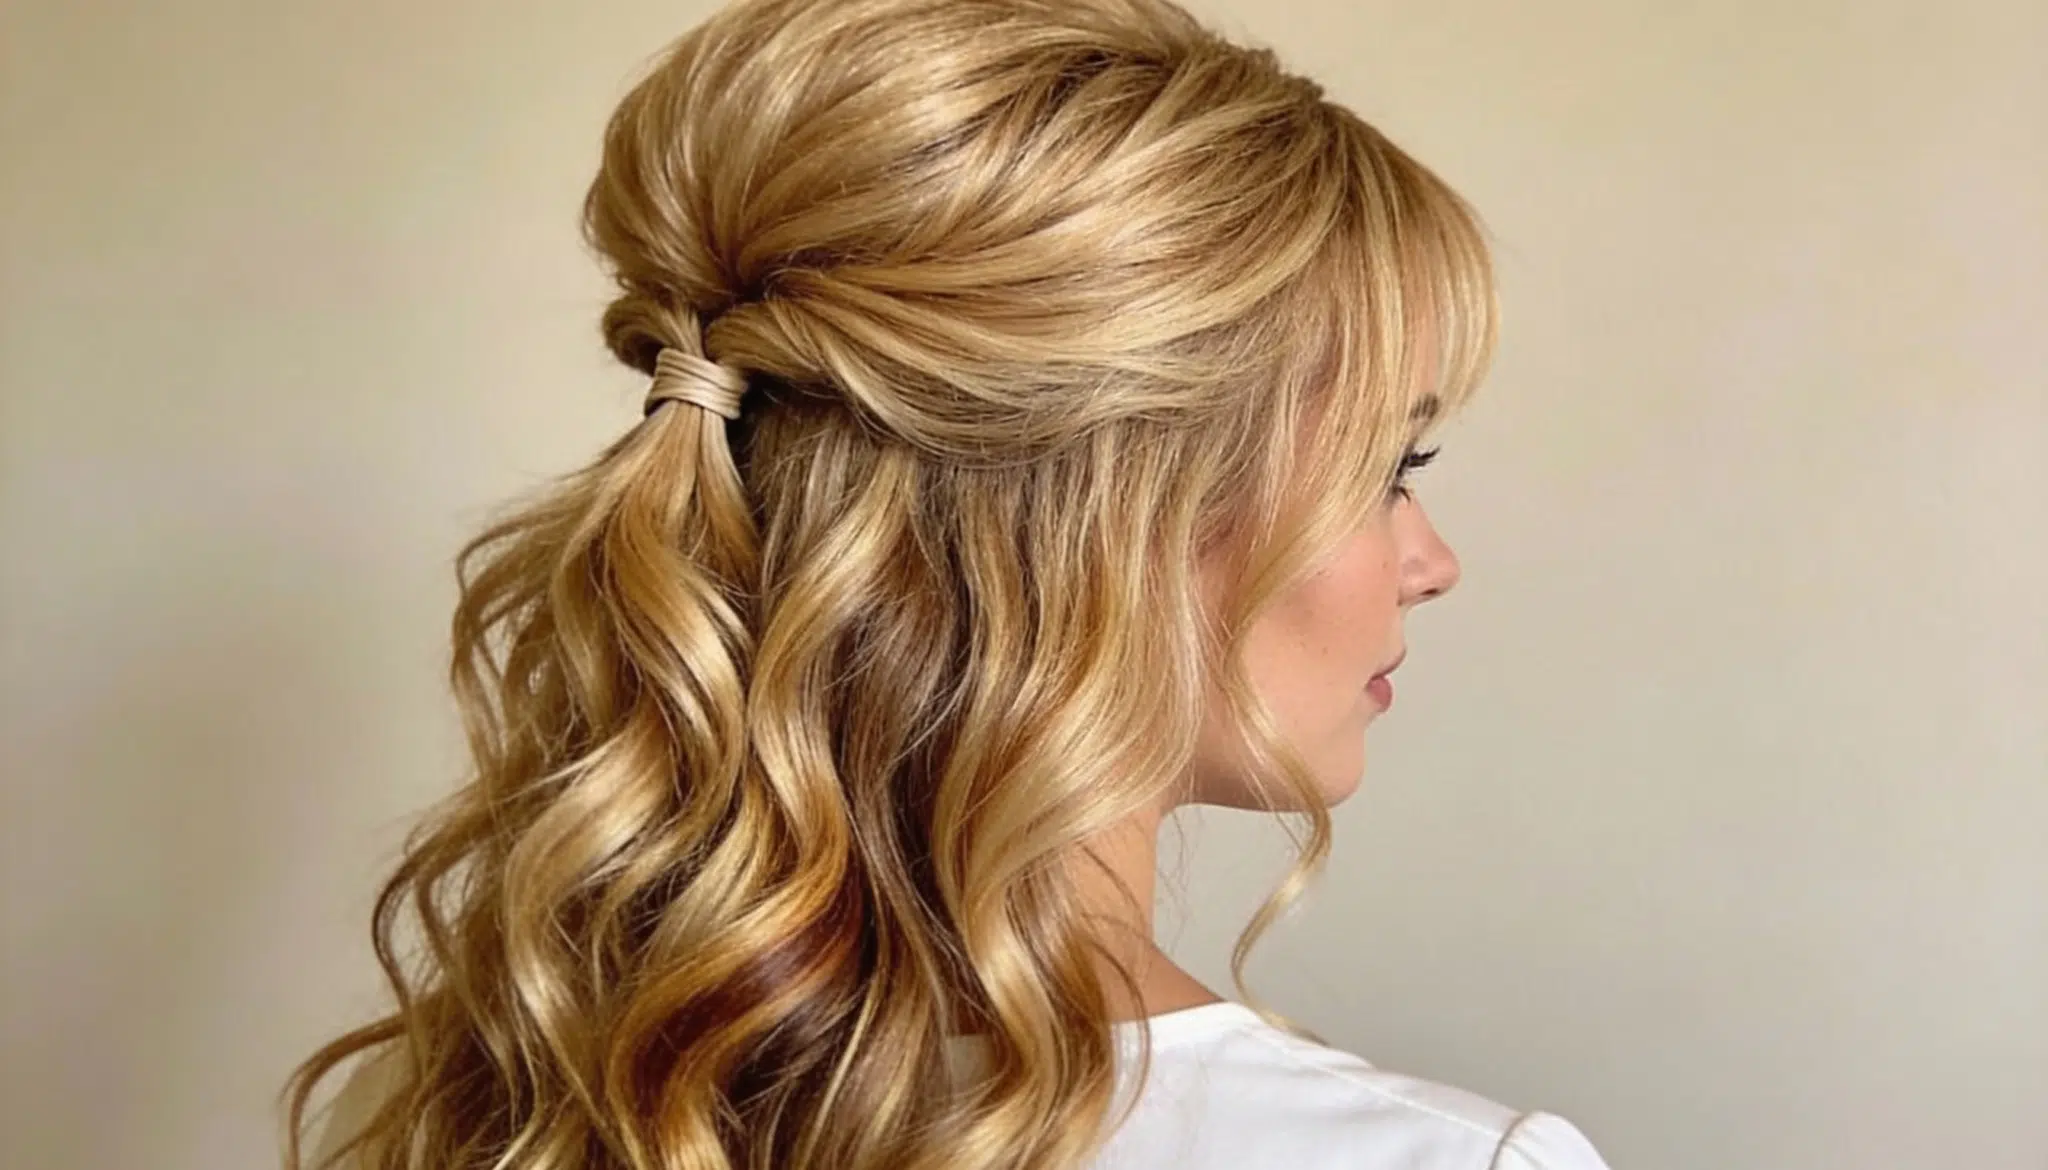
Pull the top section into a ponytail or clip while leaving the bottom layers down. This shows off the length difference and keeps hair out of your face.
The shorter layers around your face still frame it nicely, while the length adds interest in the back.
Suits: All face shapes, but especially oval faces since it highlights your balanced features while keeping the style versatile.
6. Messy Bun with Face-Framing Pieces
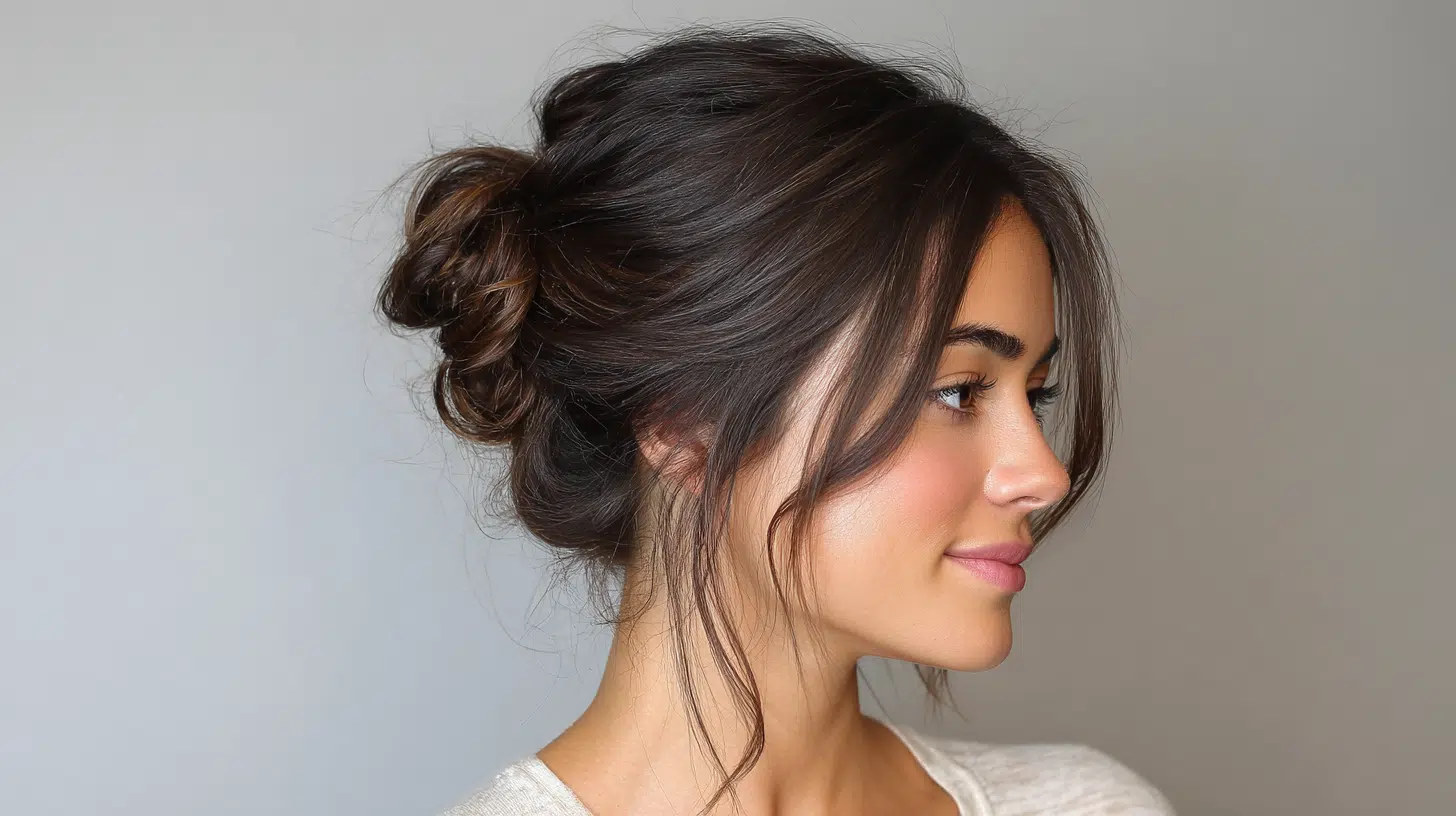
Throw your hair into a loose bun and pull out the shortest layers around your face.
These pieces soften the style and prevent the bun from looking too severe. It’s casual but still put-together.
You should try if: You have a square or round face and need those face-framing pieces to soften your features when your hair is pulled back.
7. Butterfly Bob
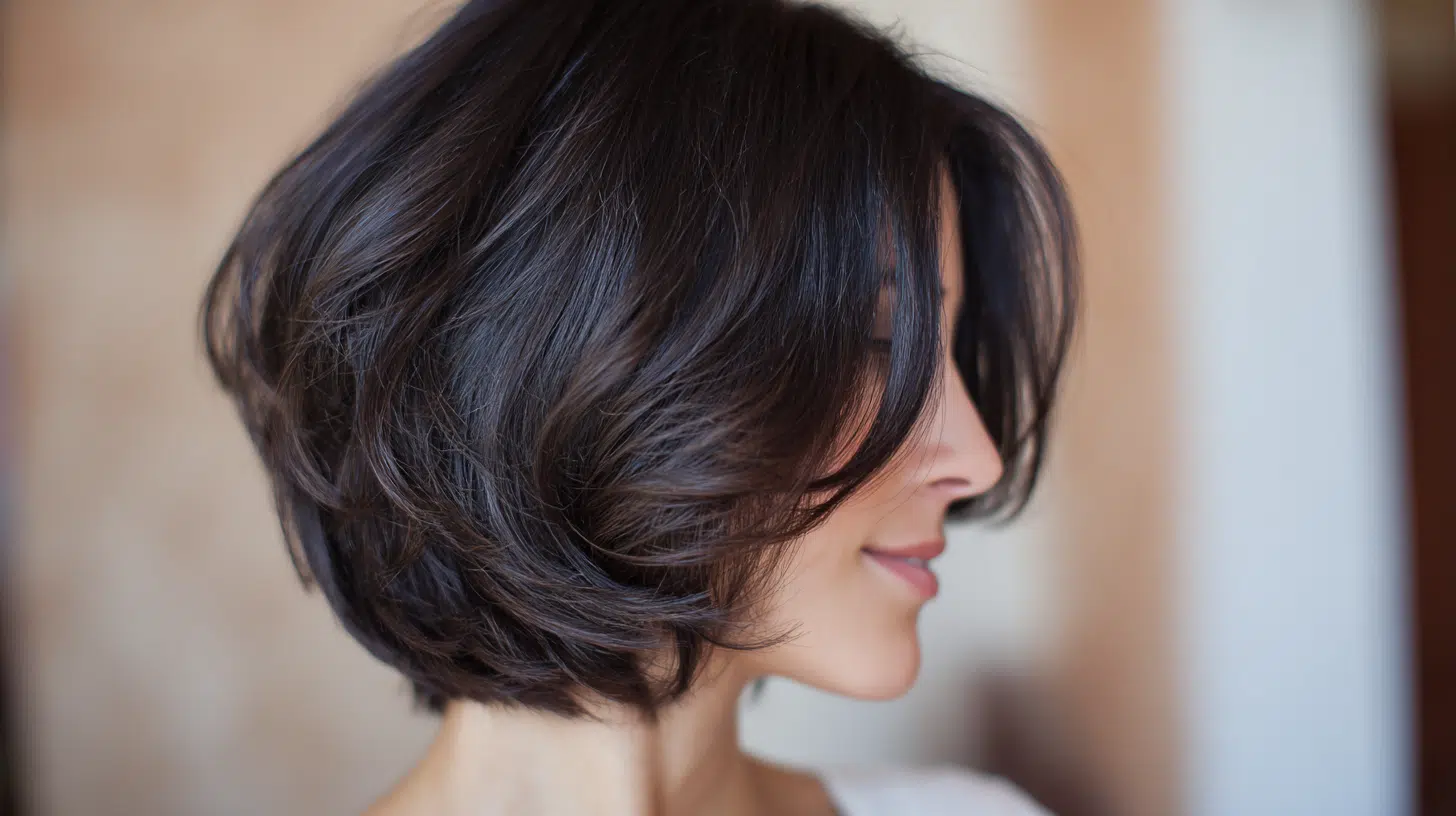
Want the layered effect with shorter hair? Cut the back to bob length while keeping the butterfly layers.
The shortest pieces still frame your face, but everything stops around your shoulders or above.
You get all the volume and movement in a more compact style. Plus, it dries faster and uses less product.
Perfect for: Round and heart-shaped faces, as the bob length and layers create vertical lines that elongate and balance your proportions.
8. Layer-Boosted Ponytail
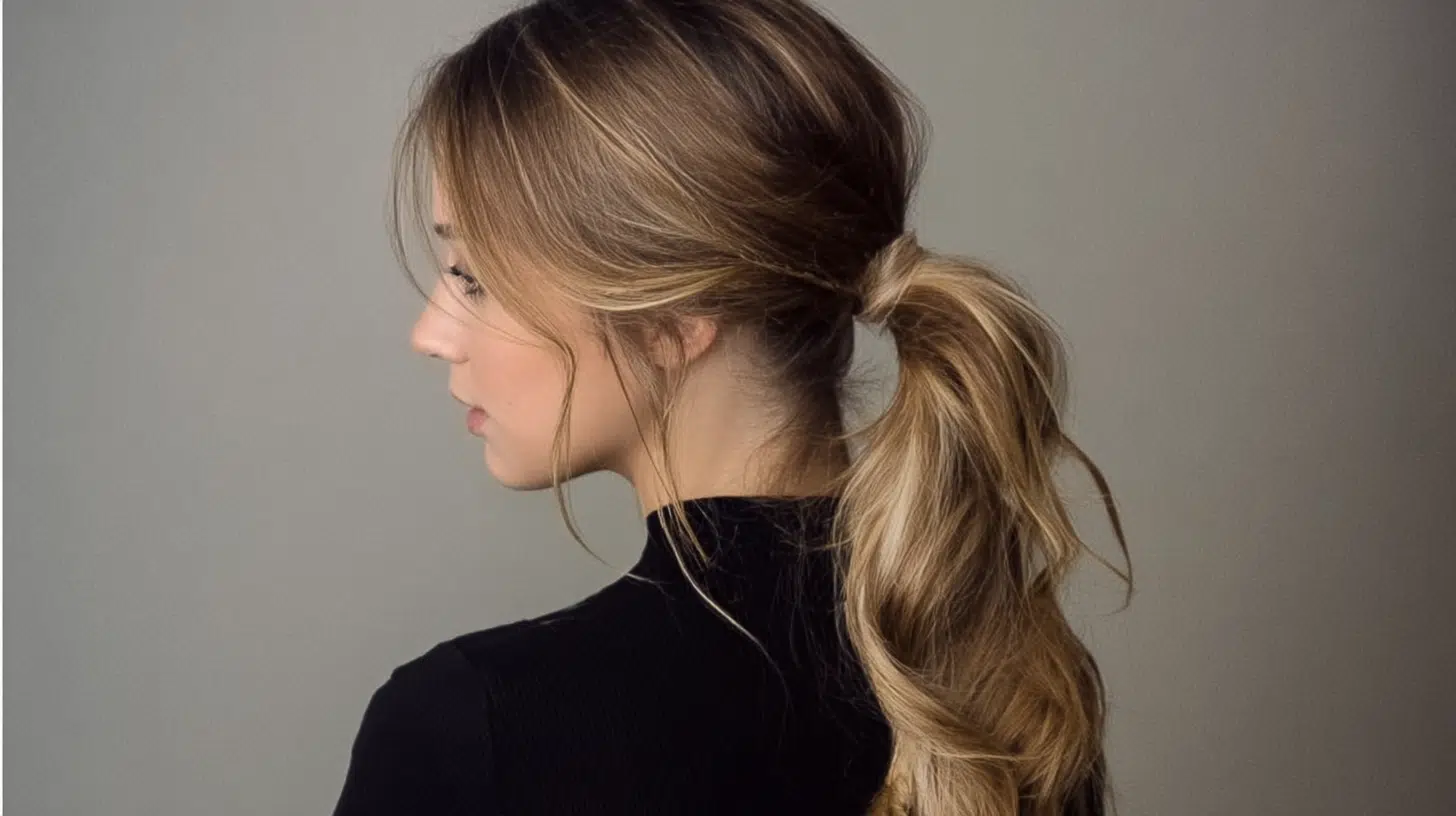
This makes your ponytail look instantly fuller. The layers create natural volume and prevent that flat, boring look.
Pull out a few face-framing pieces to soften it. Gently tug at sections to add dimension. It’s an easy way to change up your look in seconds.
Suits: Long and oval faces since the pulled-back style shows off your bone structure while the layers add dimension.
9. Butterfly with Baby Bangs
Add baby bangs for an edgier twist. These short, choppy bangs sit above your eyebrows and create a bold contrast with the longer layers.
Style them straight across or sweep them slightly to the side.
They need trims every 2-3 weeks, but deliver serious style.
You should try if: You have an oval or heart-shaped face and want to shorten your forehead visually while making a bold statement.
Step-By-Step: DIY Butterfly Haircut at Home
Cutting your own hair sounds scary, but this style is actually doable at home if you take it slow.
You won’t get salon-level precision, but you can definitely create the basic shape.
Step 1: Prep your hair.
Wash and towel-dry your hair so it’s damp but not dripping.
Part it down the middle from your forehead to the nape of your neck. This keeps everything symmetrical.
Step 2: Trim the bottom layer first.
Clip the top half up and away. Let the bottom section hang naturally and trim straight across, taking off small amounts at a time.
You can always cut more later. Start conservative. Hair doesn’t grow back instantly.
Step 3: Create the ponytail.
Release the top section and flip your head upside down. Gather all your hair into a high ponytail at the very top of your head, like where a unicorn’s horn would be.
Secure it tightly. This positioning is key to getting the right layer angles.
Step 4: Cut the layers.
Slide the hair tie down to where you want the shortest layer.
Usually, 2-3 inches from the scalp works best. Hold the ponytail straight up and cut across it in one clean line.
Step 5: Check and adjust.
Release the ponytail and shake your head. The layers should fan out around your face.
Check both sides for evenness. Make tiny snips to fix any straggly pieces. Look at it from multiple angles. A handheld mirror helps you see the back.
Styling a Butterfly Hair Cut Using a Blow Dryer
A blow dryer makes the layers pop. Here’s the quick method.
Start with damp hair: Towel-dry until it’s about 70% dry. Apply heat protectant throughout.
Section and blow-dry: Clip the top half up. Use a round brush on the bottom sections, wrapping hair around and aiming the dryer down the shaft.
Flip for volume: When you reach the crown, flip upside down and blast the roots with medium heat. This lifts the layers.
Curl face-framing pieces: Use the round brush to curl these slightly away from your face.
Finish with cool air: Hit everything with cool air for 30 seconds for it to set.
Takes 10-15 minutes. Your layers will have movement and volume.
Styling a Butterfly Hair Cut Using a Curling Iron
A curling iron adds defined waves that show off every layer. Here’s how to style it.
Prep and section your hair
Spray heat protectant throughout before you start.
This protects against damage. Clip the top layers up and start with the bottom sections, working your way up.
Curl away from your face
Take 1-2 inch sections and wrap them around the iron, curling away from your face.
Hold for 5-8 seconds, then release. This opens up your features and prevents the hair from falling flat against your cheeks.
Alternate curling some pieces toward your face for a more natural look.
Focus on the layers
Curl the face-framing pieces more tightly for definition.
Curl the longer back pieces loosely for softer waves. The contrast adds dimension and keeps the style from looking one-note.
Let curls cool completely
Don’t touch them right away. Let them cool before breaking them up with your fingers. Hot curls are still forming their shape, so touching them early makes them fall flat faster.
Finish with texture spray
Lightly spray and scrunch to add hold without making hair stiff. This locks in the waves while keeping everything touchable and natural-looking.
Takes about 15-20 minutes. You’ll get bouncy, textured waves that highlight every layer.
Butterfly Haircut Ideas (Celebrity Edition)
Celebrities have been rocking this cut on red carpets and in everyday life. Here’s how some of them make it work.
Shania Twain
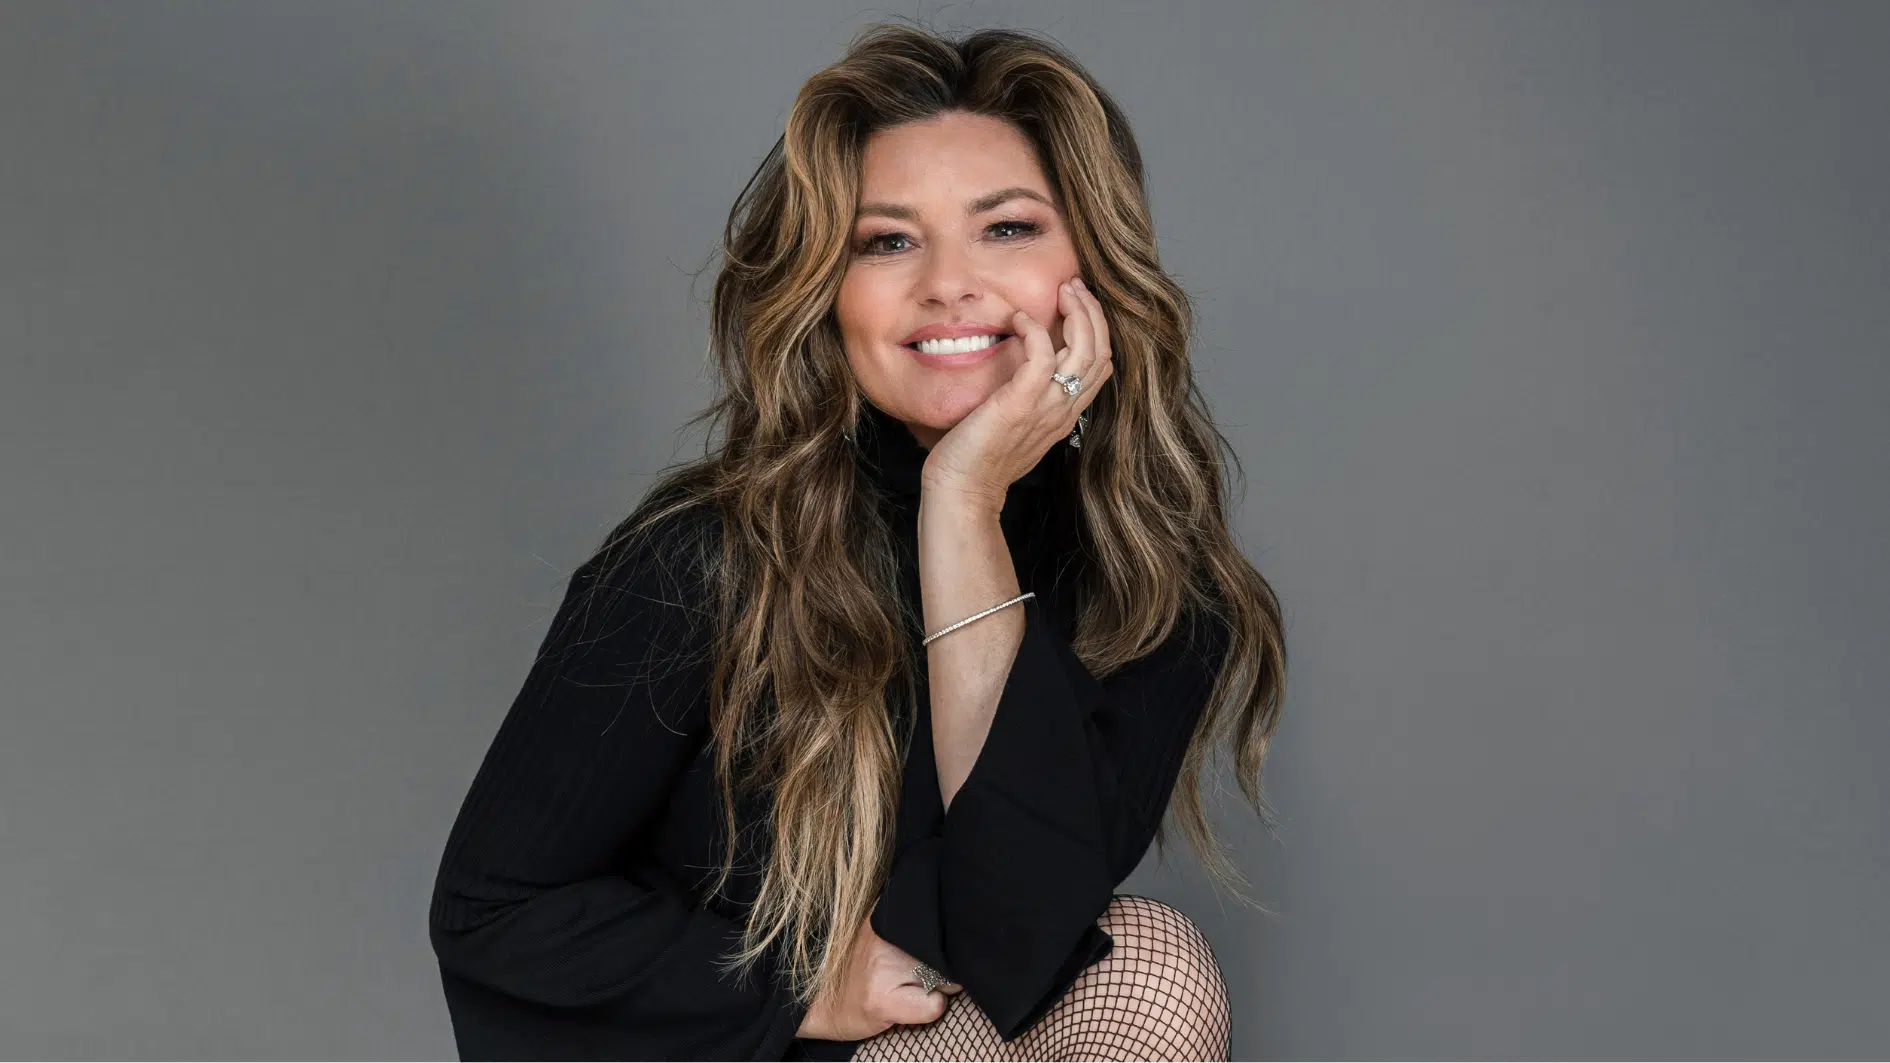
Image Credits: KIMA
Shania keeps her butterfly cut soft and feminine.
Layers start around her cheekbones, and she styles them with loose waves that add volume and movement without looking overdone.
The layers blend seamlessly into her length, creating a look that’s effortless yet polished.
Her approach proves this cut works beautifully for women who want sophistication with glamour.
Sofia Vergara
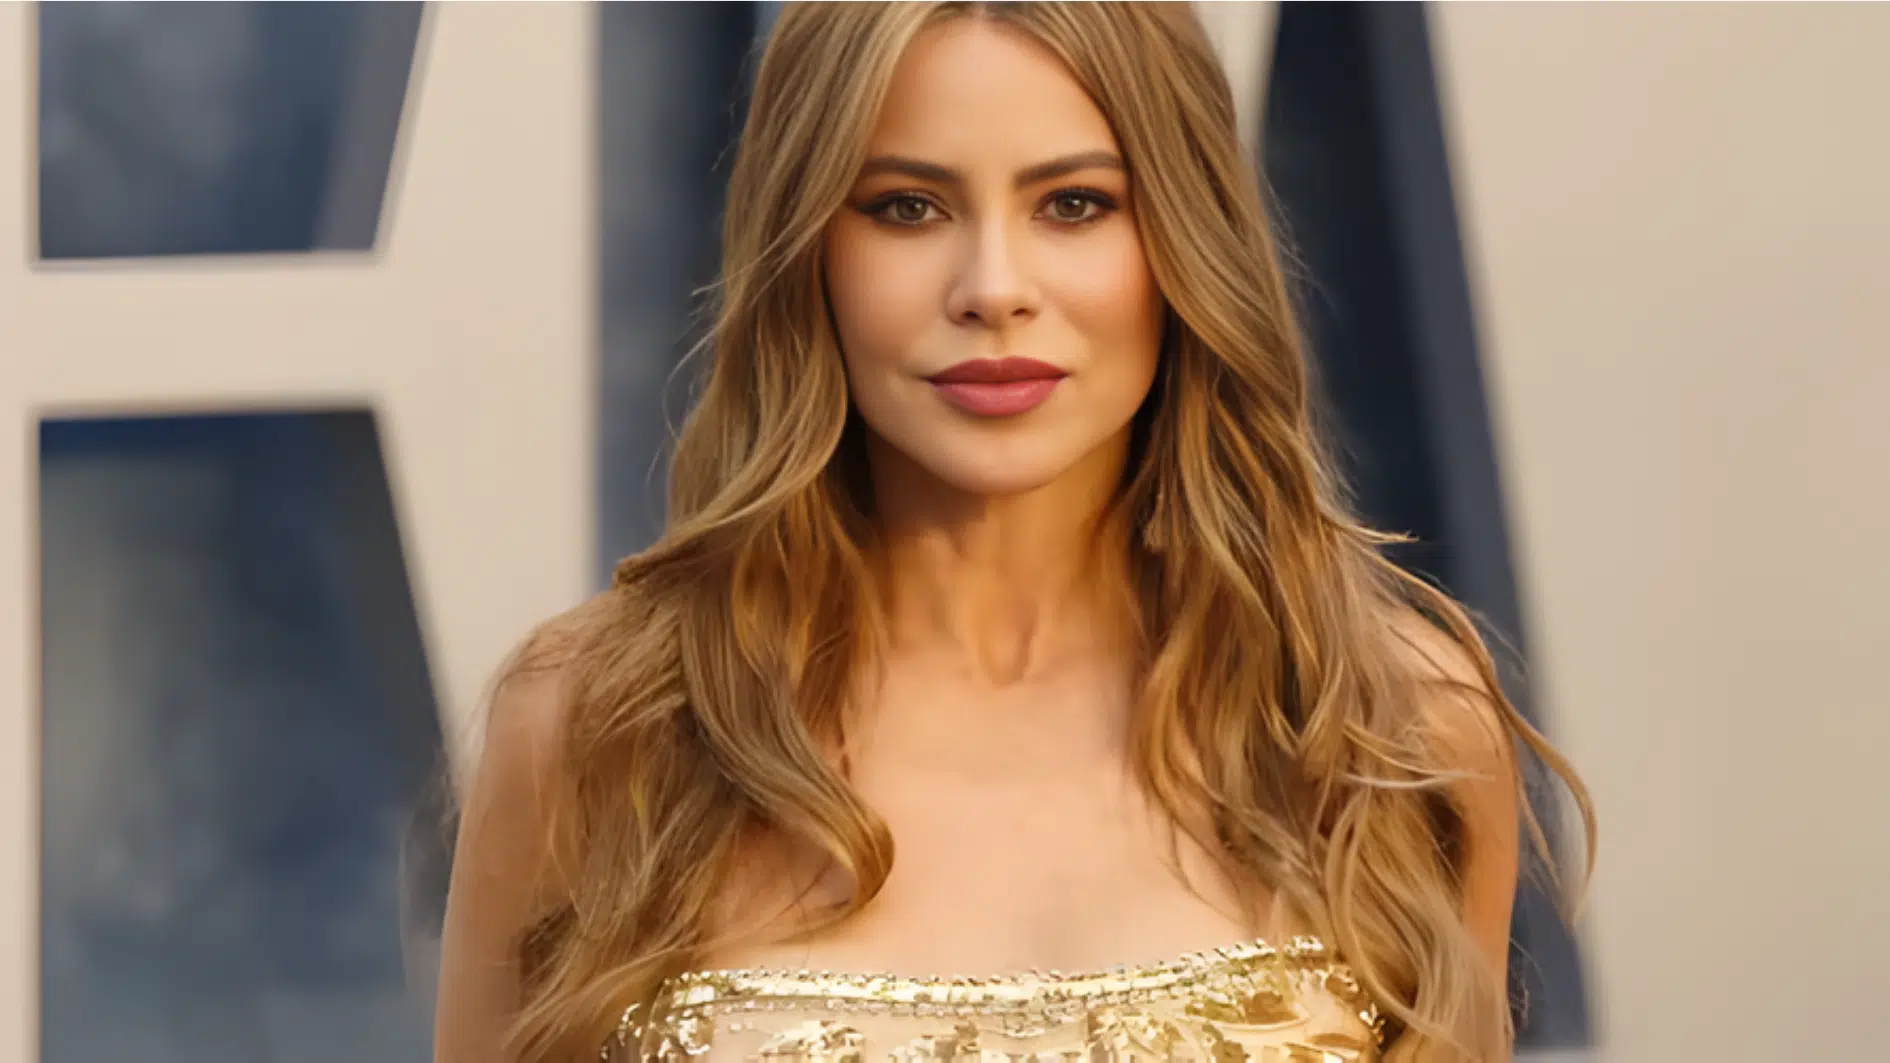
Image Credits: SheKNows
Sofia goes big. She rocks serious lift at the crown that matches her bold personality, whether she’s wearing bouncy curls or a straight blowout with maximum volume.
Her hair always makes a statement. The face-framing layers soften her features while the overall fullness creates drama.
It’s perfect for anyone who wants their hair to command attention.
Sabrina Carpenter
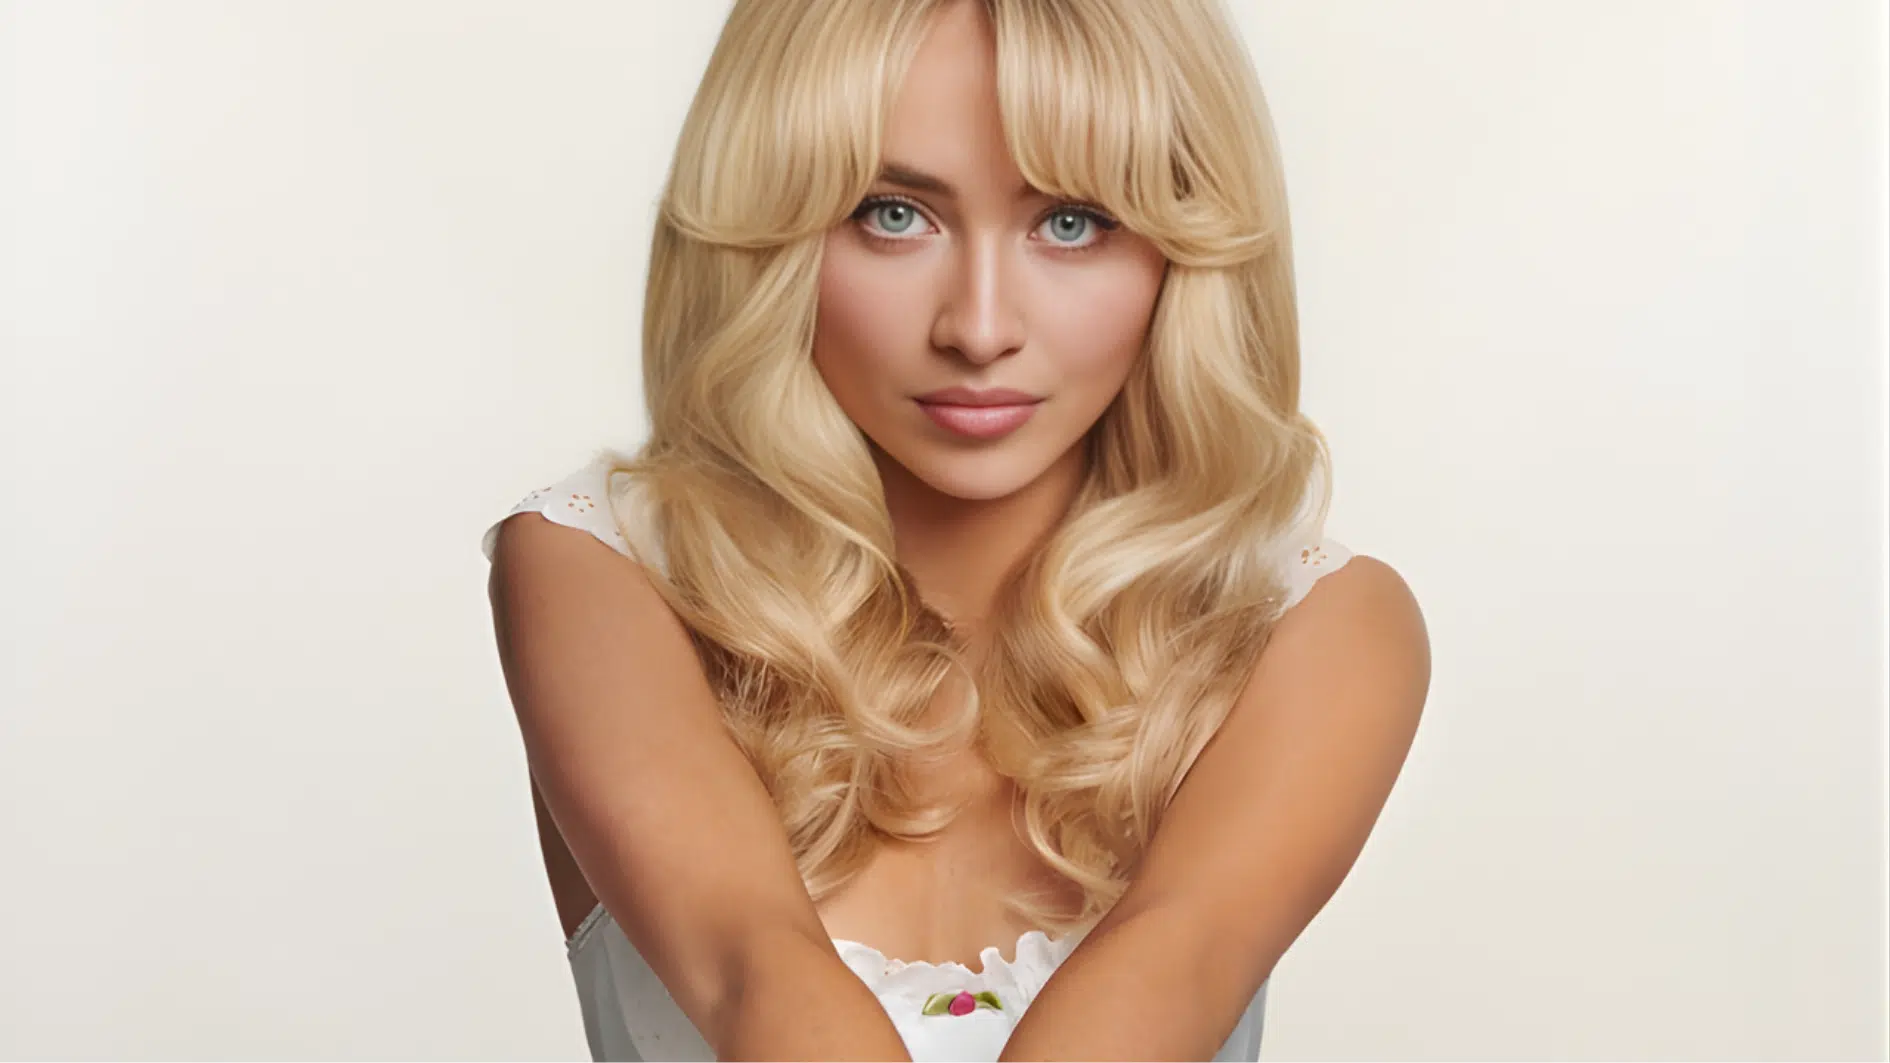
Image Credits: zastavki
Sabrina takes a shorter, choppier approach that feels young and playful.
Her version sits around shoulder length with textured layers. She switches between beachy waves for casual days and sleek styling for events.
The shorter length makes the layers more pronounced and easier to manage.
Halle Berry
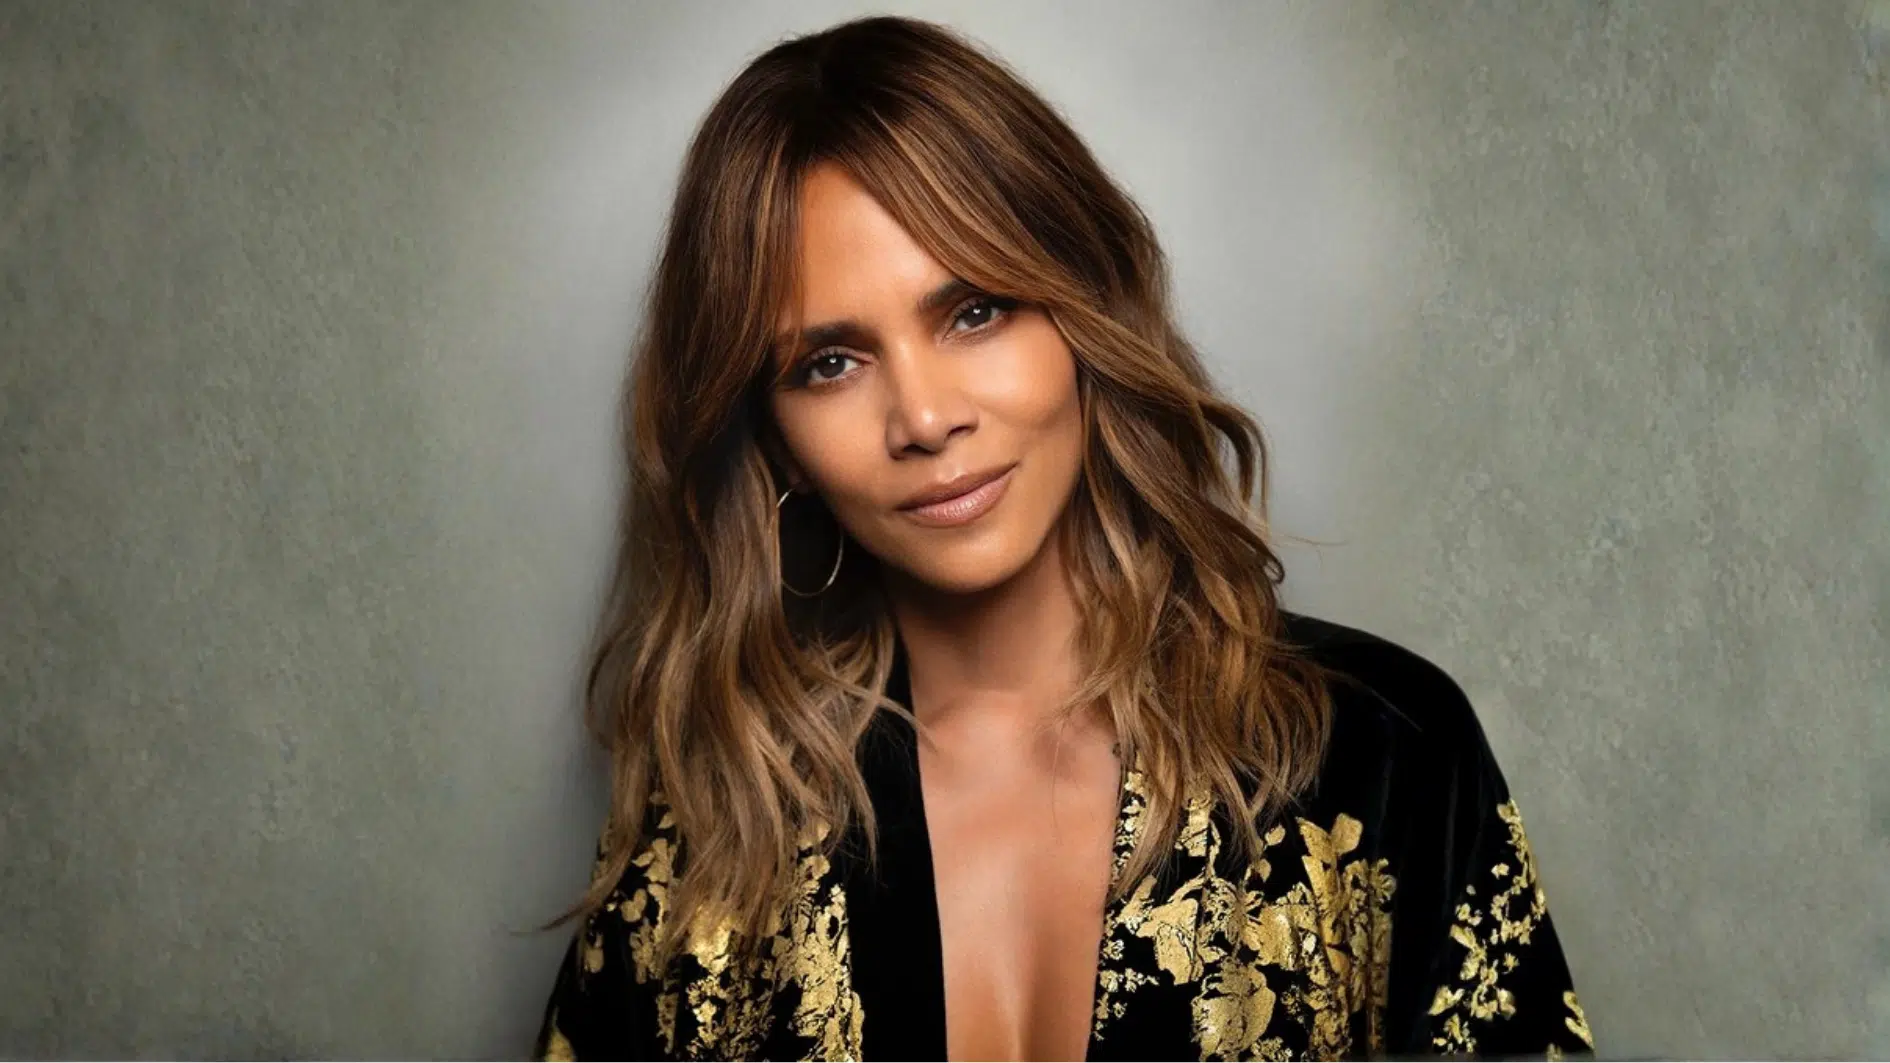
Image Credits: Festival de Cannes
Halle’s butterfly cut is all about sleek sophistication. She keeps the layers subtle and well-blended for a polished look that never feels overdone.
Her styling is usually smooth with just enough movement to show dimension.
This proves the cut can be refined and age-appropriate while still delivering flattering shape.
Jennifer Lopez
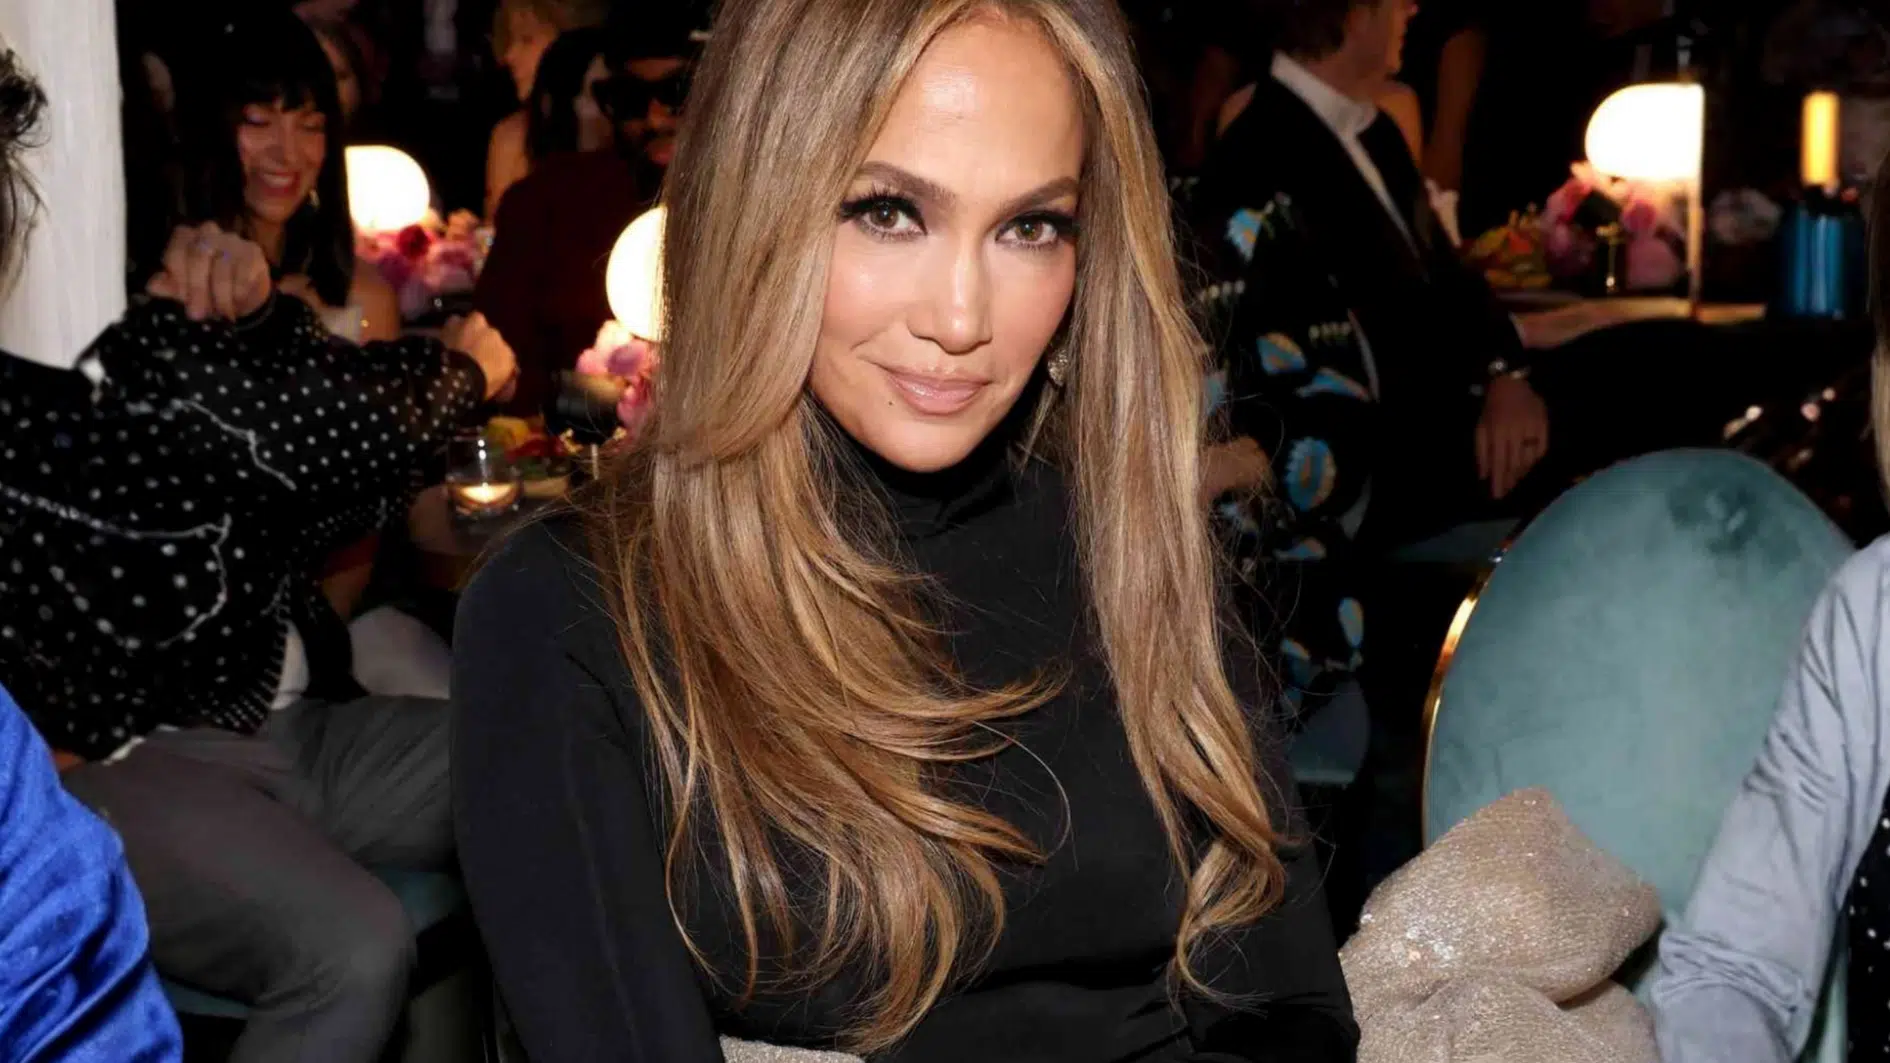
Image Credits: Instyle
JLo rocks a longer version with face-framing layers starting at her cheekbones. She adds volume at the roots and keeps the ends sleek for classic glamour.
Whether she wears it straight with a glossy finish or adds soft curls, the layers frame her face perfectly. Timeless.
Her take adapts to any occasion, from red carpets to everyday life.
How to Explain a Butterfly Cut to Your Stylist Clearly
Getting the right cut starts with clear communication.
Here’s how to make sure your stylist understands what you want.
Bring 3-5 Reference Photos: Show front, side, and back views. Pick images with hair similar to yours. Visuals beat words every time.
Try saying this: “I want face-framing layers starting at my cheekbones, blended smoothly. Keep my length in the back but add volume at the crown and sides. Not choppy or a wolf cut.”
Ask These Questions
- How will this work with my hair type?
- How much length will I lose?
- Where will the shortest layers fall?
Are Butterfly Cuts the Same as Wolf Cuts?
No, they’re different. Wolf cuts are choppy and edgy with disconnected layers that look intentionally messy.
Butterfly cuts have smooth, blended layers that flow together for a polished look.
Wolf cuts need more styling, while butterfly cuts are easier to manage. Both frame your face, just with different vibes.
Maintenance: Keeping the Shape Fresh
This cut needs regular upkeep to look its best. The layers grow out and lose their shape if you wait too long between trims.
- Every 6-8 weeks is the sweet spot: The face-framing layers grow out faster than the rest. Fine hair needs trims closer to 6 weeks. Thicker hair can stretch to 8 weeks.
- Ask for a cleanup, not a full restyle: Just have your stylist reshape the layers and clean up the face-framing pieces. Quick and simple.
- Protect your ends: Use a lightweight oil or serum on the ends after washing. This keeps them smooth.
- Brush from the bottom up: This prevents breaking the shorter layers. Use a wide-tooth comb on wet hair instead of a brush.
- Sleep smart: Tie your hair in a loose braid or use a silk pillowcase. This reduces friction and prevents tangling overnight.
- Revive second-day volume: Flip your head upside down, add dry shampoo to the roots, and shake it out. The layers bounce back instantly.
- Quick face-frame fix: Use a small curling iron to add a slight bend to limp pieces. Takes 30 seconds and makes a huge difference.
Butterfly Haircut Wash Routine
How you wash and care for this cut affects how it looks day to day. A solid routine keeps the layers looking fresh and prevents damage.
Step 1: Wet and shampoo
Use lukewarm water to wet your hair. Apply shampoo to your scalp and massage it in with your fingertips.
Focus on the roots where oil builds up, and let the suds rinse through the lengths naturally.
Step 2: Condition from mid-length down
Skip the roots completely. Apply conditioner to the ends and shorter layers since they’re more exposed and prone to dryness.
Let it sit for 2-3 minutes, then rinse with cool water to seal the cuticle and add shine.
Step 3: Dry gently
Gently squeeze out excess water with a towel. Don’t rub. Rubbing creates frizz in the delicate layers.
Step 4: Apply leave-in product
Use a lightweight cream or oil on the ends and face-framing pieces while hair is damp. These areas get the most exposure and need extra protection.
Step 5: Style with low heat
Air-dry or blow-dry on low heat with a heat protectant. High heat damages the shorter layers faster.
Keep the dryer moving if you’re using heat.
Washing frequency: Aim for 2-3 times a week. The layers dry out faster than one-length hair. Use dry shampoo between washes to refresh your roots.
Should You Try the Butterfly Haircut?
If you want volume, movement, and a fresh look without losing length, this cut delivers.
It works for multiple face shapes and hair types, styles easily, and grows out gracefully with the right maintenance.
Whether you go to a salon or try butterfly cut hair at home, the results speak for themselves.
Ready to give your hair new life?
Share how it turned out in the comments!